

Use this simple calculator to determine the best exposure to start with for photographing the Milky Way.
Calculator
The calculator here should give you a good place to start with your settings for shooting the night sky. If you’re new to night photography, you can start with the recommendations here and adjust to your preferences.
There are a few things that guide most astrophotographers when deciding which exposure settings to use for photographing the Milky Way. Astrophotography has a lot of variables that will affect what determine the best exposure. Some of them are from the environment: light pollution, moonlight, clouds, etc. and some are in the hands of the photographer: lens focal length, sensor size, minimum f/number, etc.
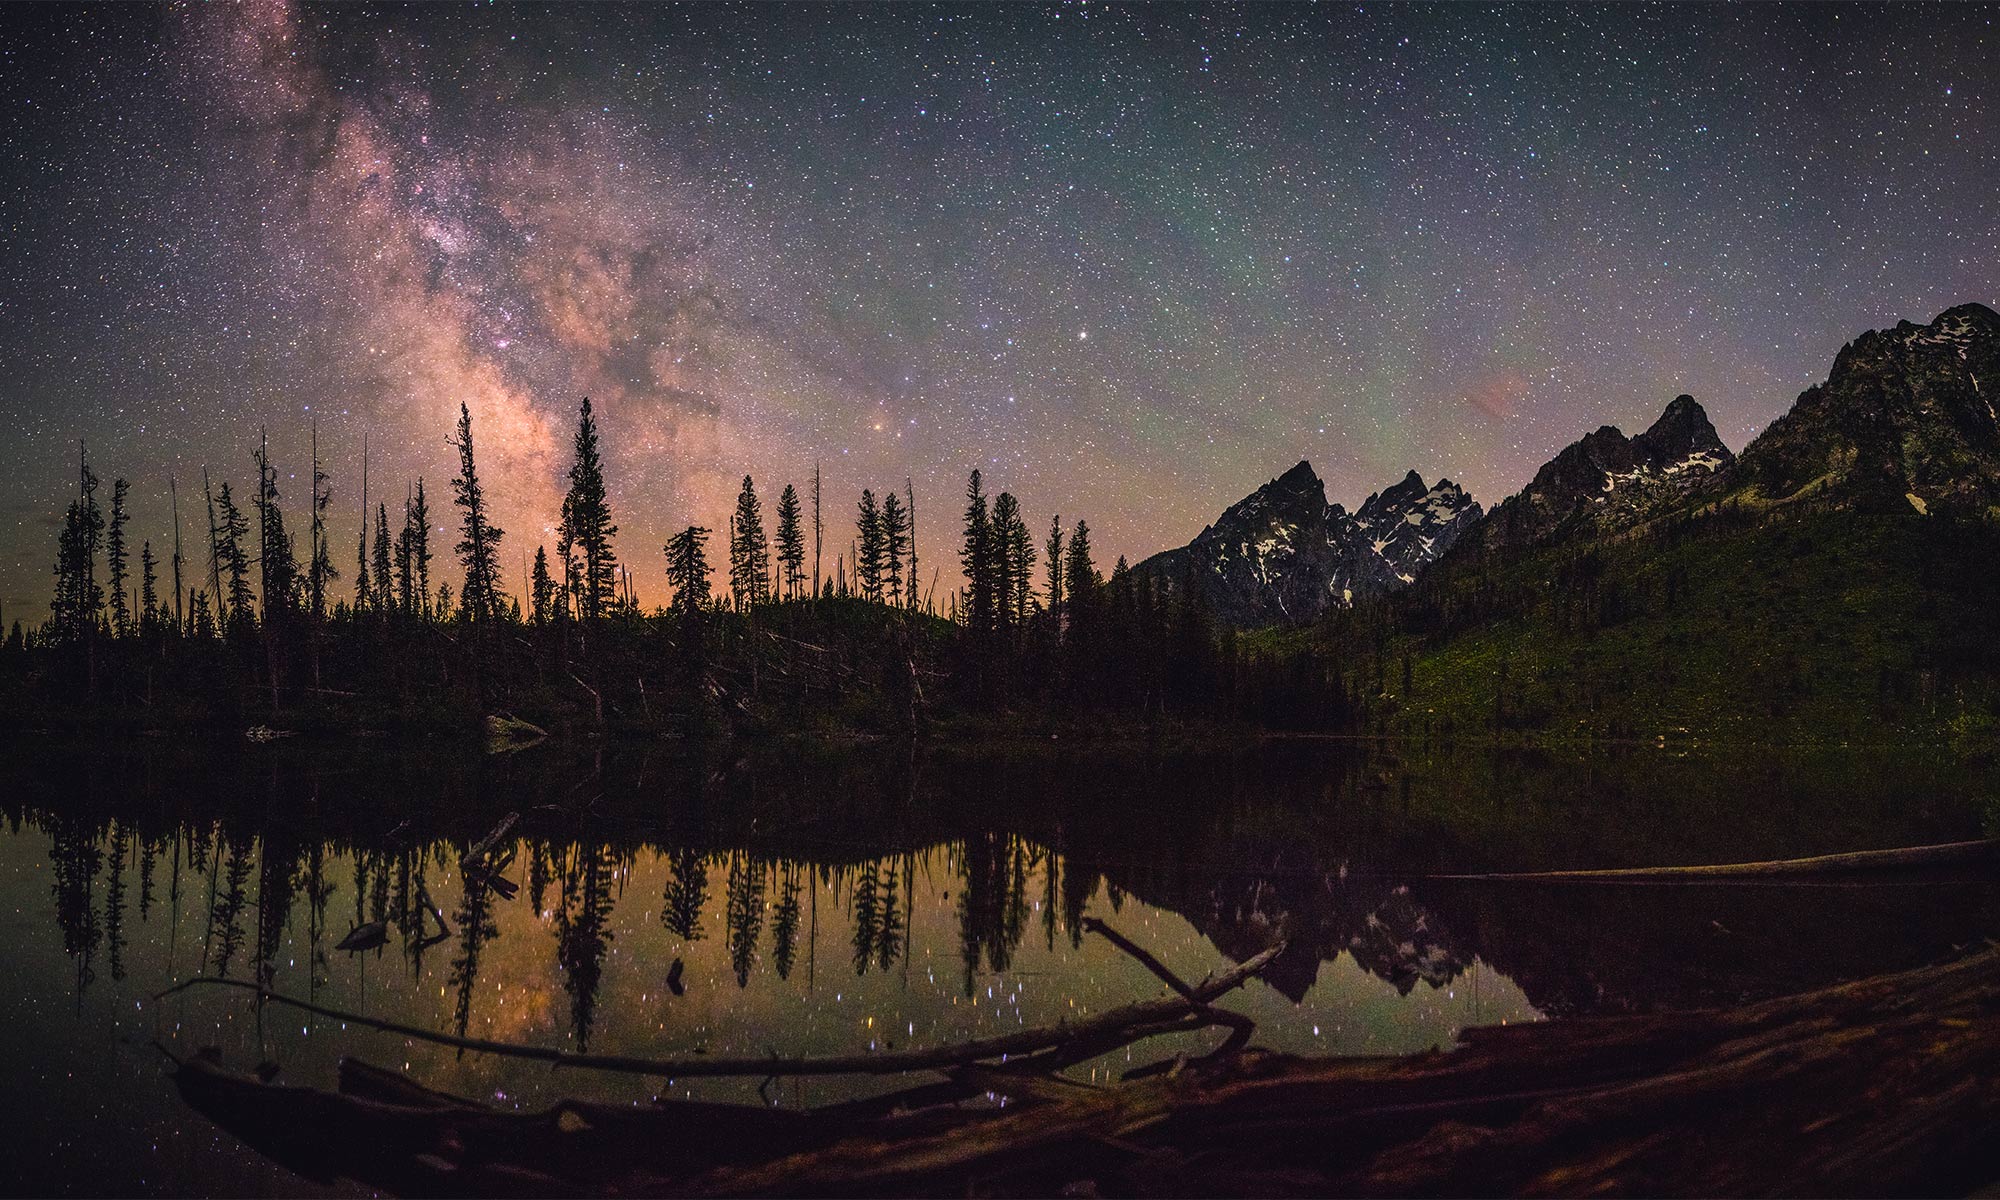
The calculator here tries to achieve an exposure of -8 EV, which is what I would recommend starting with for most astrophotography in dark sky locations with a regular camera/tripod setup and no fancy tracking equipment. Assuming you don’t have a lot of light pollution or moonlight to deal with, these are very good exposure settings to start with. This calculator was originally featured in my recently updated How to Photograph the Milky Way article for a more complete explanation of the methods I use to make astrophotos.
Making Exposure Adjustments
This calculator is that it’s a one-size fits all solution (which is never perfect) so you may need to adjust based on your results. The calculator tries to determine the best settings to produce a neutral-ish exposure. Usually, this means the resulting image may look unnaturally bright (because you expect an image of a dark sky to look dark) but don’t fret, you can reduce the exposure brightness in post processing which also often reduces noise in the image.
If your exposure is unusably noisy, you may be limited by your equipment or need to enable your in-camera Long Exposure Noise Reduction. If the stars are still streaking as star trails, you may need to reduce your shutter time. Light pollution and moonlight can also make the exposure too bright and a slow lens (high f/number) will result in noisy images. While the settings suggested by the calculator are what I would use in 90% of my astrophotos, you’ll probably need to make some small adjustments. In order to develop a deeper understanding of how successful the exposure is, we usually cannot rely entirely on what the photo looks like on the back of the LCD.
I recommend enabling the histogram view on your camera. Every digital camera is different, but all of them feature a way to view a graph of the exposure. The histogram is usually available by pressing “INFO” or “Display” or the Up/Down arrows when reviewing photos. It really depends on your camera so check your instruction manual. Typically we will desire a histogram that shows peaks toward the center of the graph from left to right. Sometimes this is not possible if you are using a relatively slow lens and you may be forced to expose to the left. Try to avoid underexposure at all costs. Exposure to the right is generally safe but is uncommon unless there is substantial light pollution in your photograph or if the moon is brightening the sky.
See below for examples of histograms for various exposures of the Milky Way, and how to adjust for them.

Try to push your camera to the limits of its light gathering capability without compromising quality. Check and re-check your image review, zoom in on the LCD to check focus, review the histogram for exposure information and re-compose your frame often. Once you find an exposure you like, you can usually maintain the same exposure throughout the night. If you’re consistently exposing to the left or underexposing, you may need to look for a better lens for astrophotography. Check out my guide on How to Pick a Lens for Milky Way Photography or see my best lens lists for Canon, Nikon and Fuji cameras. You can also print out this histogram guide along with the rest of my Nightscapes Quick Guide to Astrophotography.
About the Calculator:
The calculator uses the exact guidelines that I use to figure out my exposures. Here’s what’s happening in the background for all you math-heads.
Shutter Speed
The shutter speed is calculated based on the focal length of your lens and the size of your camera’s sensor. Longer focal lengths and smaller sensors require shorter shutter speeds to prevent star trailing. This particular calculator uses the equation:
recommendedShutterspeed = 500/(focal length)/(crop factor)
Where (focal length) is your lens focal length (I recommend using your shortest focal length lens) and (crop factor) is the crop factor of your camera’s sensor relative to a full-frame 36mmx24mm sensor. For full-frame sensors it’s 1, APS-C sensors it’s 1.5 and 4/3 sensors it’s 2. I limit the maximum focal length to 300mm because it’s unlikely that you’ll be photographing through a longer lens without an equatorial mount anyway, at which point this calculator becomes useless because you would be able to take much longer exposures.
The calculation is based on the so-called “500 Rule” which many astrophotographers use to determine the shutter speed they should use to maximize light gathering without being long enough to make the stars trail across the sky. Your results will also vary depending on where you’re pointing your camera where photos near the celestial equator will show more star trailing for any given shutter speed.
Finally, I don’t account for your camera’s sensor resolution but that’s intentional. At standard sizes and normal viewing distances, an 8 megapixel image can look the same as a 36 megapixel image. After all, most of us can’t look at photos on any more than an 8 megapixel screen anyways so those extra 28 megapixels aren’t making a difference. (4K UHD 16:9 television is 3840 × 2160 = 8.2 Megapixels.) If you’re a pixel peeper you might disagree with me here. It is possible to achieve sharper pinpoint stars with shorter shutter speeds or tracking mounts but this calculator is made for simple, untracked astrophotography with beginner accessible equipment in mind. All told, this number is, as with all the numbers on the calculator, just a suggestion. I recommend trying it out and adjusting to your preference.
A More Accurate Shutter Speed Calculator
One of our readers and fellow astrophotographers, Thomas Leber, has made an excellent calculator that can more accurately account for your sensor’s pixel density and output a recommended shutter speed bases on your personal threshold preference, in pixels, of how much star trailing you can accept. See his excellent writeup of the methodology and use his shutter speed calculator here.
F/Number
The f/number should generally be set to the lowest possible number, preferably f/2.8 or lower if your lens supports it. The calculator just uses the minimum f/number rating that you specified for your lens. Lenses with f/numbers of f/4.0 or higher are not recommended because they will not collect enough light for the target exposure value, resulting in noisier images. If you anticipate stopping down to reduce comatic aberration or astigmatism, enter the f/number that you plan to stop down to. Lenses with lower f/numbers are generally better for photographing the Milky Way. For fast 35mm and 50mm prime lenses, particularly when performing panorama stitching, the best combination of brightness, reduced vignetting and low aberration levels is generally f/2.8. Check out my article on How to Pick a Lens for Milky Way Photography for a more complete explanation.
f/number = minimum lens f/number
ISO
The ISO is calculated based on your aperture and shutter speed both. It’s extrapolated in stops from a “standard” (-7 EV) Milky Way exposure of: 30 seconds, f/2.0, ISO 1600. (There’s no standard actual standard, I just made this up from experience. Think of it like the sunny-16 rule for shooting the Milky Way.) For each stop of variation in the f/number, the ISO is adjusted reciprocally one stop to compensate for the change in brightness but with limits at ISO 800 for lenses f/1.4 and lower, ISO 1600 for lenses f/2 and lower and otherwise generally suggesting ISO 3200 for slower lenses. Additionally, variations in shutter speed away from the “standard” 30 seconds will adjust the ISO based on an “ISO factor” where the factor is 0 near 30 seconds, drops to -1 above 60 seconds, and increases to 1 below 15 seconds. These aren’t discreet stops, but ranges that have worked well form my personal experience. The resulting factor is applied as an exponent to 2 and multiplied by the ISO. The calculation stops at a maximum ISO of ISO 6400 for rather long or slow lenses. Beyond the suggestion of the calulator, ISO 3200 is about the maximum gain you should generally use on most contemporary digital camera sensors in order to achieve a decent balance between amplification (brightness) and dynamic range. ISOs higher than 3200 are OK but often result in overly bright star exposures. To retain the most star color, ISOs between 800 and 3200 are recommended.
recommendedISO = IF (fnumber<=1.4 THEN 800, ELSE IF(fnumber<=2 THEN 1600, ELSE 3200))
Where isofactor = IF(recommendedShutterspeed>=60 THEN -1, ELSE IF(recommendedShutterspeed>=15 THEN 0, ELSE IF(recommendedShutterspeed>=8 THEN 1, ELSE 1)))
Finally, the exposure value is calculated with the equation for exposure value. Our target exposure for shots of the night sky is -7 EV. This calculation will tell you the actual exposure value of the calculated exposure settings. It might differ from -7 EV because of the “stopped” nature of the calculator but it should be pretty close to -7 EV if you’re not equipment limited. If your lens is too slow, your max ISO too low or your lens too long, you’ll end up with a lower EV, often resulting in a noisier picture.
EV = log2(fnumber^2/recommendedShutterspeed)
If you have any questions about the calculator or astrophotography in general, please feel free to comment below or contact me!