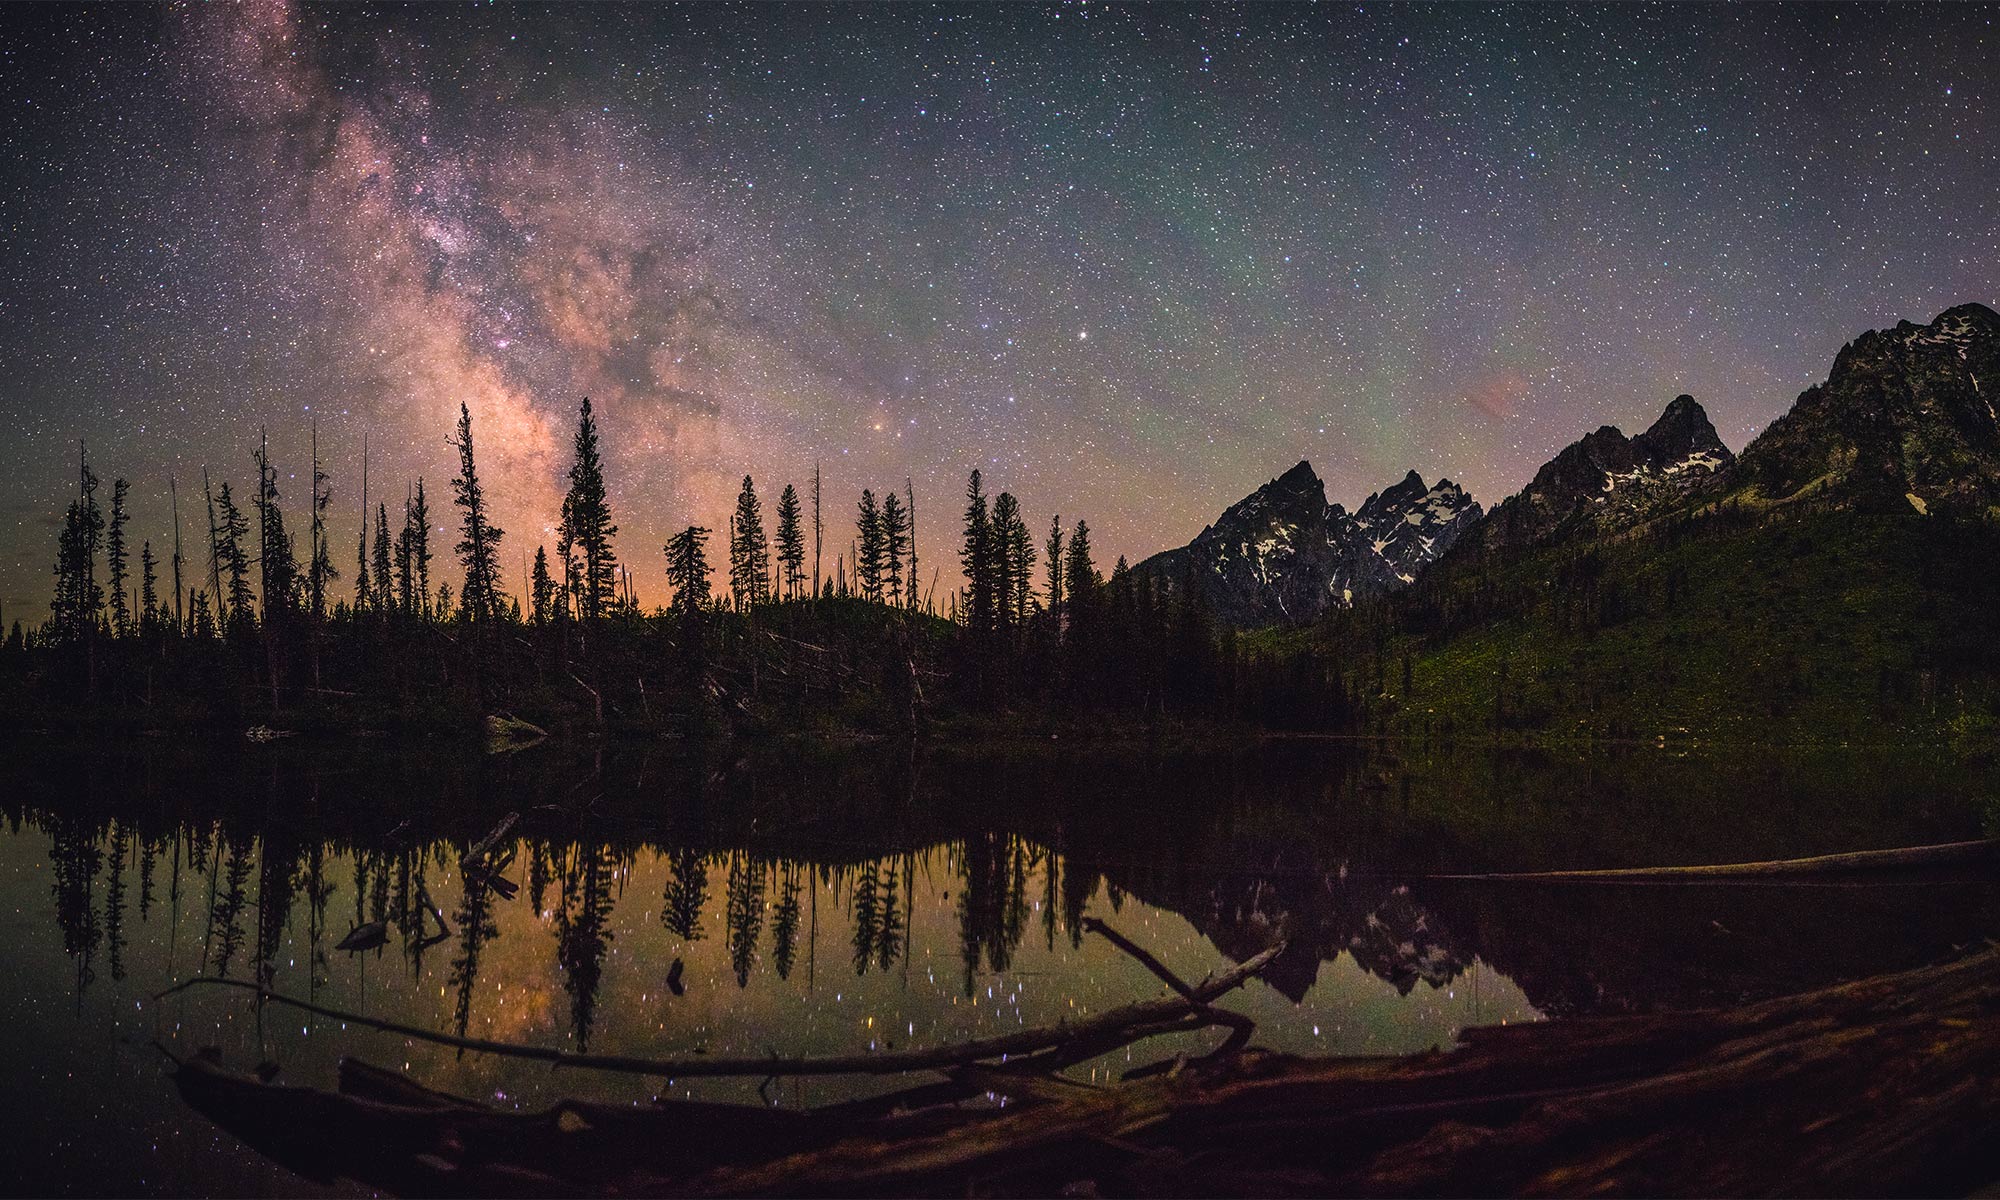
A video tutorial for reducing noise in Milky Way photos with image stacking in Adobe Photoshop CS6 Extended.
Sometimes you just have to accept noisy images for your astrophotos. With astrophotography, you’re typically shooting at high ISO settings, often exceeding ISO 3200. Sometimes this is perfectly acceptable, but depending on your equipment limitations, you may be restricted to lower shutter speeds and smaller apertures where signals are low and noise is high. This video will show you what I do in those situations.
There are a variety of methods for noise reduction including built-in camera settings and noise reduction post processing algorithms such as the ones available in Adobe Lightroom. Let me start by saying that the noise reduction capabilities of Adobe Lightroom and the Nik Dfine 2 plug-in are nothing short of amazing. If you are not already using Lightroom as your RAW processor, you should highly consider it.
But there are times where your equipment is just too limiting and no matter what you do, the noise just plain terrible. This is where image stacking makes a huge difference in reducing noise in your images. The averaging of even 4 or more separate exposures will do wonders to images that you might have abandoned otherwise. Image stacking is pretty much what all astronomers use for their deep sky images.
Landscape astrophotography presents some challenges with image stacking methods though because we have to deal with relative motion of the stars to the ground. In this video lesson, I show you how I use image stacks of smart objects with a median statistics filter in Adobe Photoshop CS6 to reduce noise in my astrophotos.

I have tried your technique, because it made sense to me and looked good in the video. However I’m not able to achieve that. When I am at the point where I should choose the stack mode, that command is greyed out. PS did try to align the sky layers and taking a look at the edges of the frames, the result I get (aka how far the layers have moved) seems to make sense. However I checked whether the stars were correctly aligned by PS and it isn’t the fall : using the opacity slider, I can check that the stars are not aligned. I had some little clouds wandering over the sky in a first set when I tried a week ago. I found a set without any clouds, just the Milkyway, but it didn’t work either.
Is that the reason why the stack mode is greyed out ? or is it because you need PSCS extended in order to get that feature working ?
NB : I tried different things without any success : diminishing the number of pictures to stack, diminishing the size of the files (by using another camera producing 16MB instead of 36MB ).Erasing the foreground in all the layers in order to keep just the stars. With the A7r, I tried to set the lens correction to on or off (in order to avoid problems of misalignment in the corners). I tried to convert the picture mode from 16bits to 8 bits..
Nothing helped.. the stack mode command is definitely greyed out. I think that the problem may come from the fact that PSCS6 isn’t able to align the stars correctly ? Or do I need the extended version to be able to use that command ? Or did I miss something else : I followed your video step by step untill I was blocked by that greyed out command.
Has anyone encountered a similar problem ?
Just found the answer : it is greyed out because I’m using Photoshop Standard version. It seems it is only available in the Extended version.
Too bad, that was such a good looking technique.. Anyway : thanks for sharing, I appreciated and your site is full of useful information.
Yes, either extended or CC is required.
Hi Ian! This is a great tutorial video! I originally found it on YouTube and came across it again here on this site after doing a Google search. I’ve done everything with my images that you did in your video, but ran into an issue when I did the Median step.
The result is that my stars are totally blurred or gone. My foreground is even looking weird, almost like motion blur. I have gone back through your video step by step and still keep getting the same results. I’m so frustrated and don’t know what else to try?
I used about 10 or so images. Everything was shot on a tripod with same settings. There were some light thin clouds drifting by during the exposures, but the same stars are visible in all images.
I loaded the images as layers in PS, did the layer masks, Auto-Aligned, converted to Smart Object and then did the Median step. Any ideas of what I could be doing wrong?
I can send you screenshots of my results if you like? Cheers!
Hi!
Did PS align the stars correctly? If not, the median filter blurs out the sky. This especially happens, when you don’t have some star trailing or structure like the milky way in the night sky, because PS has trouble with auto-aligning point-features-only.
In Ian’s tutorial you could also see the milky way in the sky area, so PS had some structure to work with. I guess it wouldn’t have worked out well if there were only pin-point sharp stars, as this is a major problem of Adobe PS. I tried other software like RegiStax (it’s freeware) but they are pretty complex.
Marco, I thought that PS had aligned everything, but I guess not. I only had some pin point stars from Orion’s belt in the shot. It was more of a quick set up to see everything in action. I may try to go out again when we get a clear night and experiment more. It’s frustrating to say the least.