


This video tutorial combines two of my favorite techniques for maximizing image quality of astrophotos: stacking and stitching.
Video Tutorial
Two of my favorite technigues for improving the quality of astrophotography are highlighted in my tutorials for stacking and stitching. Over the last year, I’ve been testing different workflows to combine these two techniques together in order to truly maximize the image quality of my astrophotography. Creating a stacked panorama is now my personal favorite technique for shooting astrophotography. Check out my workflow in the tutorial below:
Any questions on the technique? Let us know in the comments below!
Gear
For your camera and lens, I recommend simply using a standard prime like a fast 50mm or similar. The mildly longer focal length and fast aperture that are typical on a standard prime will make for an ideal light gathering tool for this technique.
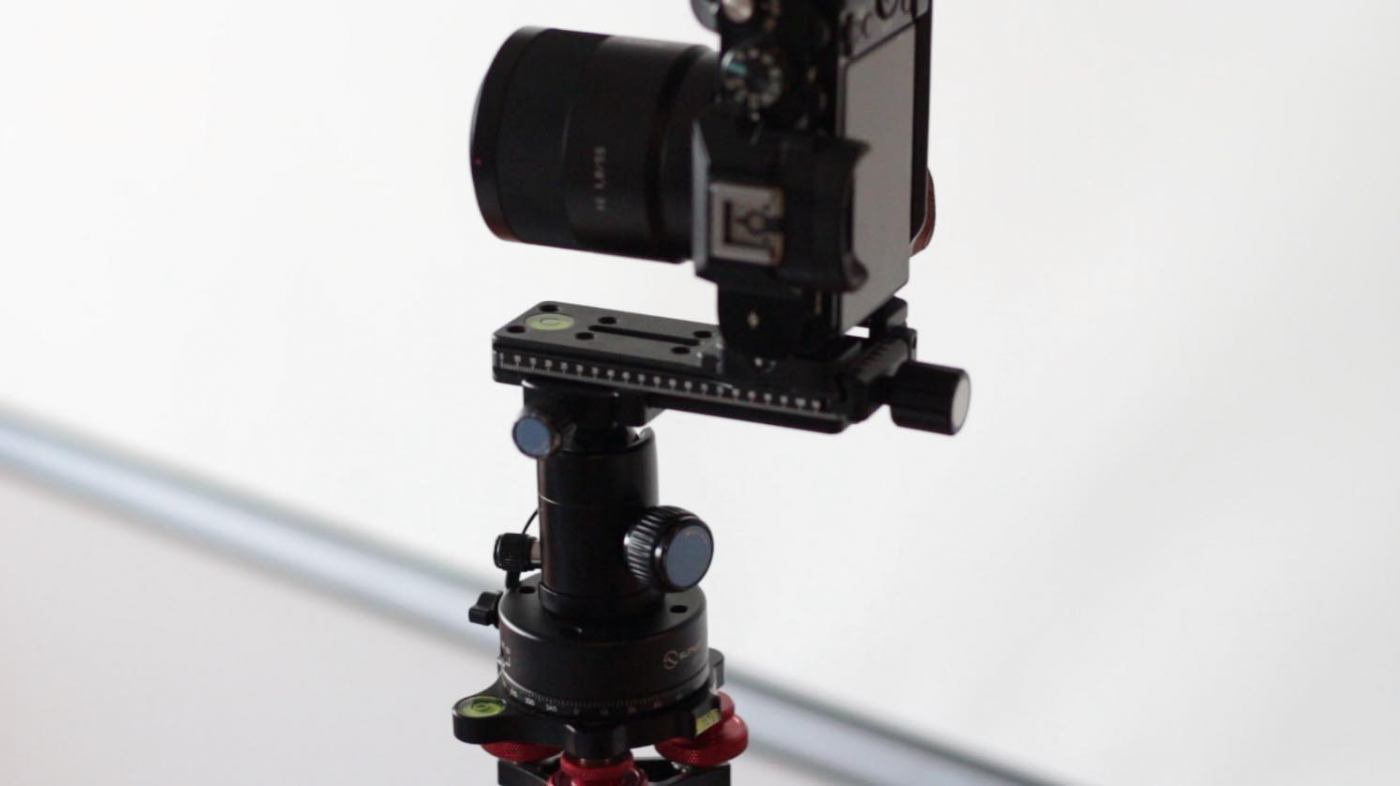
I also highly recommend a simple horizontal panorama head in order to make the shooting process easier. It’s not a requirement but it has certainly made shooting these massive panoramas much simpler. Here’s what I used:
Sony a7S (B&H)
Sony Zeiss 55mm/1.8 (B&H)
Sunwayfoto DDP-64SI Panorama Head (B&H)
Desmond DLEVX Leveler (B&H)
Desmond 120mm Nodal Slide (B&H)
Sirui T-025X Tripod (B&H)
Disclosure
We are a participant in the Amazon Services LLC Associates Program, an affiliate advertising program designed to provide a means for us to earn fees by linking to Amazon.com and affiliated sites. We are also a participant in the B&H Affiliate Program which also allows us to earn fees by linking to bhphotovideo.com.
Learn Astrophotography
This tutorial is part of Astrophotography 101 a course on accessible astrophotography that’s completely free for everyone. All of the lessons are available on the Lonely Speck Astrophotography 101 page for you to access at any time. Enter your email and whenever we post a new lesson you’ll receive it in your inbox. We won’t spam you and your email will stay secure. Furthermore, updates will be sent out only periodically, usually less than once per week.
Help us help you!
Lonely Speck is my full-time job. It’s been an amazing experience for us to see a community develop around learning astrophotography and we’re so happy to be a small part of it. I have learned that amazing things happen when you ask for help so remember that we are always here for you. If you have any questions about photography or just want to share a story, contact us! If you find the articles here helpful, consider helping us out with a donation.
[button font_size=”16″ color=”#136e9f” text_color=”#ffffff” url=”https://www.paypal.com/cgi-bin/webscr?cmd=_donations&business=lonelyspeckblog%40gmail.com&item_name=These+tips+help+keep+lonelyspeck.com+running.¤cy_code=USD&source=url” target=”_blank”]Donate[/button]
Thanks so much for being a part of our astrophotography adventure.
-Ian
Wondering why you no longer recommend/use the Nodal Ninja? If you use the ball head to tilt the camera up, you run the chance of not having the camera level, right? Seems like the Nodal Ninja would keep things squared and level since it mounts at a right angle of the leveled ball mount.
Nice tutorial Ian.
I may have missed it, but how do you tilt the camera forward/back to take two rows?
I guess using the ball head. Otherwise, why would it be there? I had thought it would be hard to keep things from getting out of kilter, but I guess if one is careful it should not be a problem.
This is my question too. It would seem that if you tilt your camera up or down from your original starting position, from the first row, I would think that the second row would now be out of parallax. Am I wrong on this?
Hi Ian, absolutely love the tutorial and looking forward to my indexing head arriving soon. Can i ask the reason for the top left to top right then bottom right to bottom left path. The reason i ask is that i live in New Zealand so was wondering whether this had to do with limiting the movement observed in the stars as i am in the southern hemisphere should i start top right and go anti-clockwise? Thank you again Ian, look forward to the next ones.
Thank you Ian. I can see that you have put a lot of time in producing this excellent tutorial. The best video I have seen on this subject!
Hi There. nice tutorial. but can i ask have you tested the Canon 24mm f2.8 Pancake Lens for Astrophotography?
Awesome tutorial! been waiting for this one for a while. Definitely stepped up the video editing on this one. Great thorough explanation as needed for something like this.