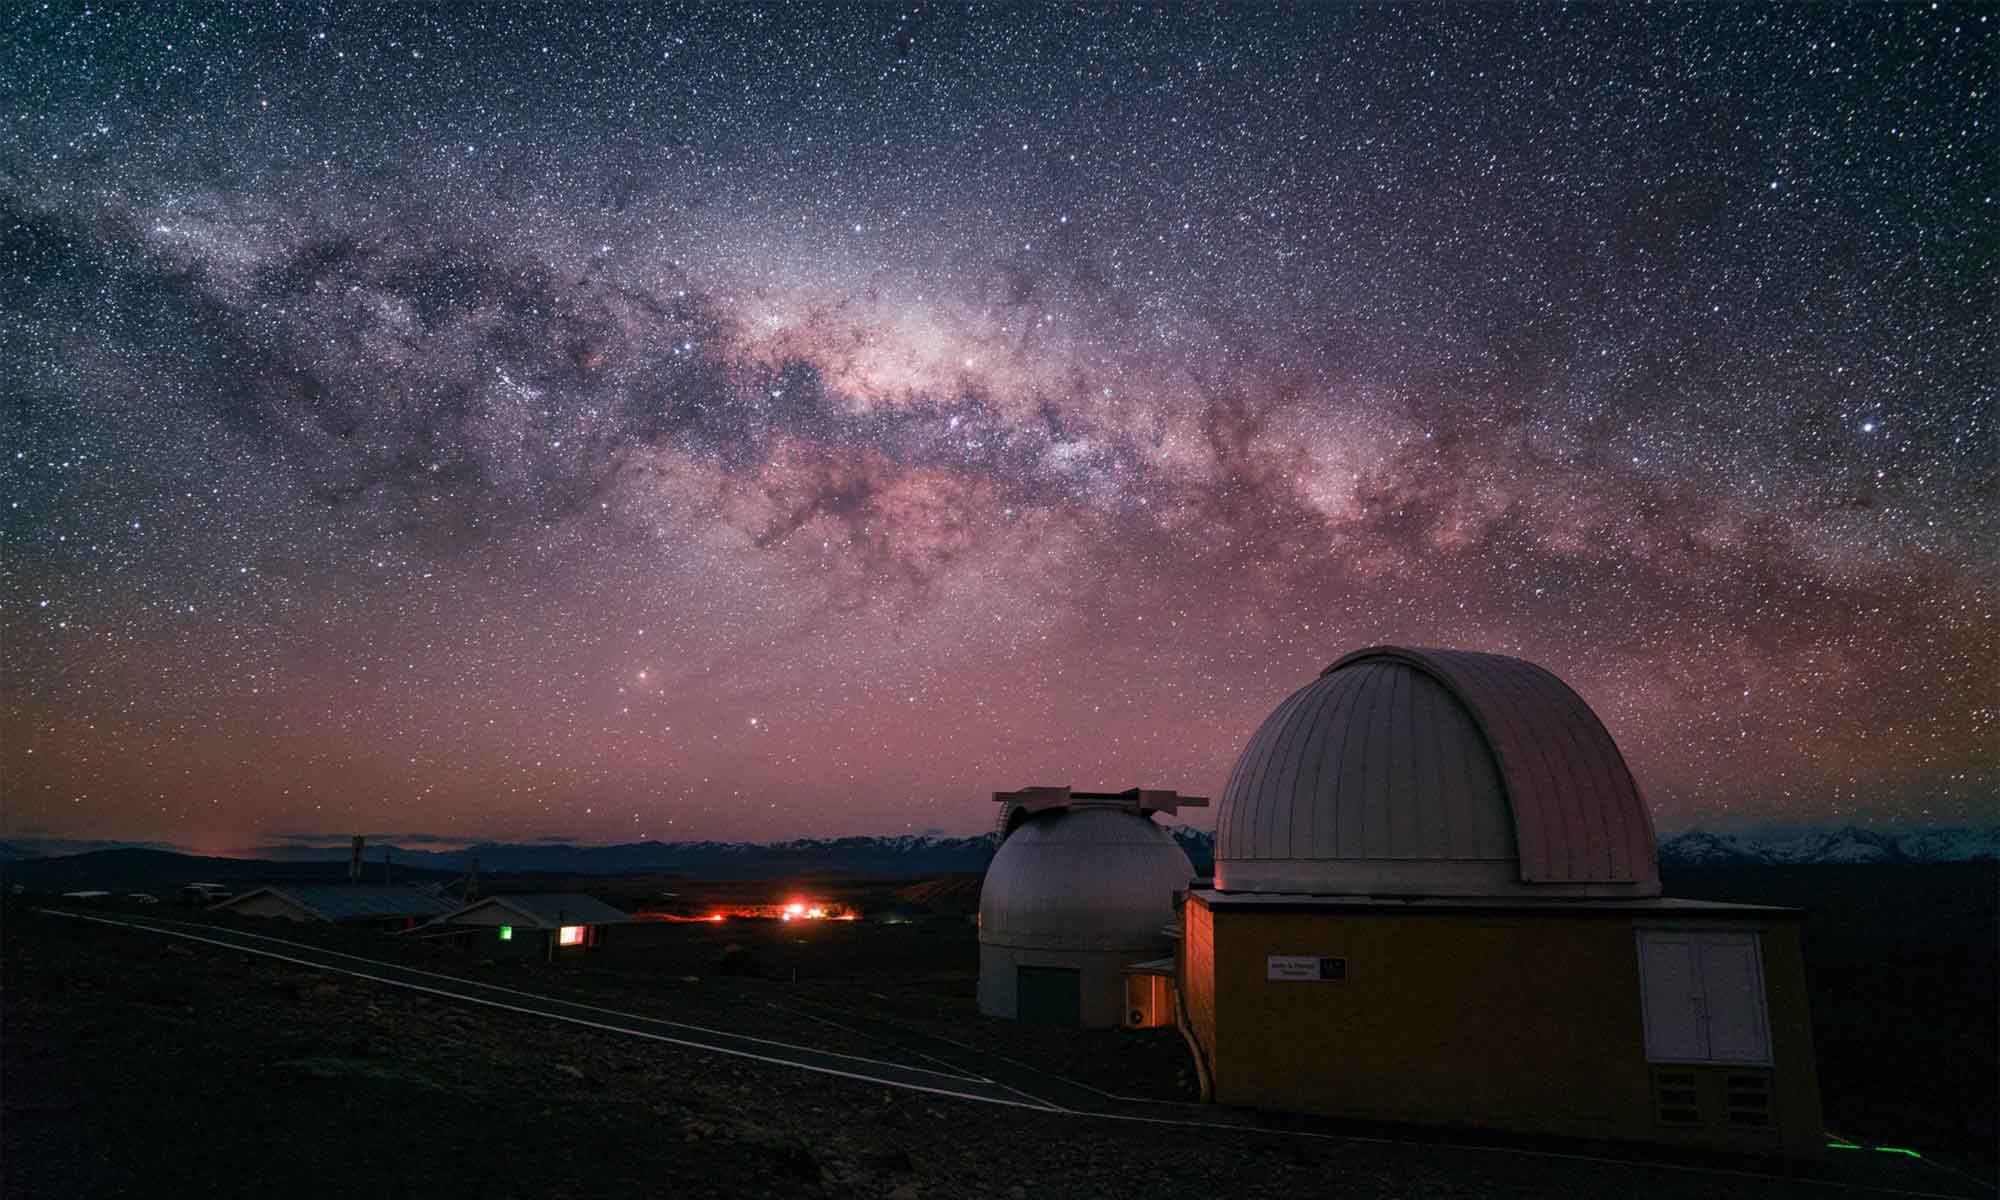
This video will show you how I make photographs of the Milky Way in really heavy light pollution around cities like Los Angeles California.
I use a method of exposure called ETTR (Expose To The Right). I’ll show you why it’s beneficial for astrophotography and also how I process these photos in Adobe Photoshop Lightroom.
If you liked this video, take a complete project based course on how to photograph the Milky Way with my online Skillshare class.

Thank you for sharing your wonderful work and techniques. I really enjoyed the time lapse video.
Thank you so much for sharing.
This is my first comment on this site and I just want to say how nice all the information is. Thank you a million times over. My question/comment is regarding the post-processing in Lightroom. I have LR5.3 and I have tried 4.4-5.6 LR versions and cannot get any produced jpeg’s from RAW images to include any noise reduction adjustments. The jpeg’s produced have all other corrections, but zero noise reduction. Sometimes the jpegs are pretty awful because of the lack of noise reduction, but otherwise could be nice photos (as they look great on Lightroom prior to exporting). When trying to apply the processing techniques you included in this tutorial I would have some images with a fair amount of noise and after processing, they look fantastic in lightroom with some noise reduction added in, smoothing things out. But i just can’t get a good jpeg produced from LR with any noise reduction applied. I am exporting the RAW files at 100% to jpeg.
Any idea’s about what is going on? is anyone else out there able to successfully apply noise reduction in lightroom? i saw that this is a known problem for exporting images at less than a 1/3 of the original size, but no real fix. I think that a lot of people just don’t notice it because they are usually shooting at lower iso’s than from astrophotography.
Thanks for any help!
hmmm, I’ve never heard of this problem before now. Here’s a question: what if you completely turn down all noise reduction on an image, export it and then complete turn up noise reduction on the same image and export again, is there a discernable difference?
I’ve tried that and there isn’t. I have been trying a lot of different things to no avail. I’m beginning to wonder if it is an issue with 32bit vs 64bit LR. Who knows? I’m just looking to find a way to process the photos before I take my new Rokinon 12mm f2.0 and my nex-6 to mauna kea! i’ve been trying to shoot nightscapes in the light polluted SF skys and am looking forward to some really noiseless pics. i figure that eventually someone will figure out the NR not being applied in LR and i’ll have my raw files ready.
thanks and please let me know if you do end up hearing anything.
Johnny, given the other threads out there on this problem, it seems like it only happens if re-sizing the image? why not export without re-sizing? Does that yield a good results?
Thanks for the article. I live in an area more light-polluted than NYC, according to the map.
Anyway, you made a comment that the exposure time should always be 30 seconds to allow the camera to absorb more light. However, at 30″, F1.8, ISO800, the result is plain white.
Which of the following would you suggest?
– Reduce exposure time
– Reduce aperture
– Reduce ISO
Great article & technique, thank you. Learning to take shots in less than ideal conditions can be rewarding when there are no alternatives. thanks again!