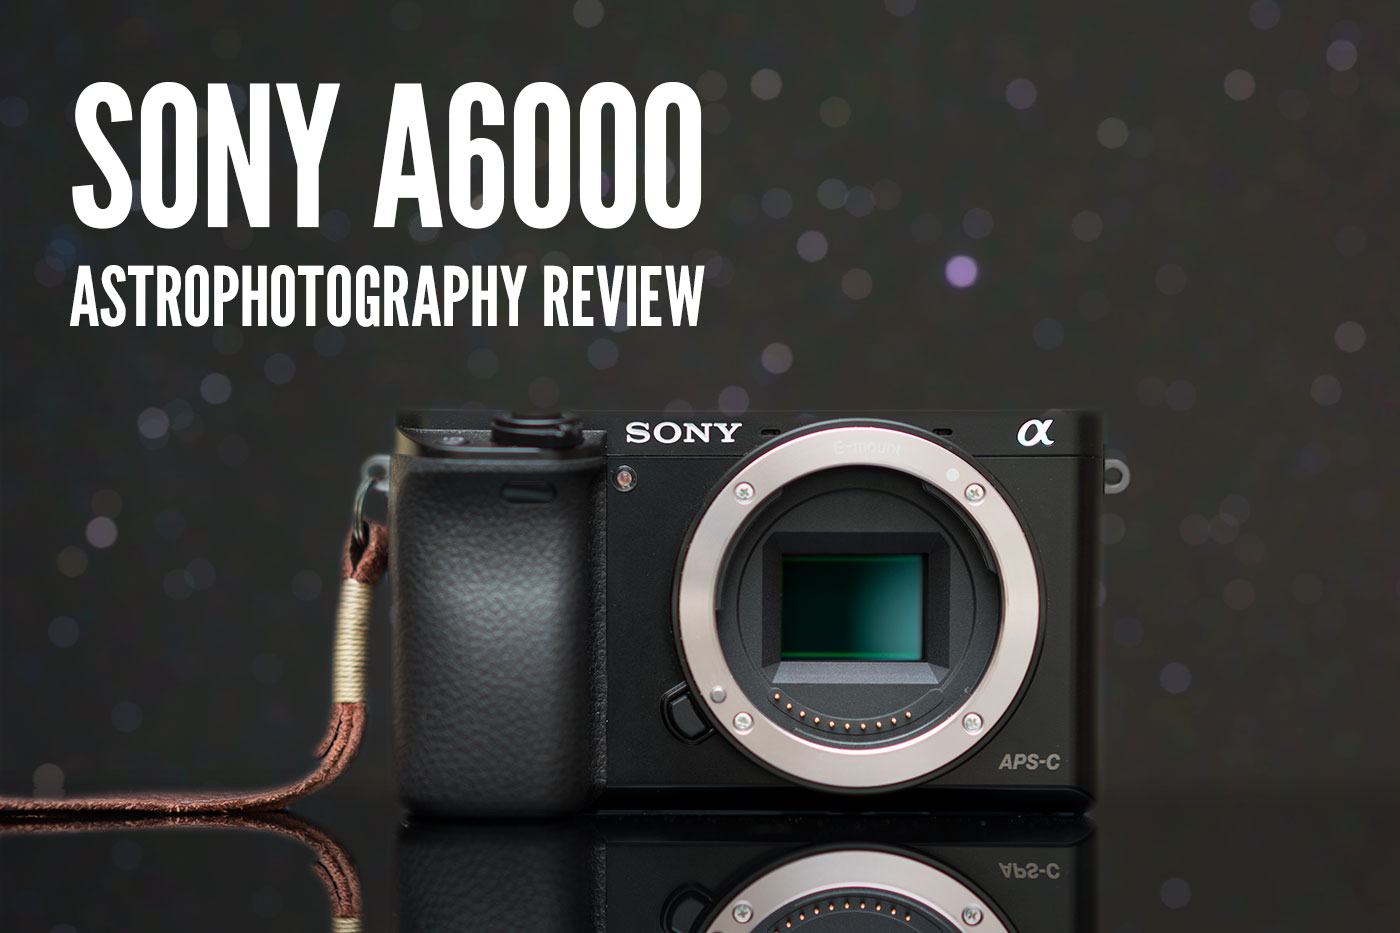
Let’s take a look at Sony’s best selling interchangeable lens cameras ever made: the Sony a6000. In this review we test the a6000’s low light performance and try it out for Milky Way and aurora photography in California, Nevada and Alaska.
Introduction
A lot of people ask me which camera to buy for their first mirrorless camera. The Sony a6000 (Amazon / B&H) is almost always one of my first recommendations. It’s simply a very good camera at a very good price.
I’ve often kept a Sony a6000 as a backup camera for much of my time using cameras in the Sony E mount system. I’ve had the opportunity to shoot astrophotography with the a6000 on numerous occasions over the last two years, particularly in my time traveling to visit family between California and Nevada.
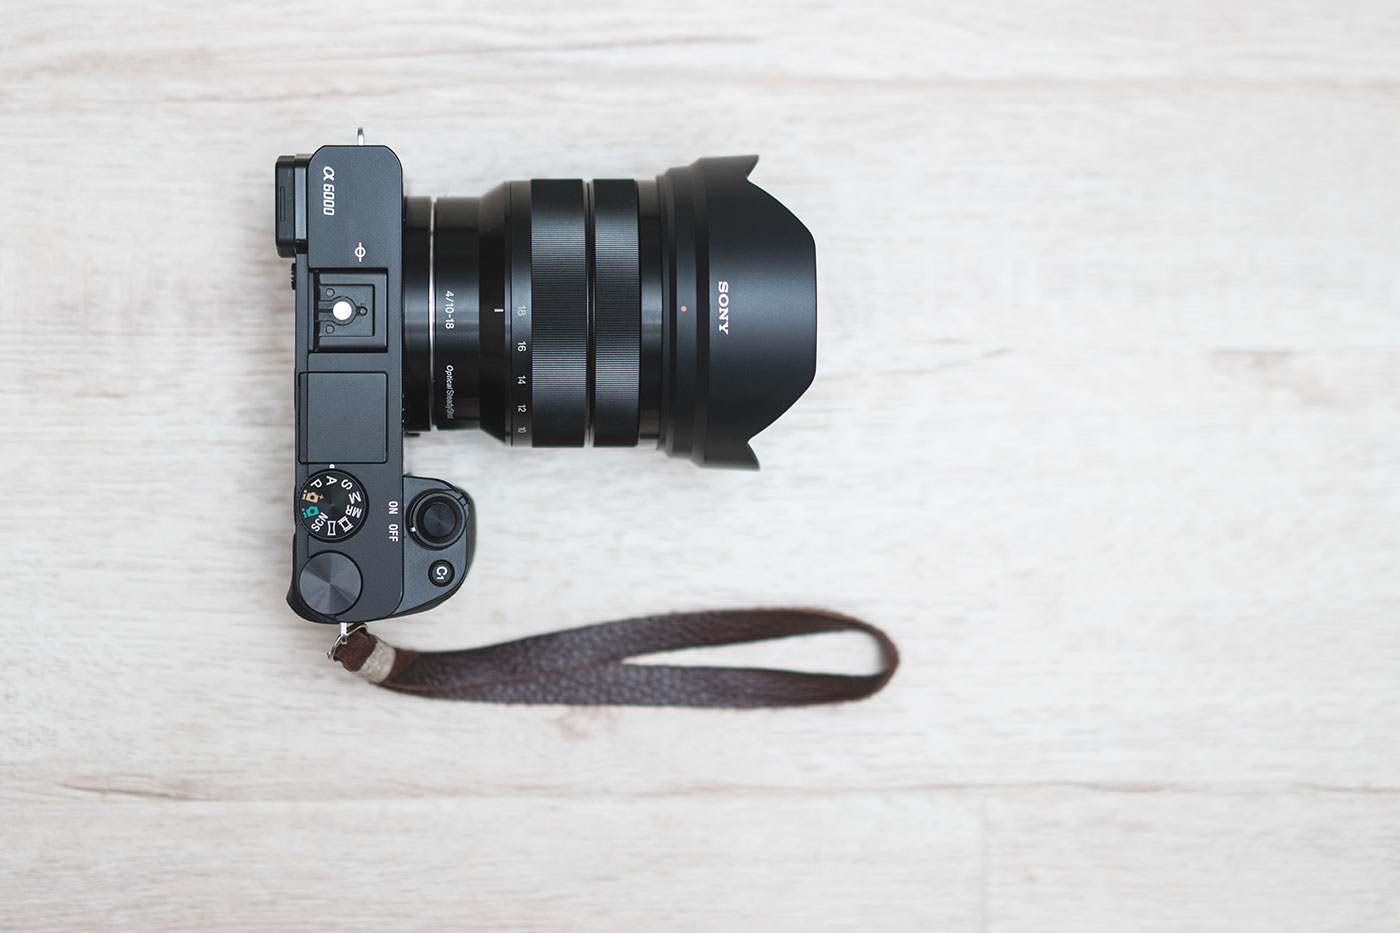
While Sony has released several successors (such as the Sony a6300 (Amazon / B&H)), the older a6000 is still very much a relevant consideration for photographers looking for an affordable interchangeable lens camera. The newer models are slightly improved for video but also significantly more expensive than the bestselling a6000.
At the time of this writing, I still think the a6000 is probably one of the best deals in photography gear. An a6000 body can often be found for less than $500 new. At that price, most of my expectations for performance and features in any other camera are pretty low but the a6000 is one hell of an exception.
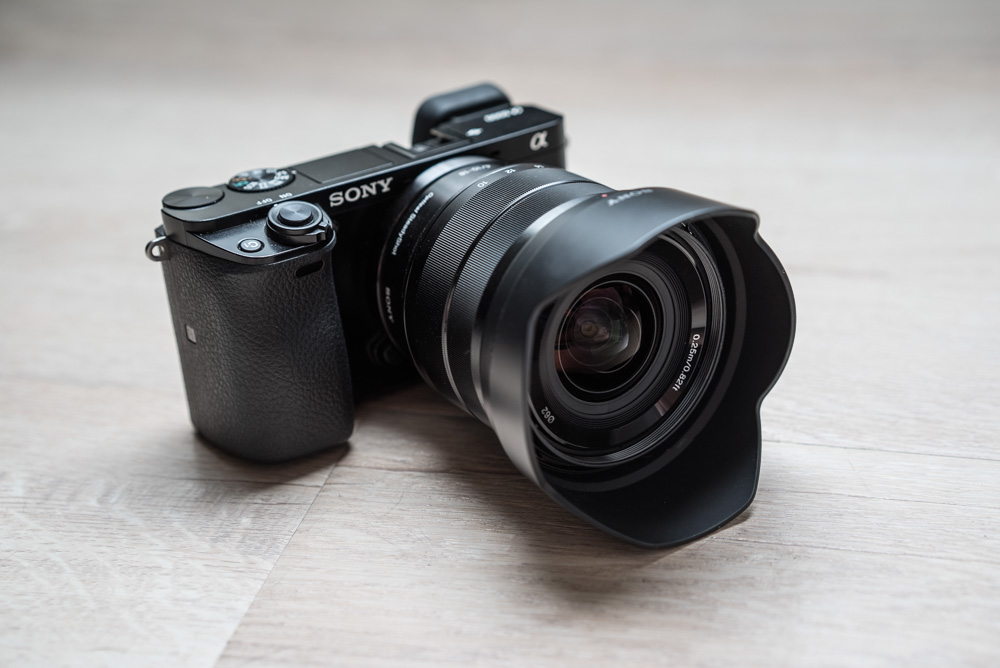
The a6000’s feature set is comparable to DSLRs that are more than twice as expensive (e.g. the Nikon D7200). The a6000 has an APS-C sensor with 24.3 Megapixels, 11 frame per second continuous burst, ISO up to 25600, 1080p video up to 60 frames per second and Wi-Fi and NFC connectivity for sharing photos. Even Canon’s latest DSLR, the $1200 EOS 80D, falls short of the a6000 in terms of a few performance specs like continuous burst speed. The a6000 meets or exceeds most of the capability of these much more expensive cameras, and in a significantly more compact package.
First Impressions
It’s got the specs but you don’t get everything: the a6000 is an ugly camera in my honest opinion. It’s basically a box with a grip. Unlike the comparably priced rangefinder-like Fujifilm XE-1 (Full Review), the Sony a6000 looks more like a tool than a style-piece. Its muted design doesn’t really attract any attention and perhaps that’s a desirable trait for some but I think it looks a little weird. Unlike the recent designs of many cameras from other manufacturers, there is nothing about the a6000 that’s trying to be retro. It’s a modern camera design through and through and it follow a very flat form-follows-function aesthetic.
Handling
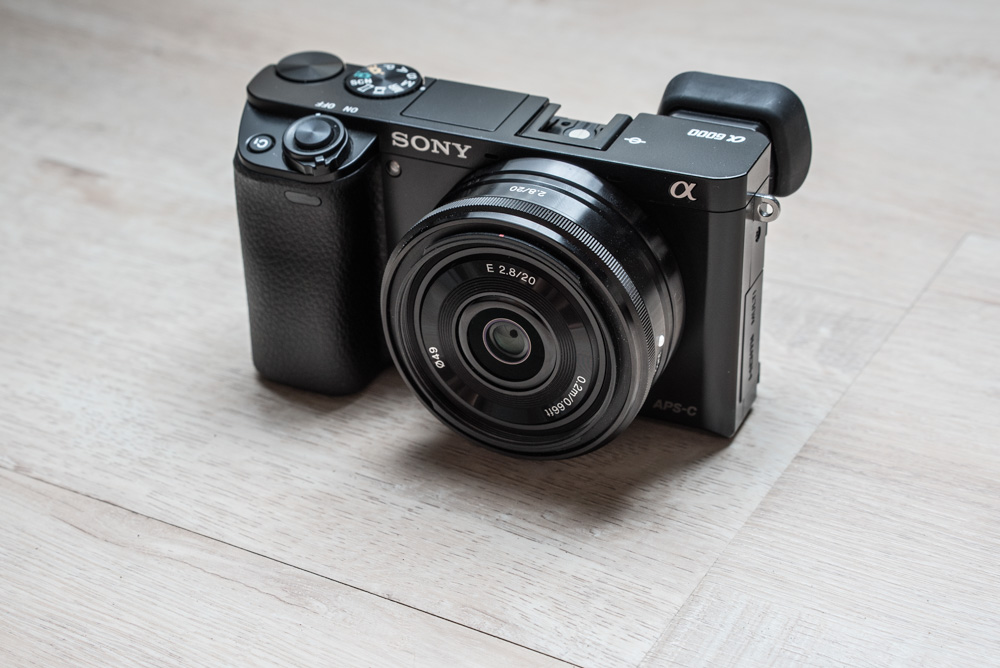
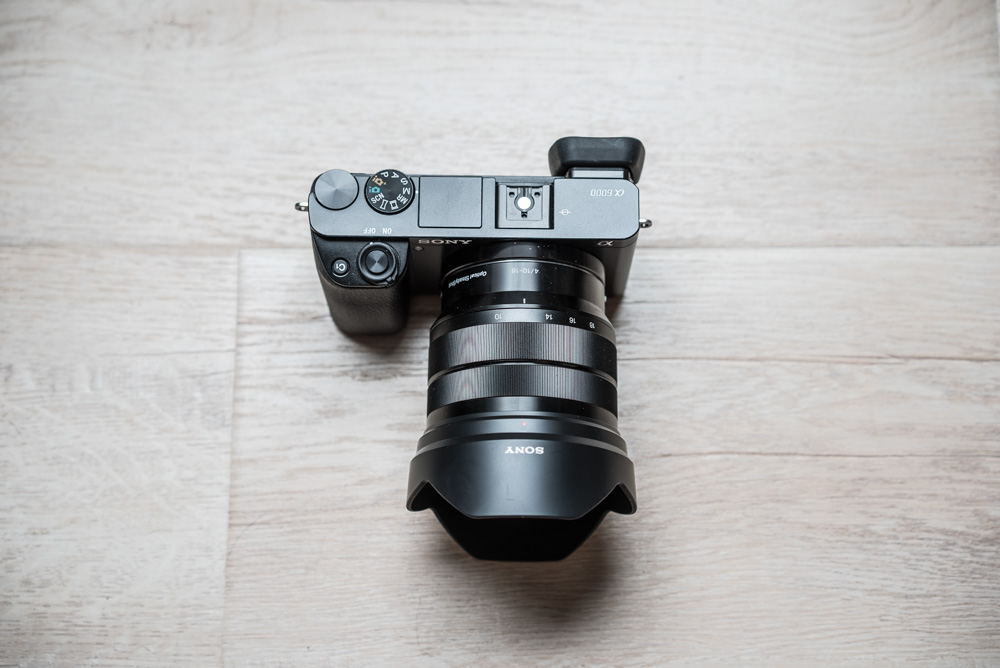
The a6000 is a small and lightweight camera. Its grip is deep enough and comfortable enough to handhold the camera all day. Paired with a nice compact lens (I highly recommend the Rokinon 12mm f/2 (Full Review) with the a6000 if you’re looking to shoot astrophotography), the a6000 feels just right in the hand. It’s a small enough package to work well on a compact travel tripod and it really feels like a small camera. Pair it with a pancake lens like the Sony E 20mm f/2.8 (Amazon / B&H) and it’s nearly pocketable (fits in a jacket pocket).
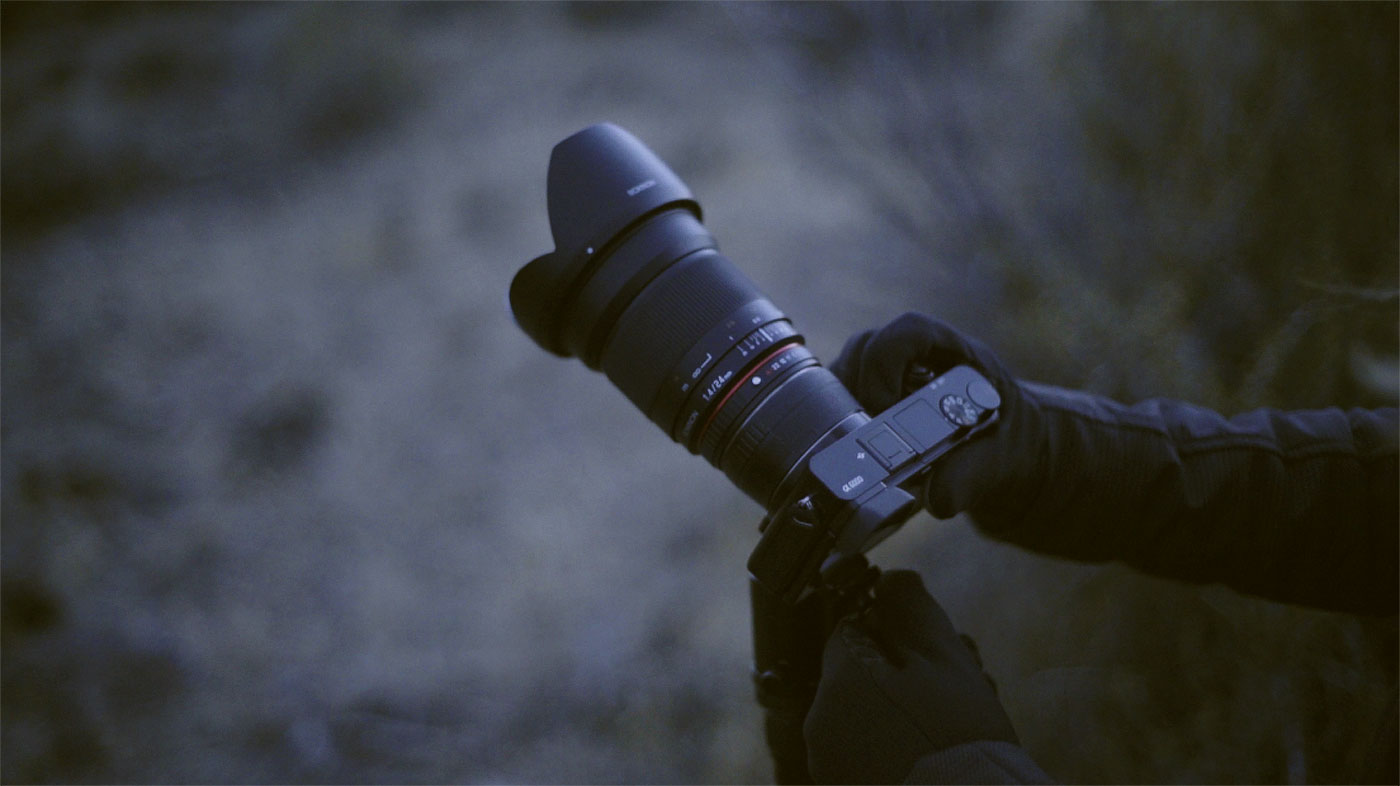
Handling completely changes if you mount a big lens to the a6000. The camera feels a bit imbalanced when, for example, mounted with the fairly large Rokinon 24mm f/1.4 (Full Review). Furthermore, the mount of the a6000 uses the older, half plastic version of the E mount. With heavier lenses, the mount doesn’t feel super stiff, giving the mount a little bit of wobble.
Absolutely not a requirement, but for a stiffer mount, I recommend the Fotodiox Tough E-Mount LT, an all-metal mount that replaces the stock mount on Sony bodies like the a6000, a7, a7R and NEX cameras. Newer Sony designs like the a7S, a7II and a6300 have an all-metal mount so the Fotodiox Tough Mount is not needed on the newer cameras.
Screen
The tilt screen of the a6000 is standard by most measures but allows for low-slung landscape shots, a must-have feature in my opinion for astrophotography. I think composing on a tilting screen is far superior to the fixed screens we still see on many large (often professional level) DSLRs (e.g. the Canon 5D Mark III). It should be noted that the a6000’s screen only tilts up or down and does not swivel so it’s only useful in the landscape orientation.
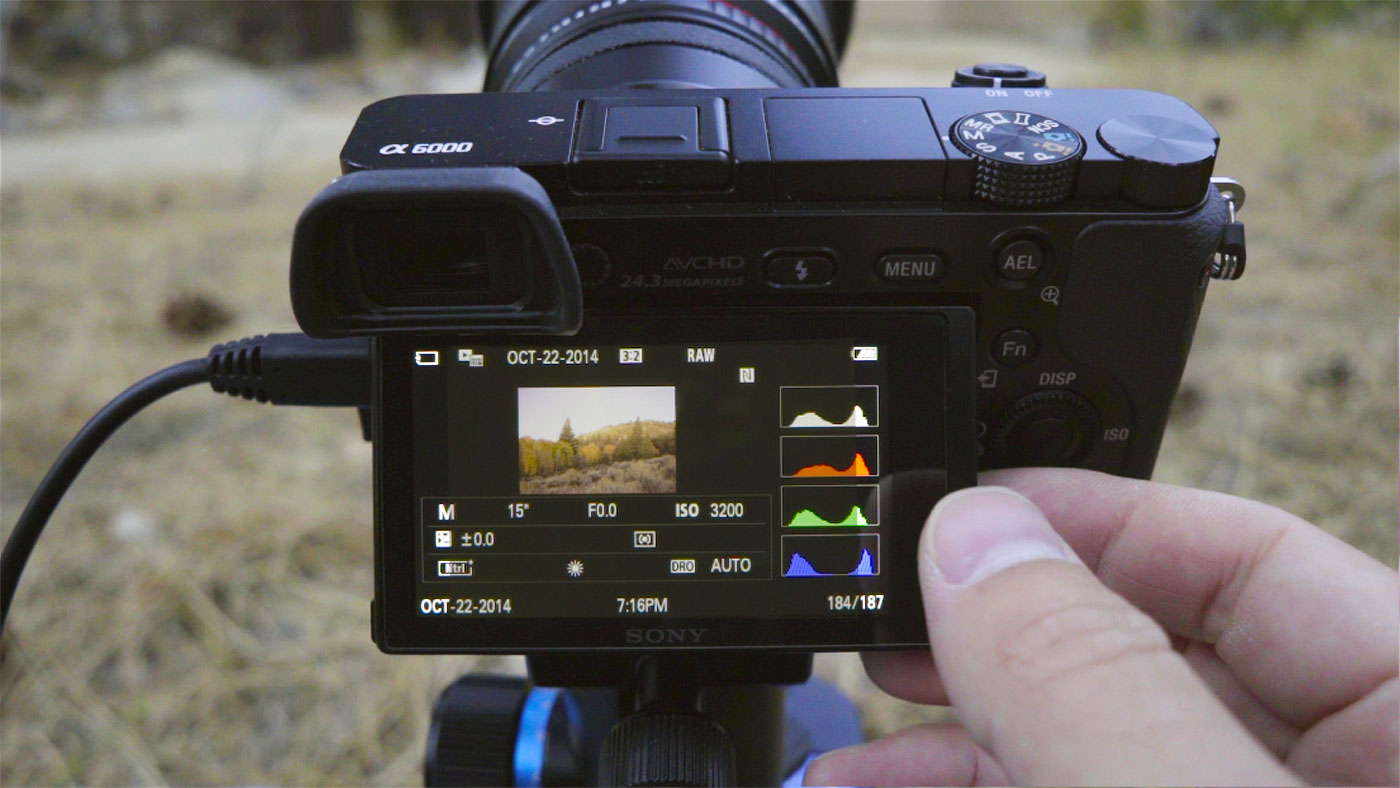
Viewfinder
The a6000 has an electronic viewfinder that proves useful for daytime shooting where more careful composition is needed. It’s a relatively low resolution (800px x 600px) viewfinder by the most modern standards (the 1024px x 768px viewfinders on the X-T1 or a7s, for example, are much better) but it has a relatively high refresh rate and serves its purpose.
I rarely ever (if at all) use a viewfinder for night photography. That said, I like to have one for daytime landscape, portrait and street shooting so it’s still a nice-to-have feature. If you don’t see yourself needing an eye-level viewfinder, consider the even cheaper Sony a5100. The a5100 has almost all the specs of the a6000 without the viewfinder and comes in an even more compact body.
Buttons
Like other Sony Alpha cameras, the a6000 can have most of its buttons assigned to a custom function. It also features the same useful and customizable “Fn” function menu. You can place any of your most used functions into one of the 12 slots of the function menu for quick access. While the overall button layout is not identical to other Sony cameras, it’s familiar enough to jump from one camera to another, especially if you customize the controls similarly between camera bodies.
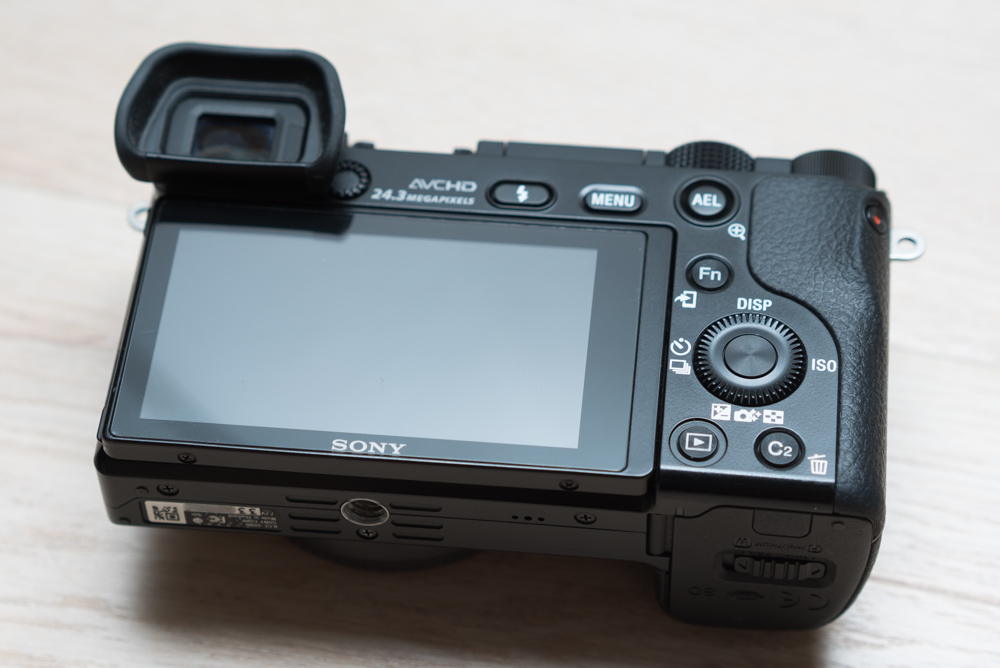
The rear control wheel and directional pad that are common to modern Sony Alpha cameras is there. Most of the functions can be customized as well, even though each direction pad button is already labeled with a default function. In practice, I’ve kept all the default functions for the rear directional pad buttons.
Menu
I’ve ranted before about the long and unorganized Sony menu system on my other reviews of Sony cameras and there’s not much more to say about the a6000. It’s the same overly long Sony Alpha menu. Set your most used custom functions to your favorite positions on the camera’s customizable buttons and in the Fn menu and you can usually avoid needing to search through the long, unorganized menu.
Photographing the Milky Way with the Sony a6000
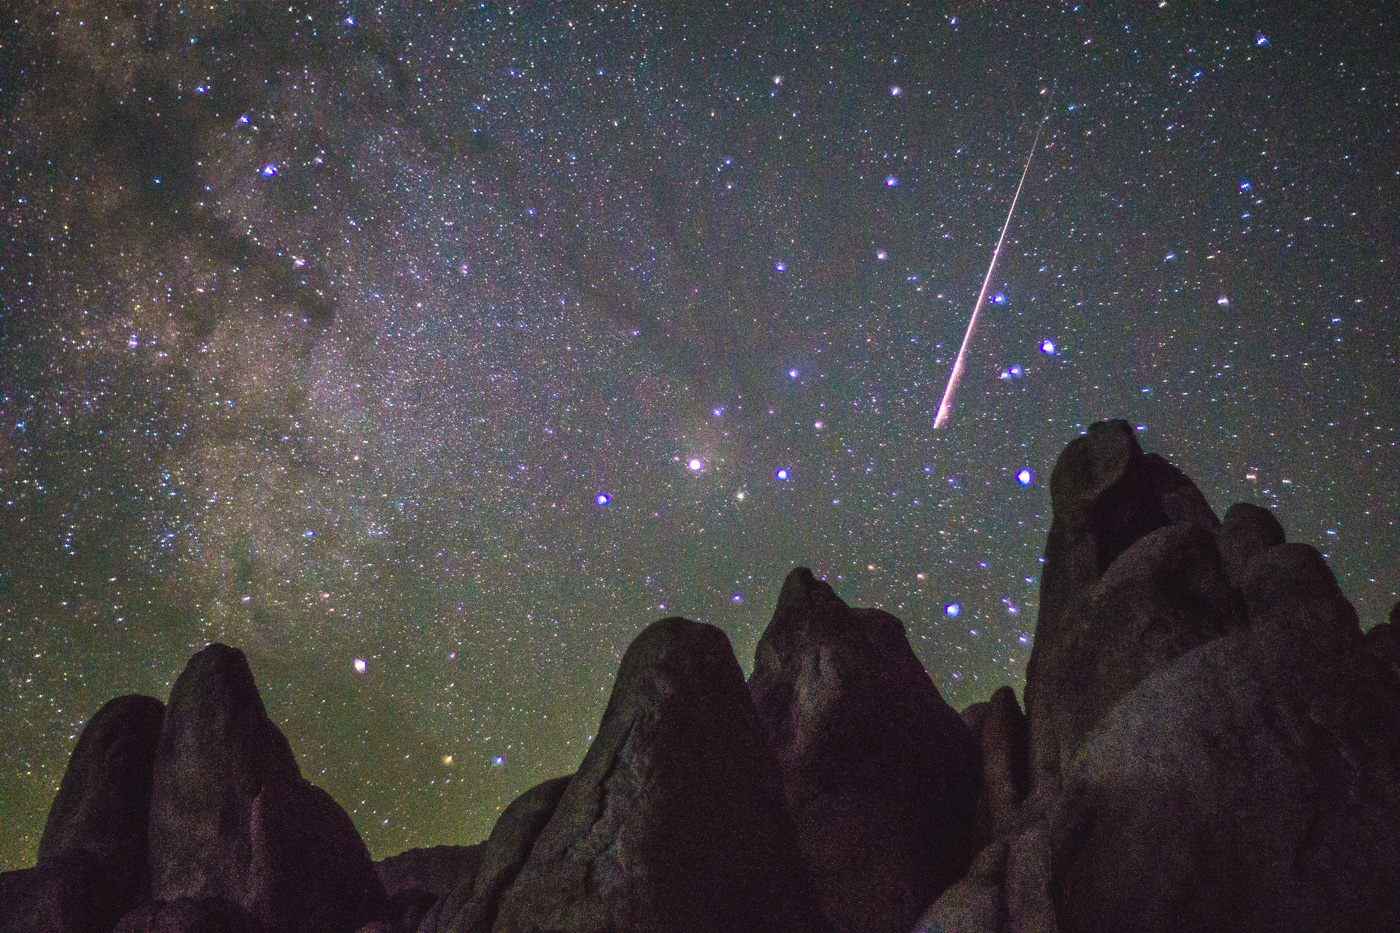
The a6000 proves to be relatively easy to use for astrophotography. The tilt screen makes composition easy and focusing tends to be easy. Even easier when using my SharpStar2 focusing filter. The live-view feed off the sensor tends to stay relatively bright and clean and bright in most clear dark sky shooting conditions. In my experience the a6000’s low-light live-view is better than most comparable Fujifilm cameras and better than most of its Nikon DSLR competitors, despite the use of similar sensors. It’s no a7S (Full Review) but it’s good, especially for such an affordable a camera.
For manual focusing with native Sony lenses, the camera can be set up to automatically assist the operation by magnifying the view on the screen temporarily while focusing to ensure the sharpest details (MF Assist: ON in the menu). For fully manual focus, non-electronic lenses, like the Rokinon 12mm f/2 (full review), I have the C1 button (near the shutter button) set to the “Focus Settings” function which allows for a similar magnification to assist with manual focusing.
There are a couple cheap third party lenses that I tend to recommend for the a6000 for astrophotography:
Rokinon 12mm f/2 (Amazon / B&H)
Rokinon 21mm f/1.4 (Amazon / B&H)
Both of these lenses feature a relatively fast f/2 or lower aperture ratio which allows the camera to collect more light in dark conditions and that makes them particularly suitable for wide-field astrophotography and nightscape photography. Both of these lenses are also fairly compact and well matched to the a6000 body.
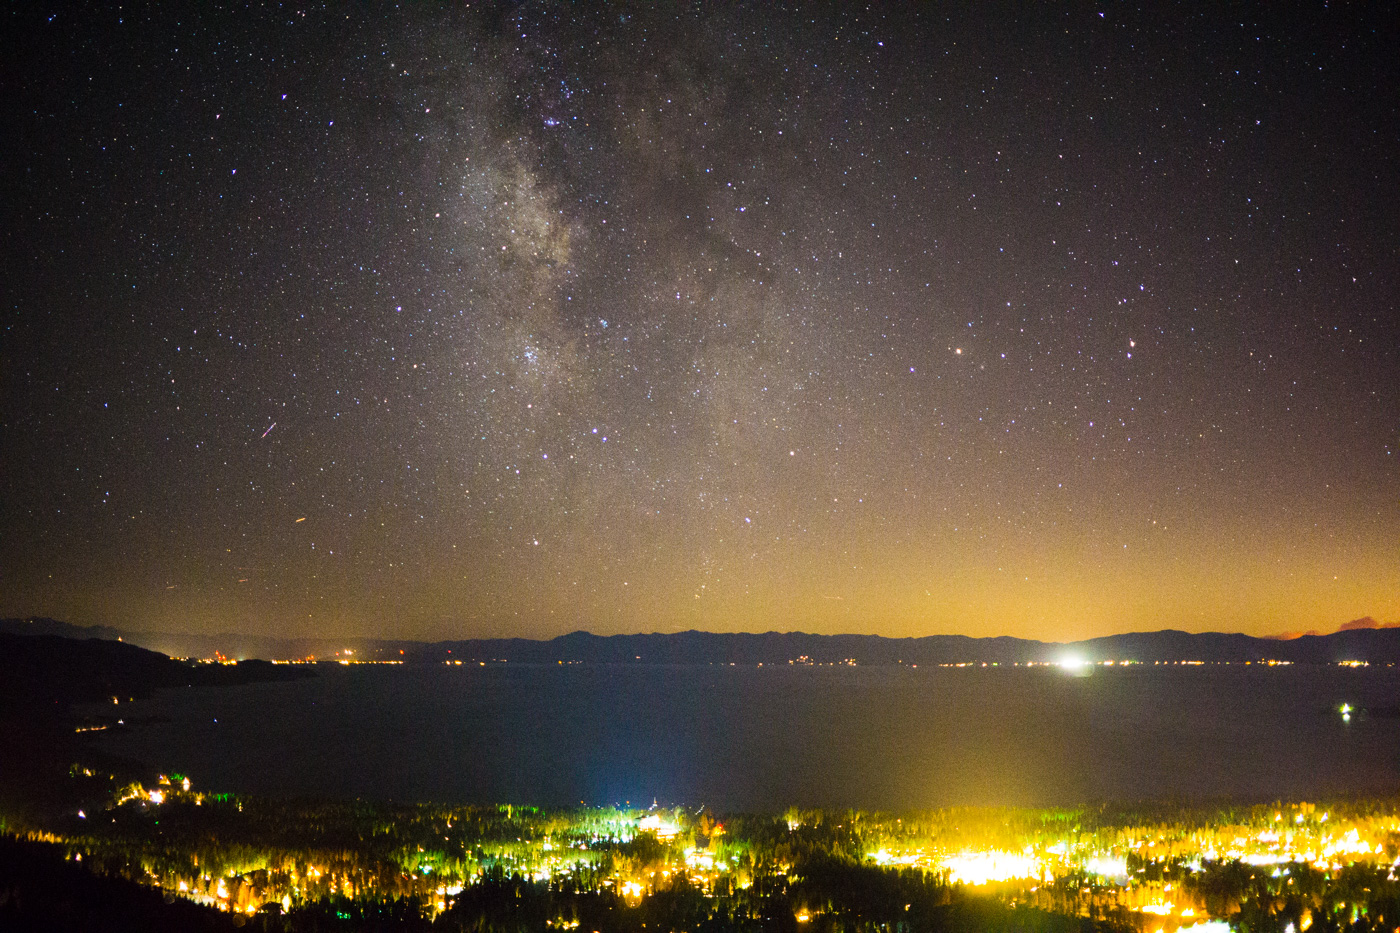
The a6000 is a fine low-light performer, even on modest equipment. I do think that it falls a little bit short of the low-light capabilities of the latest Fujifilm cameras like the X-T1 (Full Review). Photos from the a6000 will start to show some grain when using slower lenses but I’ve usually found the results to be acceptable.
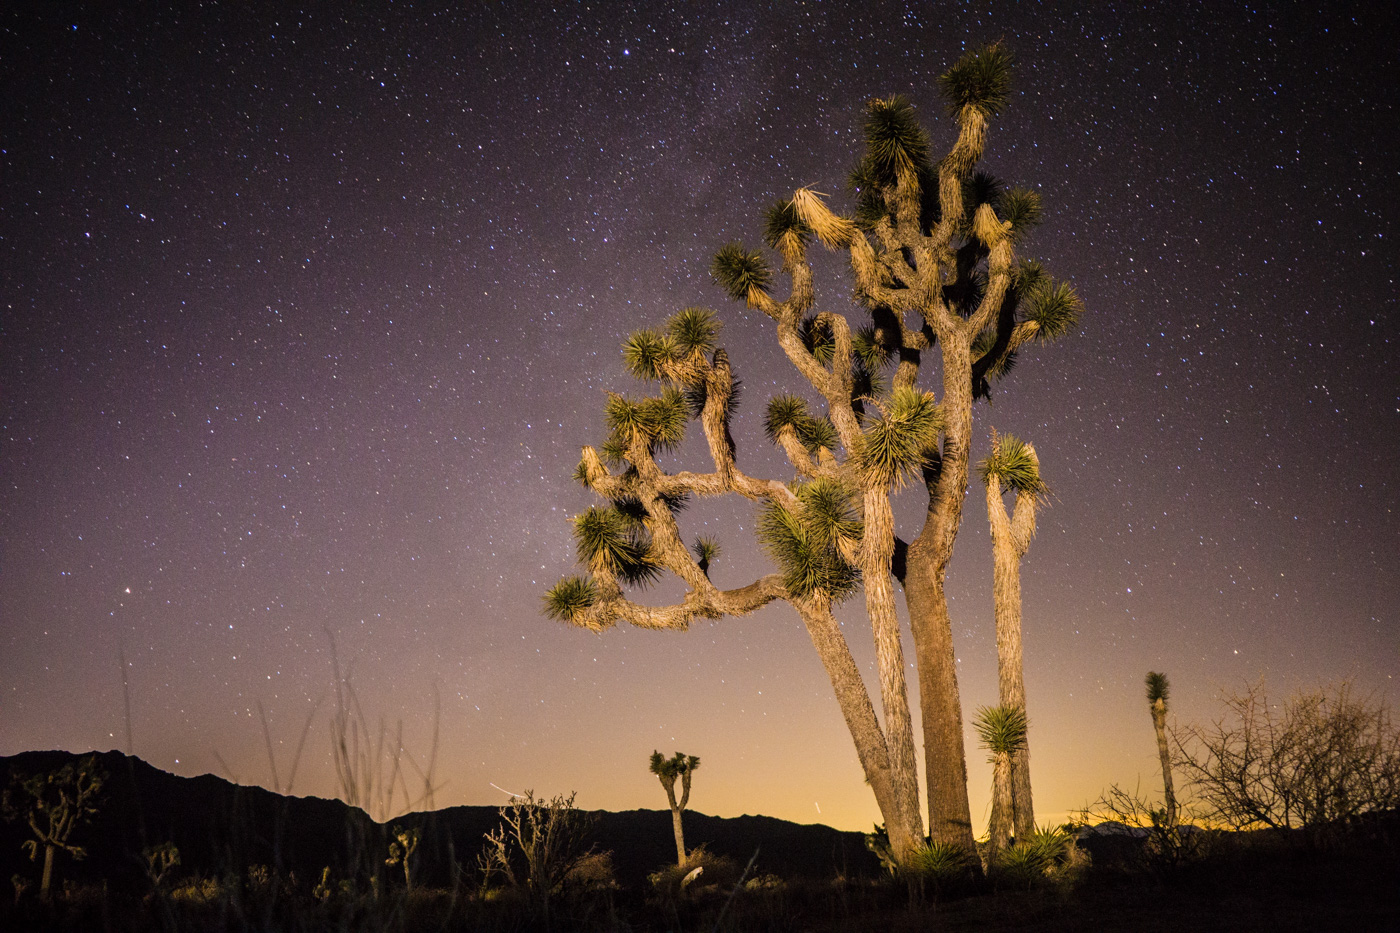
In post processing, pushing the exposure of dark files from the a6000 does reveal some pink amplifier glow (the same can be said of Fujifilm cameras) on the bottom edge of the frame. As expected, I always found my best results (in terms of noise levels and foreground detail) when using lower f/number lenses. Shooting astrophotography at f/2.8, I felt like I was just pushing the limits of what I wanted from the camera. Results were good but not groundbreaking or revolutionary.
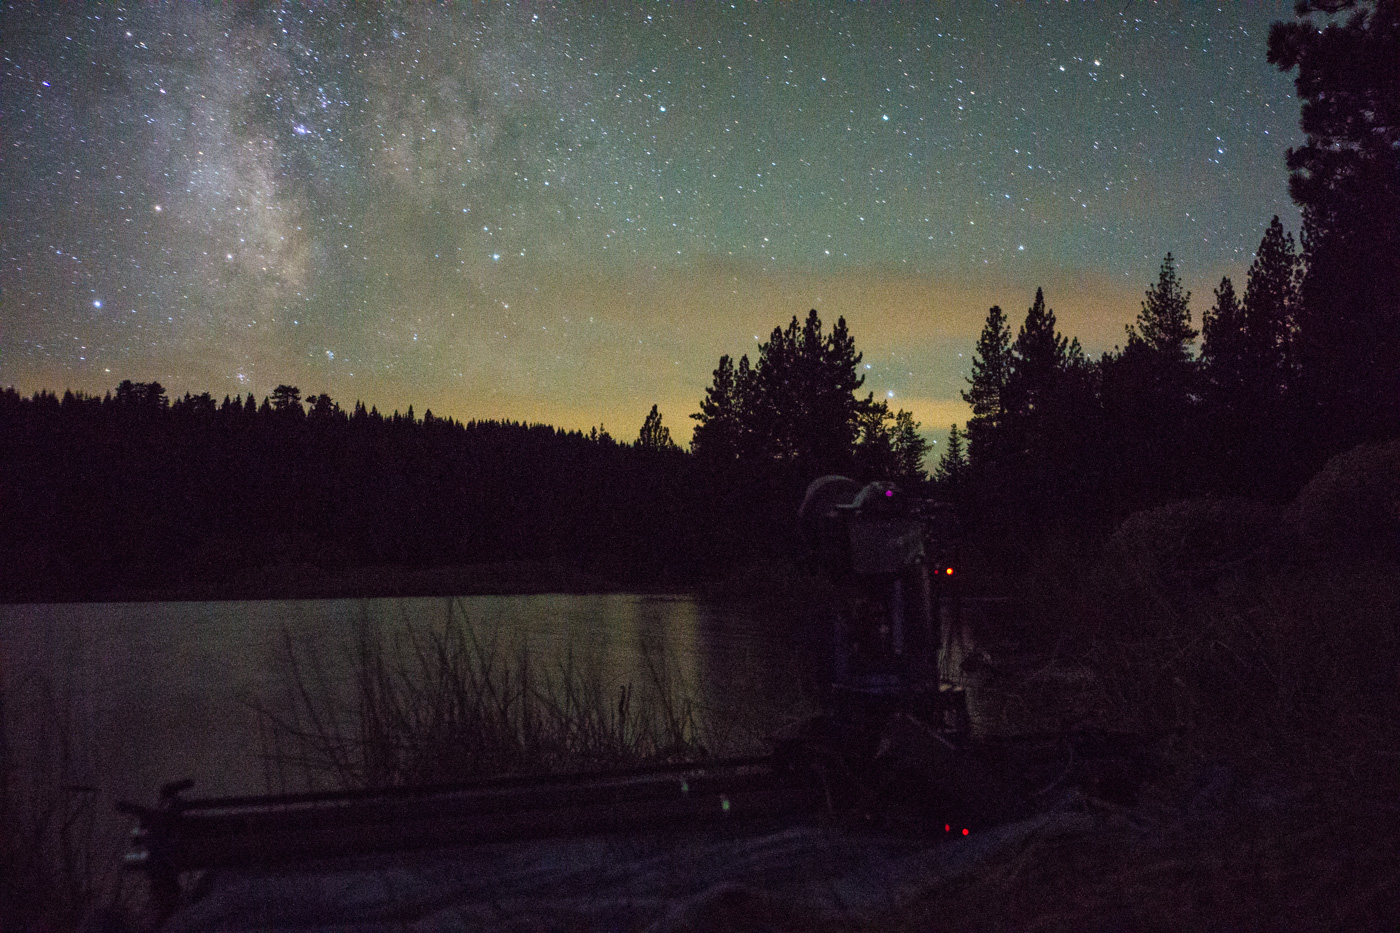
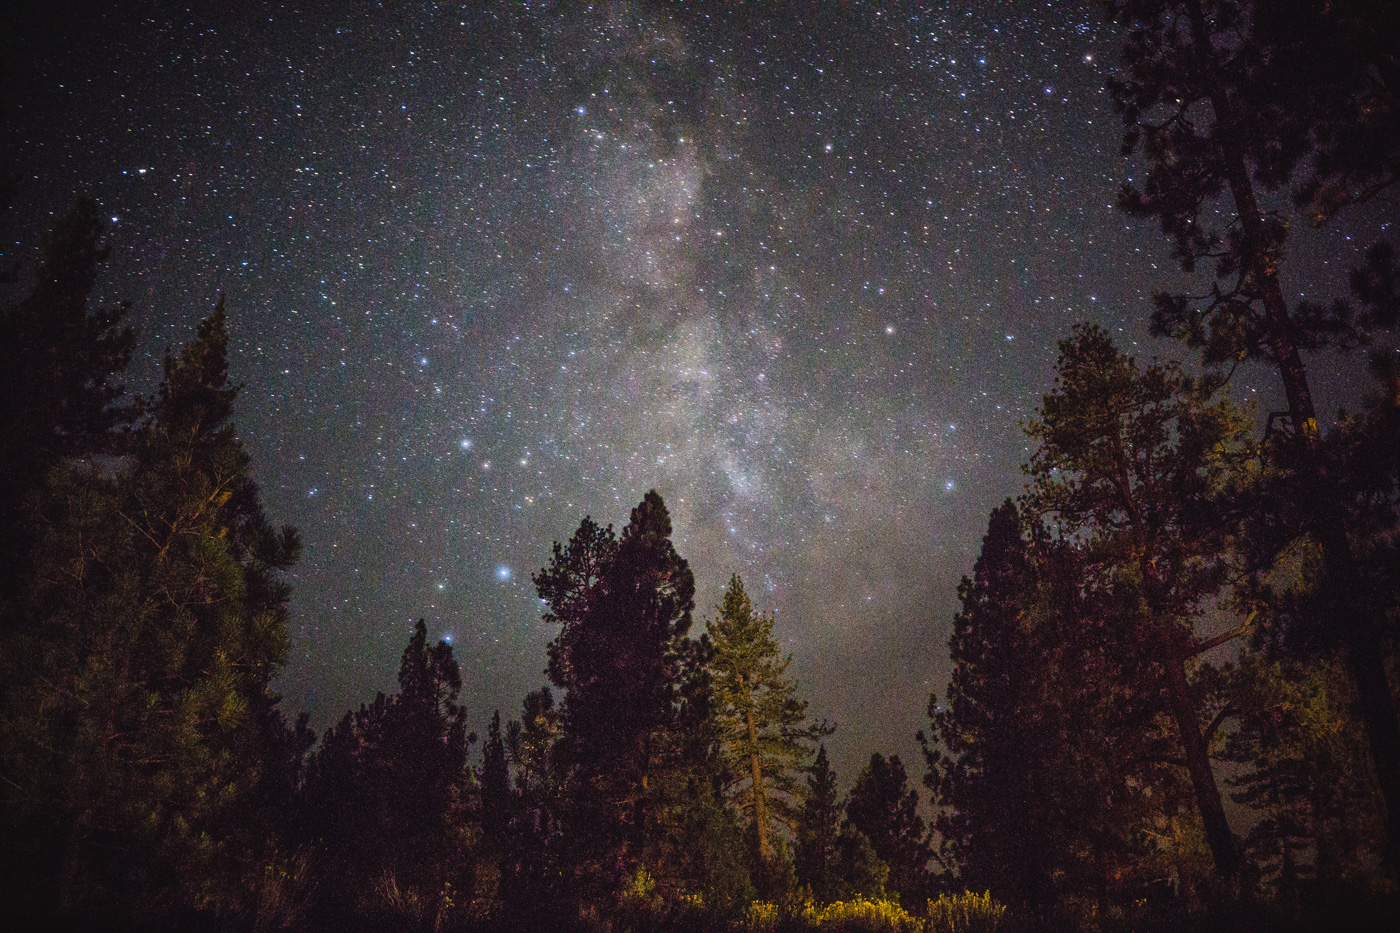
As it would apply to any camera, pairing the a6000 with one of the faster prime lenses really makes an improvement. If you want to use the a6000 for astrophotography, get an f/2 or lower f/number lens like the ones that I listed above.
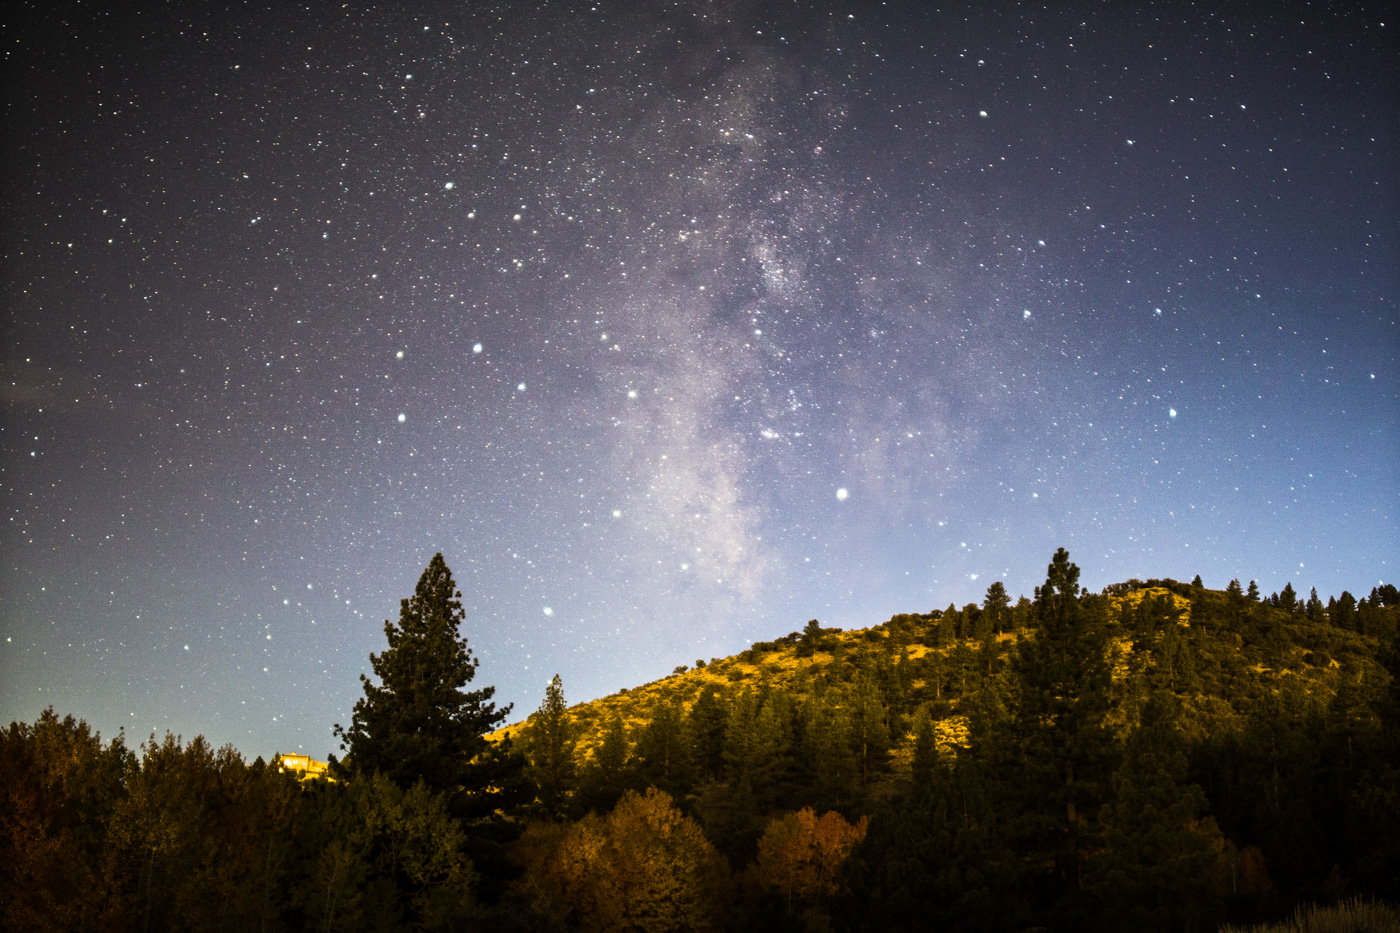
So while its low-light performance is not quite as good as some of the other APS-C cameras out there (like the Fujifilm cameras), I still feel like the a6000 offers a ton of value, especially when mounted with a low f/number lens.
For new astrophotographers, I often recommend the a6000 and either the Rokinon 12mm f/2 or 21mm f/1.4 to make for a truly excellent (and budget friendly) nightscape camera.
ISO-Invariance Test
In order to more fully characterize the a6000’s low-light sensor noise performance at different ISO settings, I decided to run an ISO-invariance test. An ISO-invariance test allows us to see which ISO setting will generally be the best for shooting in low-light conditions. It’s a way to compare one ISO from another. Many cameras tend to have a “sweet spot” ISO setting above which photos tend to show the best noise characteristics. If a camera sensor has similar noise characteristics at many different ISO settings, (all other settings being equal) the sensor is often regarded as “ISO-invariant” or “ISO-less”.
The way we test ISO-Invariance is by capturing the same image at each ISO setting while maintaining the same shutter time and f/number between images. Then, in post-processing, we re-adjust each image in Adobe Lightroom to be equal brightness and then compare the levels of relative noise (grain) in the images.
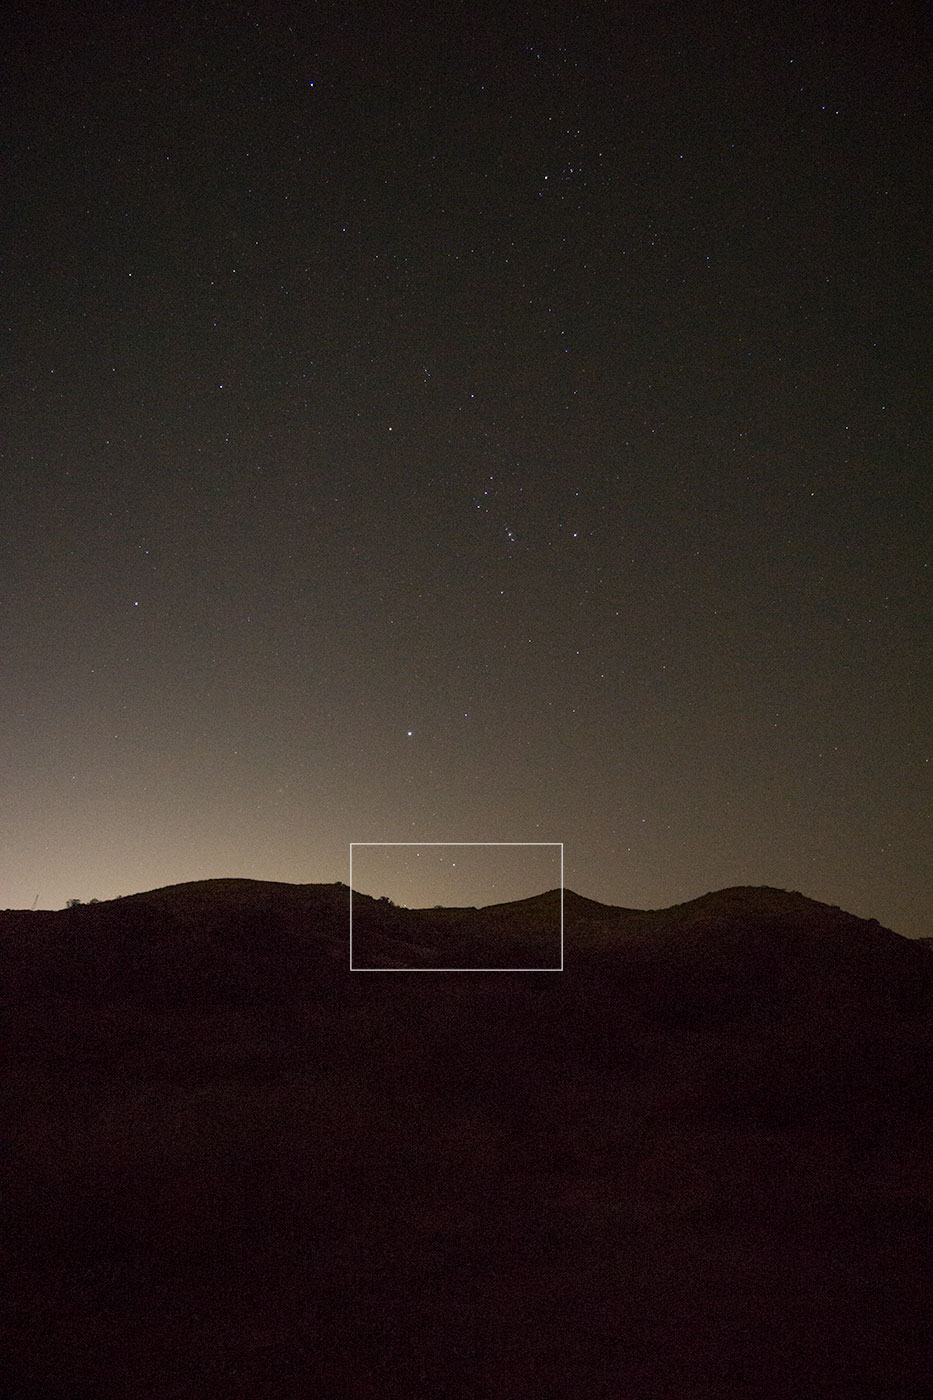
Pardon my crappy test image for the ISO-invariance test, I made exposures of this scene at Simi Valley, California near Los Angeles. Light pollution levels were terrible and the galactic center was not visible during the test. Because of the bright light pollution, I needed to keep exposures relatively short (4 seconds) to prevent overexposure at the highest ISOs so the results are fairly noisy overall due to the conditions. Even so, it should give us a good gauge of the a6000’s ISO characteristics, especially from one setting to another.
All the exposures used 4 seconds at f/4 with a 5000K white balance. I made the photos at each whole stop ISO setting from ISO 100 to ISO 25600. All the test images were recorded in RAW with all forms of noise reduction disabled for this test.

Immediately, the a6000 does not appear to be totally ISO-invariant. It shows poorer shadow noise performance at the lowest of the ISO settings. ISO 100 and 200 show the heaviest amount of grain and a fairly strong color shift towards the green. ISO 400 to 800 show some small improvements but there is still a crunchier, coarser level of grain. From ISO 1600 to ISO 6400, most of the strong hot pixels are gone and it looks like the grain profile looks finer and more uniform. Finally, if you look closely at ISO 12800 and ISO 25600, the noise looks softer, smoothed and lacking the finer detail seen from 1600 to 6400. Characteristic of most modern Sony cameras, these highest ISO settings seem to be applying a noise reduction algorithm, even though the photos were shot in RAW with all noise reduction disabled.
I think that ISO 1600 to ISO 6400 looks the best so I’ve usually kept the ISO at around those settings for most of my low-light photos with the a6000. ISO 1600 is the a6000’s “sweet spot” for low light shooting. It’s is high enough to avoid some of the heavy grain visible at the lower ISOs but low enough that we’re not sacrificing too much dynamic range on the bright portions of the image.
Photographing the Aurora with the Sony a6000
I didn’t plan on using the a6000 for night photography when I visited Alaska. Most of my trip was spent photographing wildlife for a review on the Photon Collective but we got lucky one night when the conditions just happened to be right for aurora photography.
We originally packed the a6000 as a (daytime) landscape camera. I fitted it with one of my favorite landscape lenses for the Sony E mount: the Sony 10-18mm f/4 OSS. Its wide field of view makes it a great lens for capturing dramatic landscapes but its f/4 aperture is a little bit darker than I would typically desire for night photography. I was planning on falling back on my full frame a7II for any night photography but the a6000 ended up being what I used. I can’t think of a better way to challenge a camera at night than to mount it with a slow-ish lens like the 10-18mm f/4.
On the night of the aurora, we initially set out in our rental car along the Turnagain Arm and into Portage Valley, just south of Anchorage, Alaska. Aurora activity seemed pretty low when I started shooting photos but I really wanted to capture something. I started with a quick shot of the Milky Way, long after the brightest parts of the galaxy had set below the horizon.
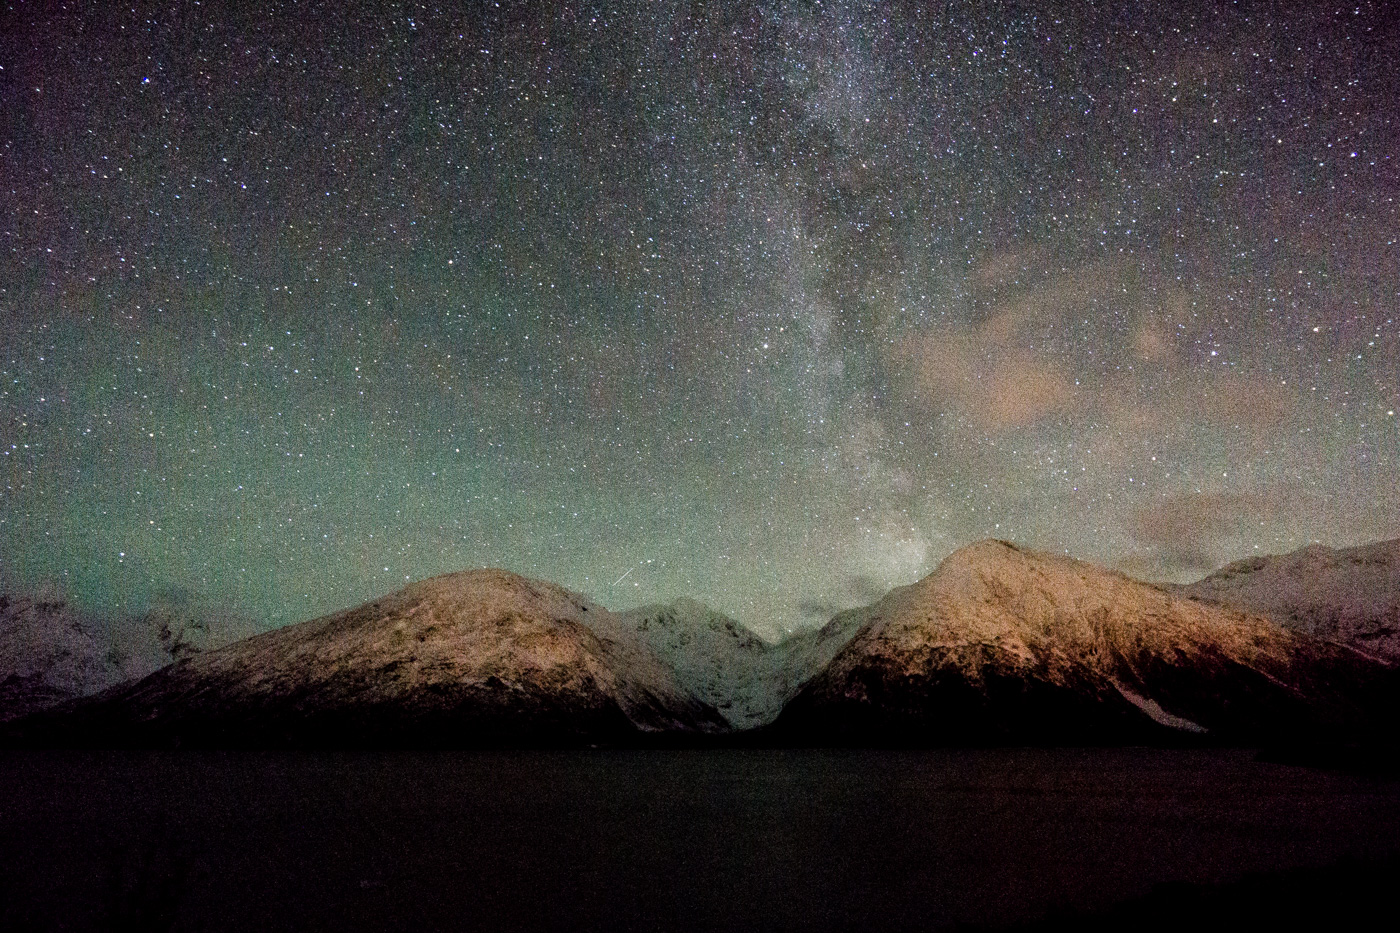
The f/4 aperture of the 10-18mm lens really gave me a challenge at first. I felt like I was pushing the a6000 to its limit in the dark. With a 15 second exposure, the result was OK, but a little too grainy for my liking. I was trying to prevent star-trailing by using the shorter 15 second shutter time, but I realized that I was pushing the camera a little too much, especially with the f/4 aperture lens. From that point on, to compensate for the high f/number, I started dialing in longer shutter time.
Some of the first shots that showed noticeable aurora were facing the exact opposite direction, towards the north. A faint green glow lit up the horizon in the distance. It wasn’t the spectacular show that I wanted, but it was worth a shot of our rental car at least.
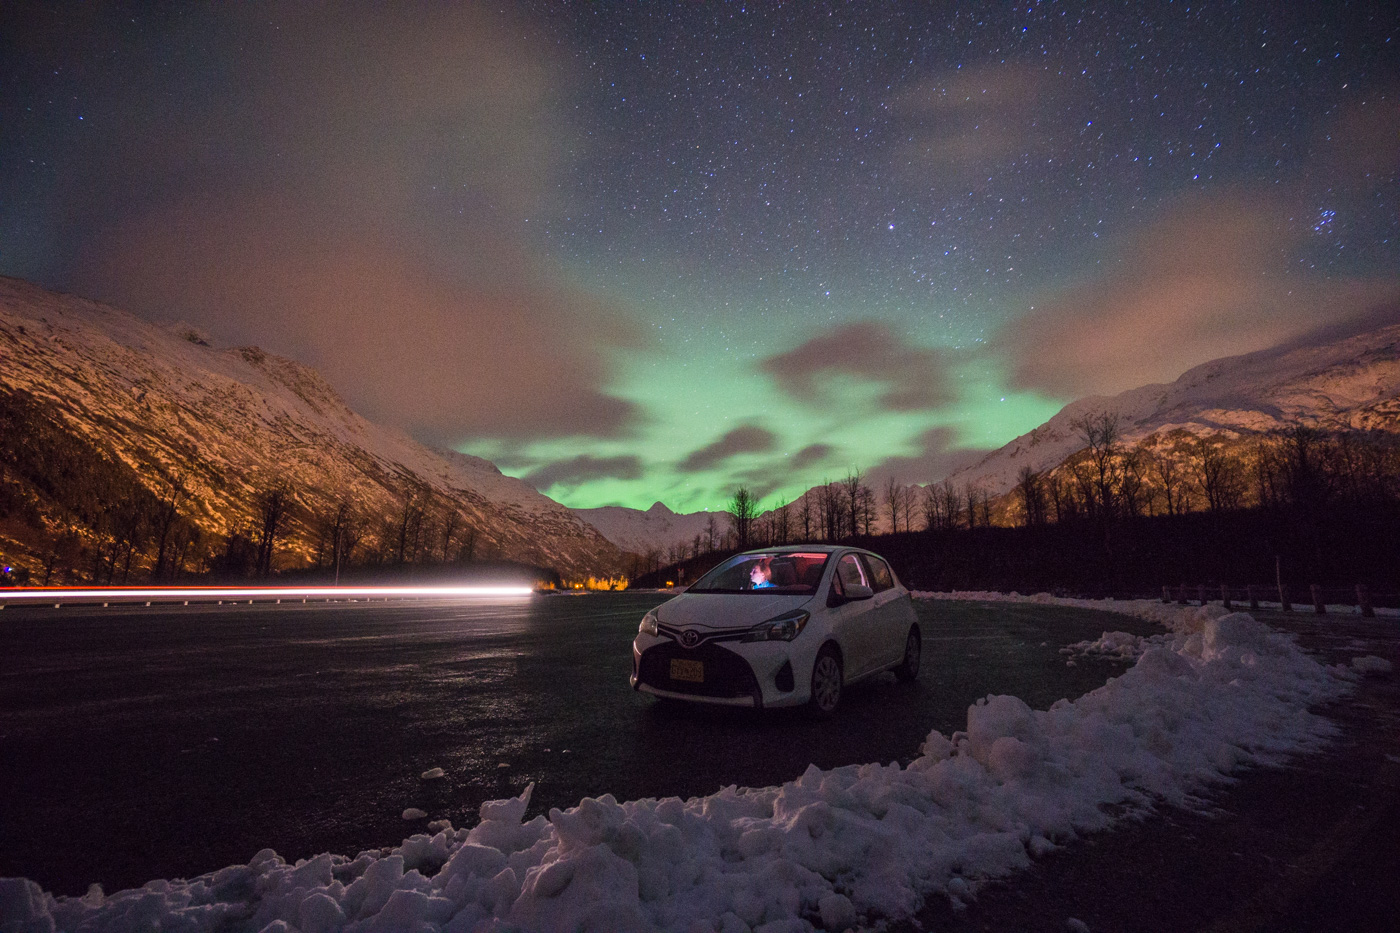
After freezing my butt off in the cold and nearly falling down as I slipped around on the icy ground, I managed to convince Diana to pose with me for a portrait against the subtle glow of the aurora. The portrait was made super easy with the a6000 infrared remote capability. I used the little Vello IR remote to trigger the camera, no need to set a self-timer and run into place.
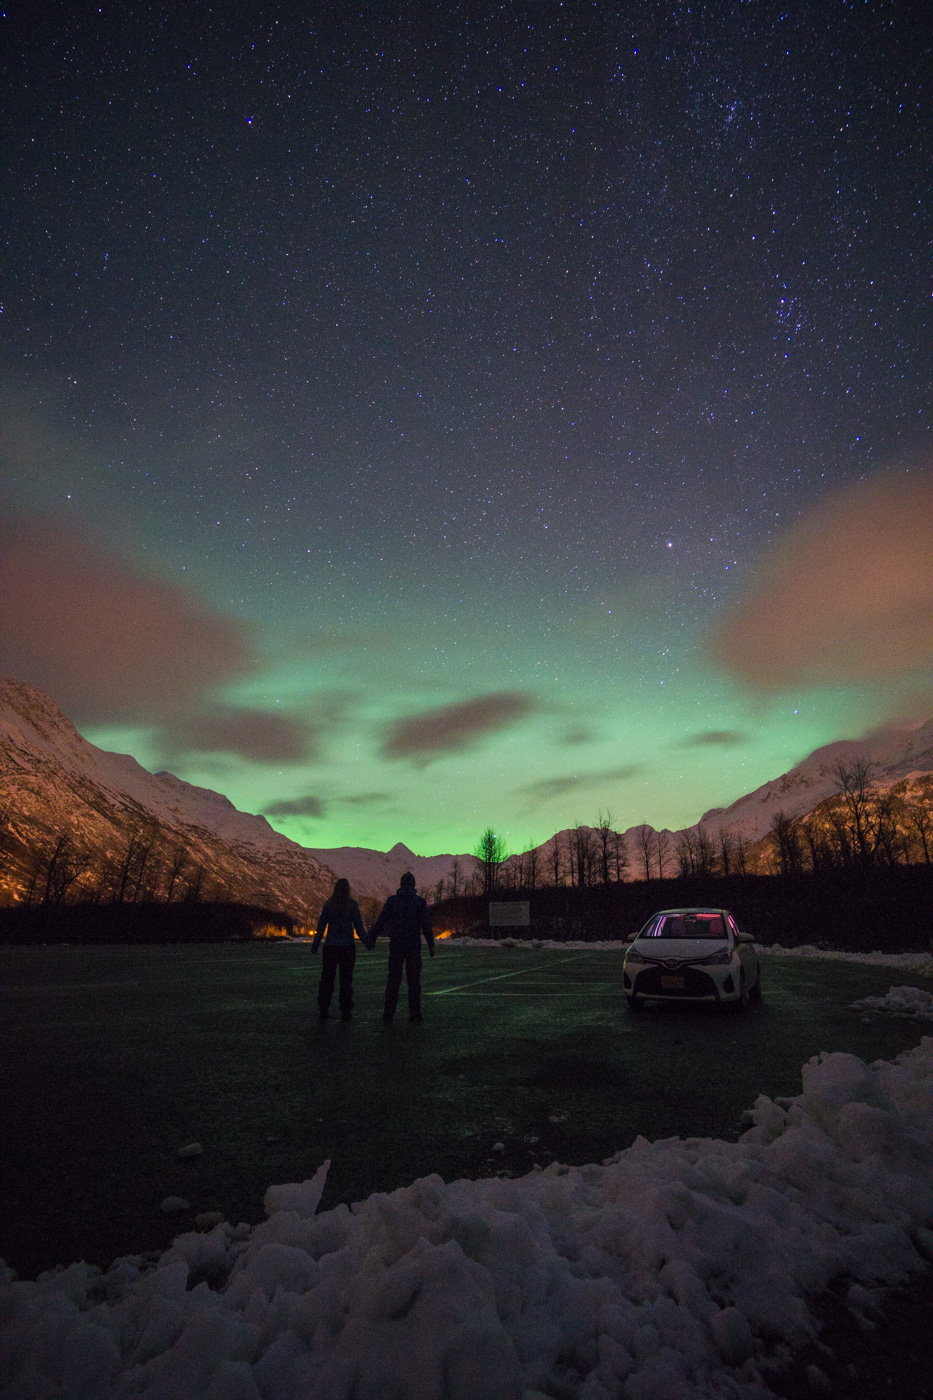
After our brief romp in the cold, I started packing up for the night, thinking that we had captured all we would be able to see but Diana convinced me otherwise. She wanted to try one more stop along the road as we started to return towards Anchorage. Good thing she suggested that last stop.
Just as we started pulling up to our next photo spot, the sky quickly changed in intensity and brightness. At first, I just watched, slack-jawed as the sky lit up a brilliant green color and a band of aurora started dancing and moving above the mountains. I had no idea the aurora would be as brights and colorful as it was that night. I probably yelled “wow!” 20 times, at the top of my lungs, within the 5 minute period before realizing that I should probably try making a photo.
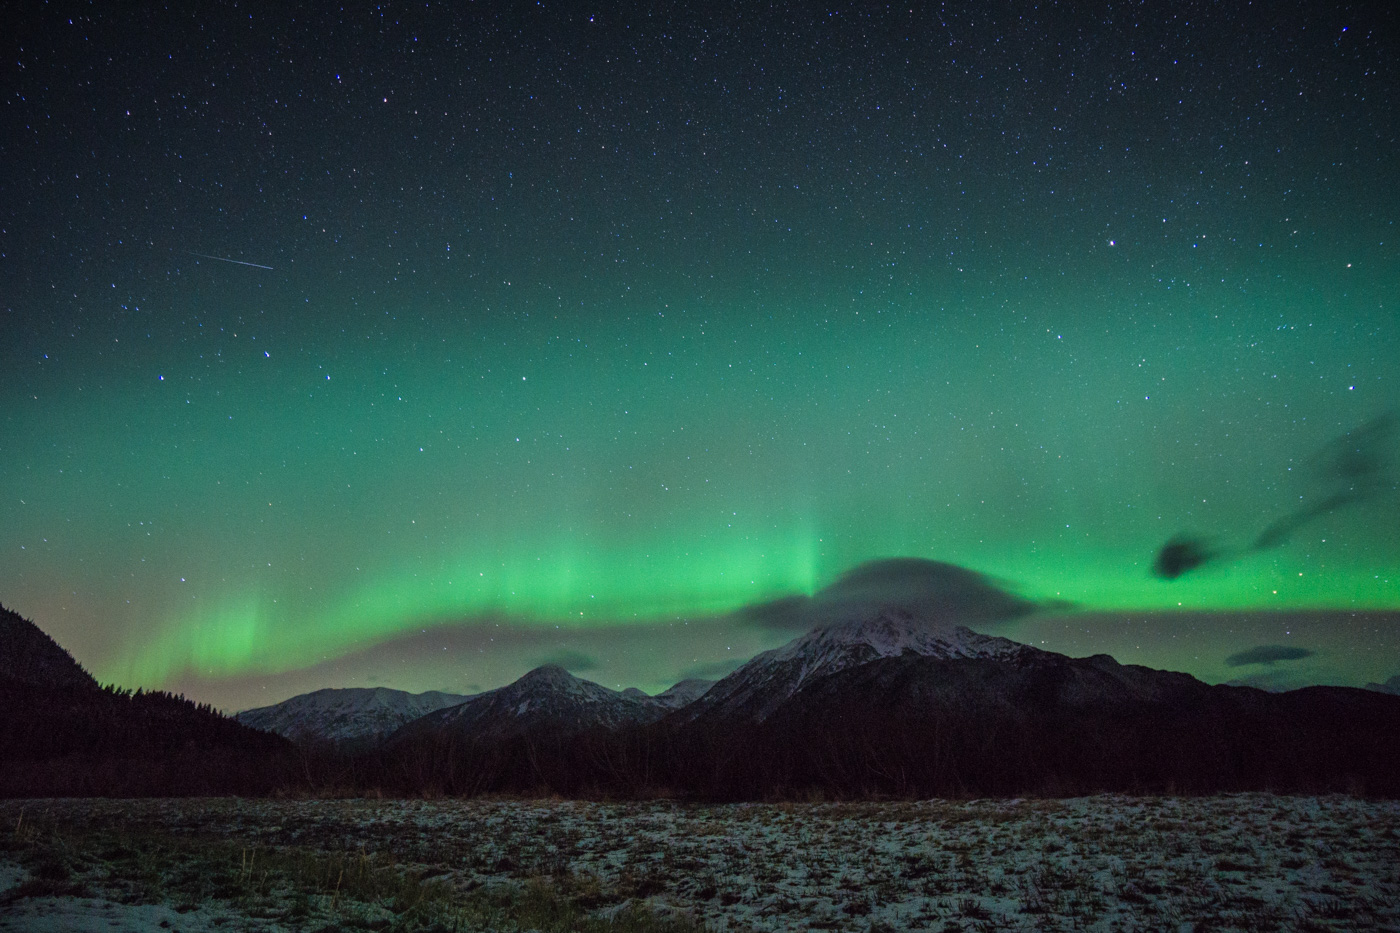
As I continued to shoot photos, the aurora just became even more spectacular, moving from just along the northern horizon to nearly everywhere in the sky, illuminating the landscape with its green glow.
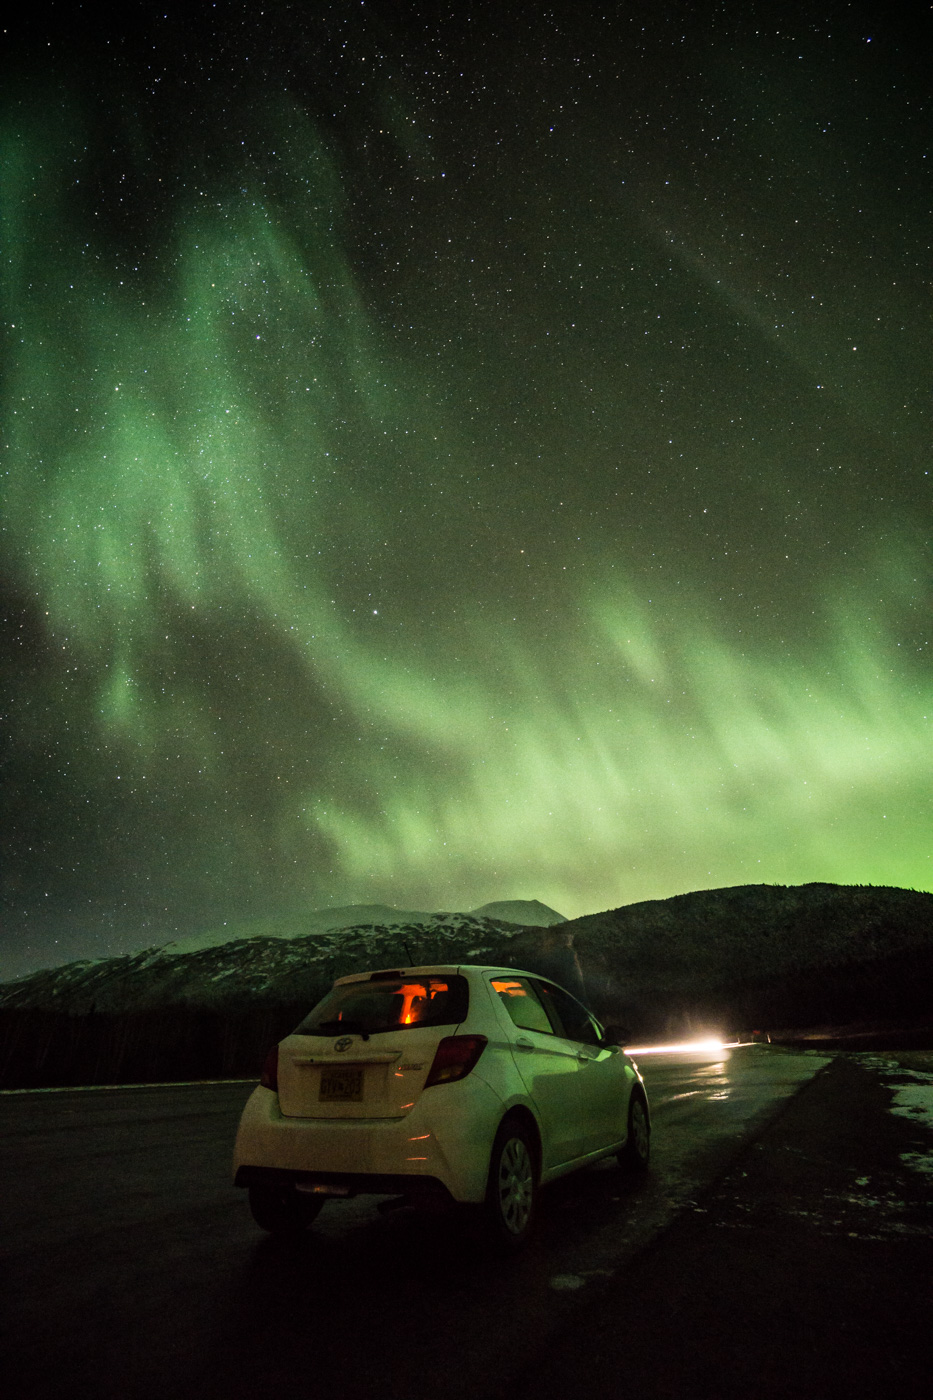
We also witnessed a variety of other colors from reddish to magenta. I had experienced another colorful auroral display once before (in Wyoming) but the colors were so muted they were impossible to see with the naked eye. On this night, the colors were brighter and actually visible to my own eyes.

I was so mesmerized by the display that I never bothered to switch to the Sony a7II that I had originally intended to use. Knowing I didn’t want to take a moment to stop making photos, I kept the a6000 on the tripod and continued shooting as long as I could stand the cold.
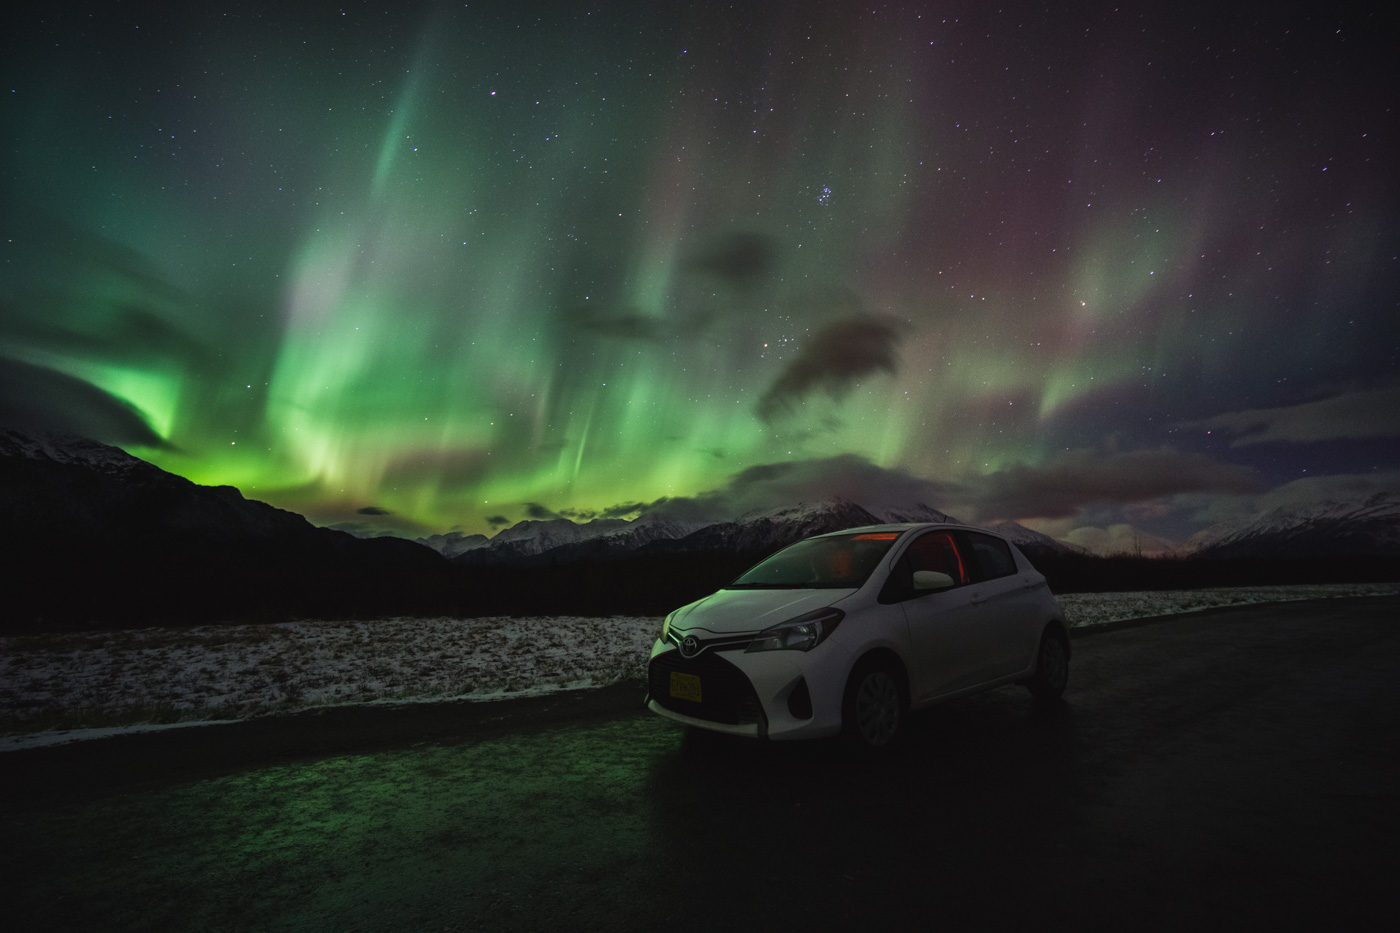
Before packing up for the night, Diana and I made one last portrait of us with the colorful Alaskan sky. The aurora display was so bright at this point that I managed to shoot our final portrait with a much shorter 10 second exposure.
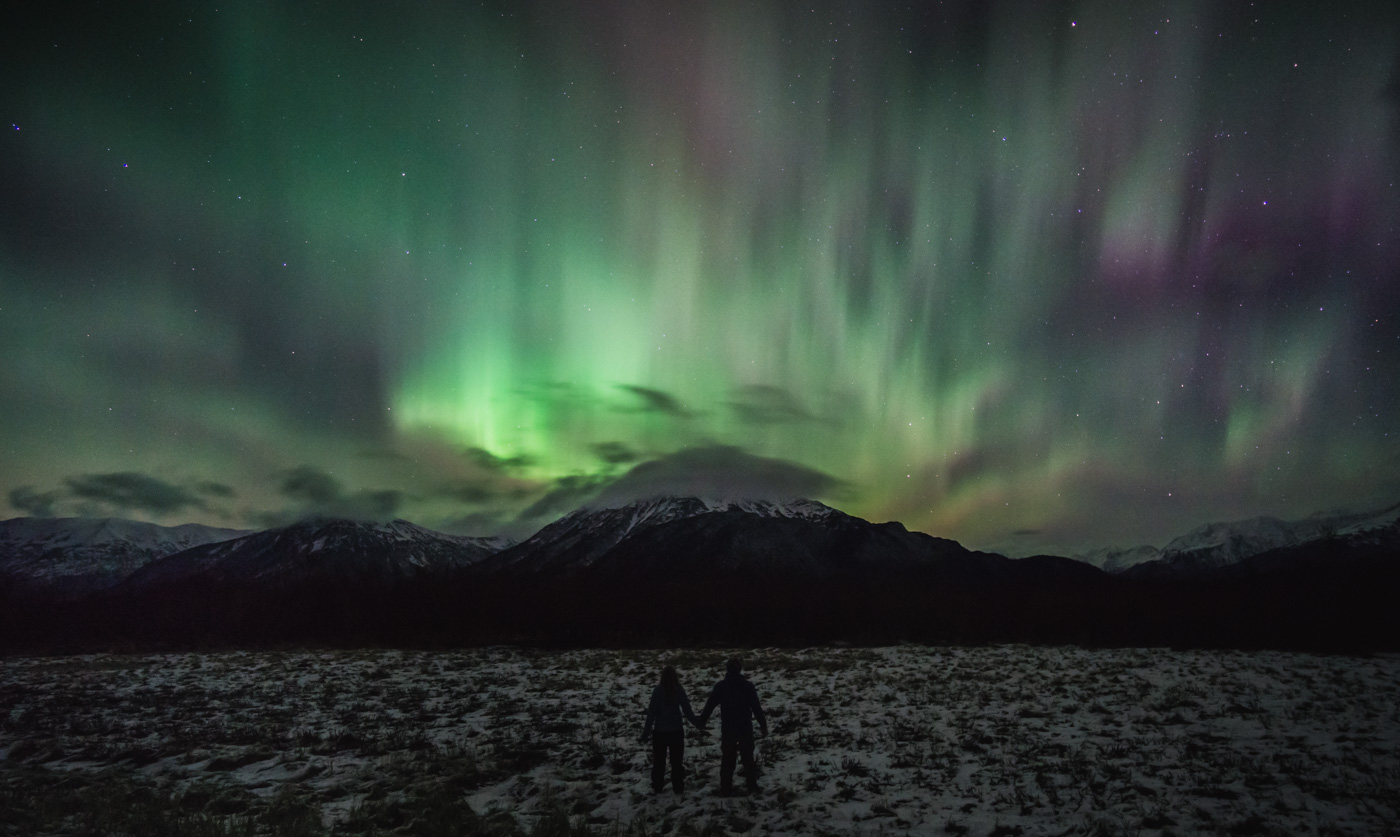
It took a little bit of trial and error to find the best settings, but overall, the a6000 served its purpose well that night and I’m very happy with its performance, even with the f/4 lens. More than just the photo results that I captured that night, I think that the a6000 performed seamlessly. I had no issues checking focus on a bright star (this was before I had even designed the SharpStar) and everything about its operation made shooting at night quite easy.
Conclusions
Excellent for the price. If its low-light performance was just a little bit better, the a6000 would be perfect. But even though the a6000’s low-light performance is not class-leading, it’s still very good and makes some excellent night photos. It’s compact, it offers a lot of customizability, has a good selection of low f/number lenses available and at its price point, is within reach of most photographers on a budget. Whether being used as a primary camera or a backup, the a6000 delivers great image quality at a great price. It’s still my first recommendation for photographers looking for their first affordable interchangeable lens camera.
Sony a6000 Pros:
- Compact
- Affordable
- Good (but not class-leading) low-light performance
- Lots of button customization possible
- Good lens selection
Sony a6000 Cons:
- Spartan body design
- Sony menu system
- Old less-stiff Sony E mount (fixable with the Fotodiox Tough E-Mount LT)
- Pink noise (electronic glow) if dark exposures are pushed a lot in post processing
- Lower resolution viewfinder
Sony a6000 Verdict: RECOMMENDED! (4/5)
Links:
Disclosure
We are a participant in the Amazon Services LLC Associates Program, an affiliate advertising program designed to provide a means for us to earn fees by linking to Amazon.com and affiliated sites. We are also a participant in the B&H Affiliate Program which also allows us to earn fees by linking to bhphotovideo.com.
Learn Astrophotography
Astrophotography 101 is completely free for everyone. All of the lessons are available on the Lonely Speck Astrophotography 101 page for you to access at any time. Enter your email and whenever we post a new lesson you’ll receive it in your inbox. We won’t spam you and your email will stay secure. Furthermore, updates will be sent out only periodically, usually less than once per week.
Help us help you!
Believe it or not, Lonely Speck is my full-time job. It’s been an amazing experience for us to see a community develop around learning astrophotography and we’re so happy to be a small part of it. I have learned that amazing things happen when you ask for help so remember that we are always here for you. If you have any questions about photography or just want to share a story, contact us! If you find the articles here helpful, consider helping us out with a donation.
[button font_size=”16″ color=”#136e9f” text_color=”#ffffff” url=”https://www.paypal.com/cgi-bin/webscr?cmd=_donations&business=lonelyspeckblog%40gmail.com&item_name=These+tips+help+keep+lonelyspeck.com+running.¤cy_code=USD&source=url” target=”_blank”]Donate[/button]
Thanks so much for being a part of our astrophotography adventure.
-Ian
problem with any sony i found, is that you cannot use any sequencing software with it. no one has anything compatible with a sony. so if you want to get into real astrophotography i recomend a camera manufacturer that has a published API for external sequencing applications like backyard, APT, sequence generator pro.
other than that, i love the camera, and use it as my primary astro imaging camera.
there are some hacks available that get one close to what is needed for sequencing, but its crude and still requires manual intervention.
Sony actually does have a published API (https://developer.sony.com/develop/cameras/#overview-content). It’s an HTTP API though so it requires connecting the camera to wifi network. USB API might be more convenient but it’s not public.
Hi Ian!
I love your aurora pictures! But I’d love to know what is the best lense you recommend for taking aurora boreal pictures on a Sony a6000. Do you think the Rokinon 12mm f/2.0 Can work too? Many thanks!
hi Ian, thank you for such an article! I currently own 2 sony A6000 plus few lenses, including Samyang 8mm f2.8, Sigma 19mm 2.8, and Sony 24-240mm FF Mount(as the 55-210mm is a total crap). I was wondering if it makes sense to sell one and add few hundreds to buy a Sony A7(that’s my budget, and I have already 24-240mm FF), mainly to improve my shooting to the stars. Does it really make sense to spend 300/400 usd more to drastically improve my shootings? (I will have to buy a Samyang/Rokinon full frame as well).
I have this same setup A6000 with f2/12mm Rokinon) and I love it but, for exposures above 20sec it is only saving in jpg and not raw. What settings do I need to do make sure it saves a raw file. Thank you
Hi!
I was wondering if you had any experience using a Sony wide angle lens for photographing the Milky Way? I am brand new to photography and was focusing on aperture, which you recommended 2 or below. What are your thoughts on this lens? Thanks in advance for your reply!
Link: https://www.amazon.com/gp/product/B0042GHI8U/ref=ox_sc_act_title_2?smid=ATVPDKIKX0DER&psc=1
Best,
Tim
Need to update article to include description of “Star Eater” problem. I purchased the a6000 and a couple of lenses based primarily on your recommendations, I should have done more research …
Ian, I had the same question. Do you have an updated recommendation at this price point for those of us not wanting to invest in a Sony mount?
My additional research reveals that for long exposure (30 seconds or more) AP, the only mfg to consider is Canon. They have the most extensive support – both direct and third party – for all types of AP.