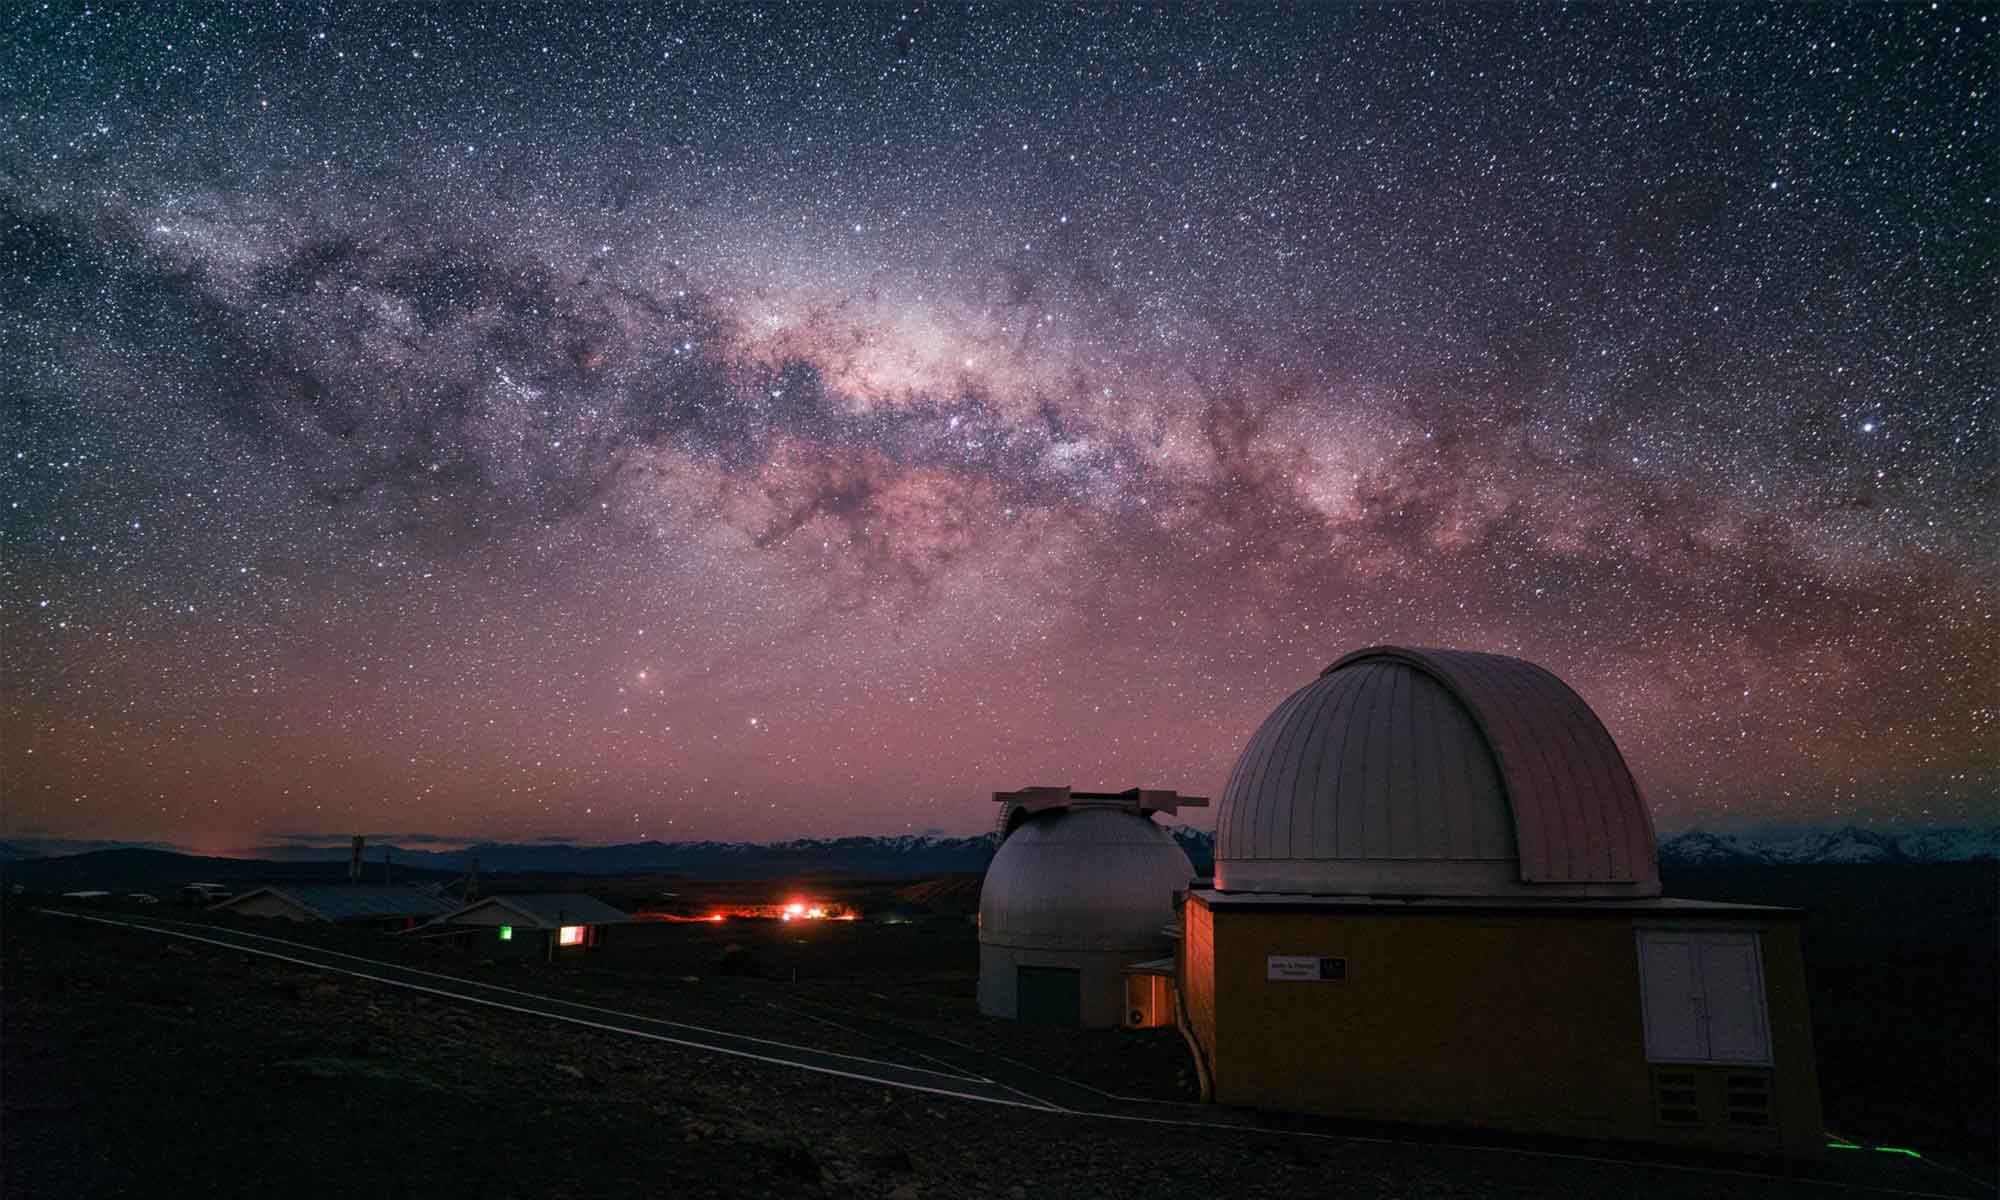
A video tutorial for reducing noise in Milky Way photos with image stacking in Adobe Photoshop CS6 Extended.
Sometimes you just have to accept noisy images for your astrophotos. With astrophotography, you’re typically shooting at high ISO settings, often exceeding ISO 3200. Sometimes this is perfectly acceptable, but depending on your equipment limitations, you may be restricted to lower shutter speeds and smaller apertures where signals are low and noise is high. This video will show you what I do in those situations.
There are a variety of methods for noise reduction including built-in camera settings and noise reduction post processing algorithms such as the ones available in Adobe Lightroom. Let me start by saying that the noise reduction capabilities of Adobe Lightroom and the Nik Dfine 2 plug-in are nothing short of amazing. If you are not already using Lightroom as your RAW processor, you should highly consider it.
But there are times where your equipment is just too limiting and no matter what you do, the noise just plain terrible. This is where image stacking makes a huge difference in reducing noise in your images. The averaging of even 4 or more separate exposures will do wonders to images that you might have abandoned otherwise. Image stacking is pretty much what all astronomers use for their deep sky images.
Landscape astrophotography presents some challenges with image stacking methods though because we have to deal with relative motion of the stars to the ground. In this video lesson, I show you how I use image stacks of smart objects with a median statistics filter in Adobe Photoshop CS6 to reduce noise in my astrophotos.

Excellent video! I recently finished a phd in astrophysics. I’ve used the big telescopes, but it was all spectroscopy. I decided I wanted a nice photo of the milky way like you have, and it seemed clear to me that your method is the best way (no need for tracking) but I was concerned I’d have to write my own code to do the alignments. I searched all over, and was becoming discouraged before stumbling here! Nice work. I am curious what lens you used. I haven’t purchased a good one, and I’m concerned the optics won’t be good enough on most to operate wide open. I’m considering a nikkor 50mm 1.8G or 28mm 1.8G. I’d love to hear your thoughts on these.
Aaron, sorry for the delayed response, just saw this one here. I prefer the Rokinon 24mm f/1.4. It’s nice and wide, fast and has very low amount of coma and astigmatism. The 50mm/1.8 and 28mm/1.8 should be good. You should stop down a bit to reduce the effect of aberration.
I think the Nikkor 1.4D would be good for this; inexpensive, very bright and very sharp. Lots on eBay…
Hey, great tutorial!
How would the results differ if you had stacked the images in DeepSkyStacker? You probably would have used dark and bias frames for that. Is it possible to add these frames into this method?
Burak, I have never used DeepSkyStacker so I’m not sure I can comment on the differences. I use a Mac primarily and DeepSkyStacker is available only on Windows. I avoid workflows that use Dark or bias frames most because of complexity and time. If prefered, a dark frame could help with this method but would need to be initially “Difference” blended with each individual frame before aligning and stacking.
Thanks for the info. I’d really like to try and compare the two results some time.
Hi,
Firstly great site – loving it!!!
I was following this tutorial and I came across an issue where “stack mode” for smart objects is disabled unless you have PS6 Extended or CC – http://forums.adobe.com/message/5338684.
Could you recommend another way I can achieve the same result??
Thanks
Mike
One possible method is to use the method of average blending. This means that you just load your frames as layers and change the opacity of each layer to 1/number from bottom. In other words, the bottom layer will be 1/1 or 100%, the second from bottom is 1/2 or 50%, the third from bottom is 1/3 or 33%, and so on.
I’m also not sure if File>Scripts>Statistics… is available in CC or non-extended CS6 or not but that’s also another method to combine files into a median stack. The workflow, however will be a little different as you need to load files directly from the file directory. This means that you’ll likely need to align all your sky layers as in the video, save each layer as a different file and then load each new saved file into the File>Scripts>Statistics… window.
Really great information here as well, Ian. Quick question: For the Fuji X-series sensor, what would you say is the optimal exposure time for the individual exposures you made? 15 seconds? 30?
And I assume you’re shooting at iso 3200?