

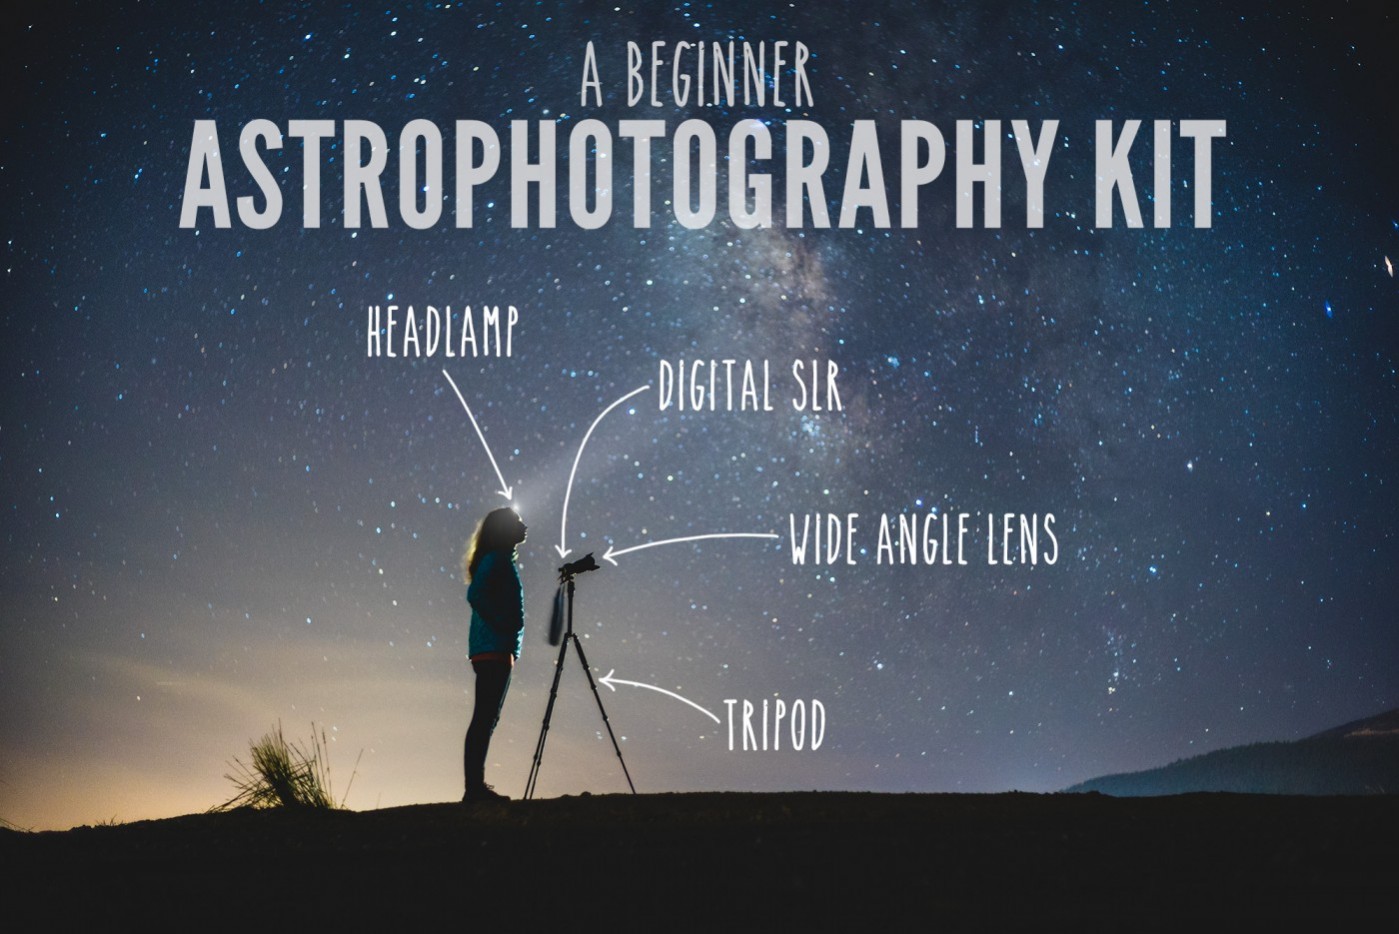
Let’s talk about the bare minimum of what you will need to photograph the Milky Way.
Astrophotography doesn’t require all that much equipment and it’s likely that you already have most of the items in this list. I usually only pack these select few items in my camera bag when I go out to photograph the Milky Way and rarely bring anything extra. The simpler the kit, the less you will need to worry about. So here are the essentials with some of my recommendations to those just starting out:
1. Digital SLR or Interchangeable Lens Camera Body
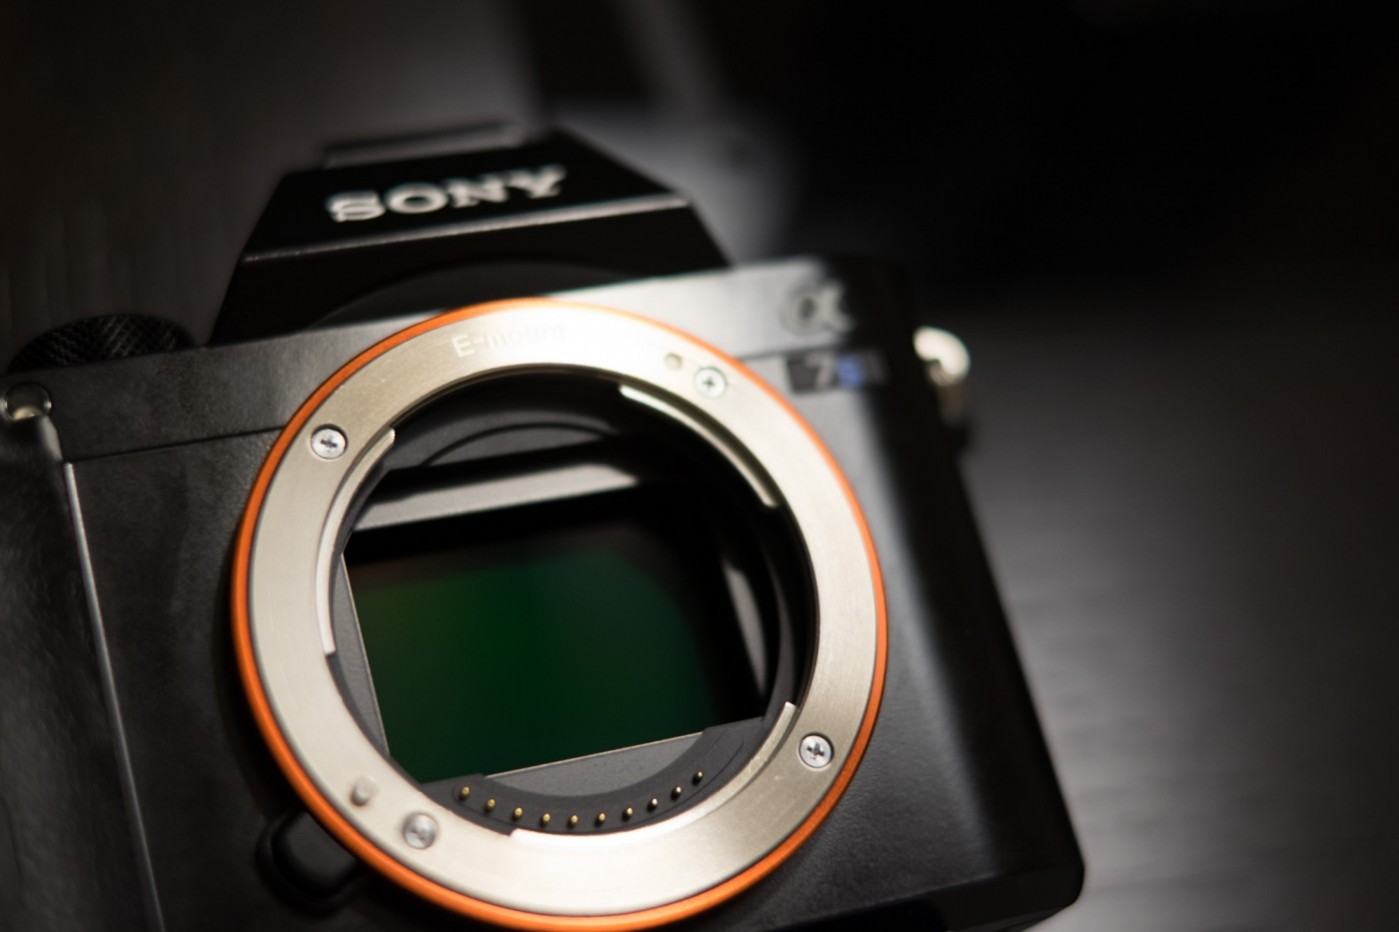
Most people reading this article will probably already have a digital SLR or some other interchangeable lens camera. Luckily a camera is the most expensive thing you need for astrophotography aside from a lens. The very best bang for the buck will be a digital SLR with a 4/3, APS-C or full frame sensor size.
The choice of brand really doesn’t matter all that much. If you’re just starting out, I almost always suggest the two biggest brands: Canon or Nikon. Both of these companies make excellent cameras and each has huge swaths of devoted users and expansive online communities to help you along. That said, any of the other major brands are excellent. Sony, Pentax, Fujifilm, Olympus, Panasonic, or Samsung: they all make great cameras and pretty much any of them will work great.
When picking a camera, I particularly prefer cameras with tilting displays so that it’s easier to see the screen when using it low to the ground.
I’m currently using a Sony a7S.
Best of the Best: Sony a7S, Canon 6D, Nikon D610
Affordable Excellence: Fujifilm X-T1, Canon 70D, Canon 7D, Nikon D7100
Beginner on a Budget: Canon T5i, Nikon D5300, Sony a6000
2. Wide Angle Lens
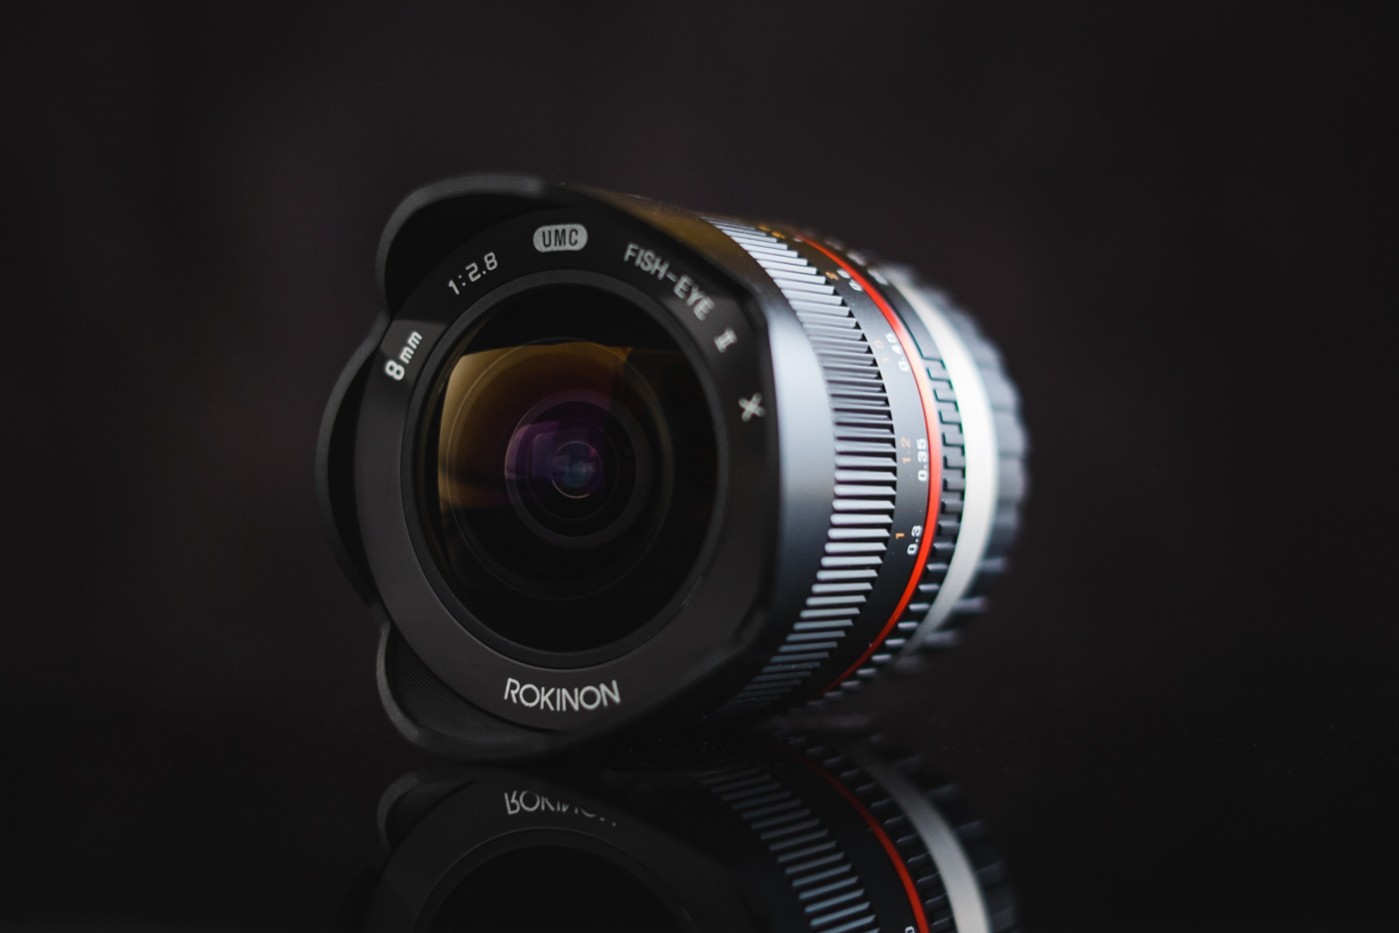
The Milky Way is really really big. Like huge. The easiest way to capture it is to use a wide angle lens that will allow you to frame a large portion of the sky. On APS-C cameras, stick with a lens with a focal length of 24mm or shorter. On full frame cameras: 35mm or shorter, and on 4/3 sensors: 17mm or shorter. The shorter the focal length, the wider the field of view.
That 18-55mm kit lens that probably came with your camera? That lens is just fine to start with. When zoomed out to 18mm, it has a pretty wide field of view and should be able to capture a significant portion of the Milky Way.
For even better results, you’ll probably want a “fast” lens with a low f/number rating. I usually recommend lenses with an f/number rating of f/2.8 or lower. The lower the number, the larger the aperture of the lens and the more light that it can collect for exposing the dim stars in the night sky. Check out my guide on how to pick a lens for milky way photography to learn more about fast lenses. My favorite lens for full frame cameras is still the Rokinon 24mm f/1.4.
Best of the Best: Sigma 18-35mm/1.8, Sigma 35mm/1.4, Rokinon 24mm/1.4, Nikon 14-24mm/2.8
Affordable Excellence: Tokina 11-18mm/2.8, Rokinon 12mm/2.0, Rokinon 10mm/2.8, Rokinon 16mm/2.0, Rokinon 35mm f/1.4
Beginner on a Budget: Rokinon 14mm f/2.8, Rokinon 8mm f/3.5 Fisheye, Rokinon 8mm f/2.8 Fisheye II
3. Tripod
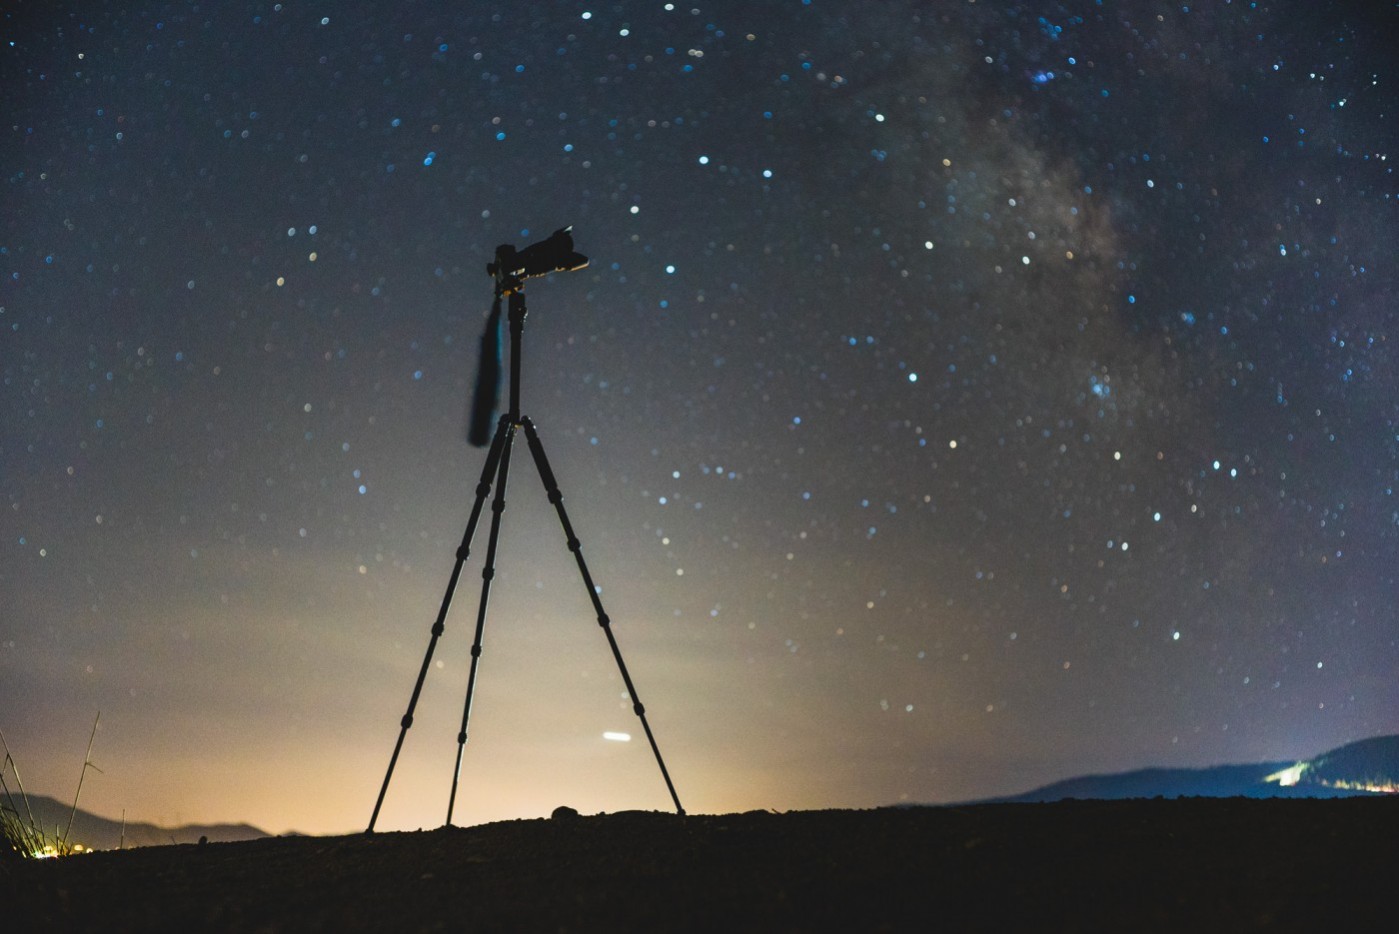
Anyone thoroughly interested in photography should invest in a decent tripod. For astrophotography it’s essential. You only need one, and it’s likely that a good tripod will outlast all of your other camera gear.
There are probably a million tripods to choose from, but there are a few things you should look for when choosing one for astrophotography:
First, I recommend tripods paired with a ballhead. Avoid tripods with panheads at all cost, they’re a pain to frame your shot and have a more limited range of motion than a ballhead.
Secondly, the tripod should be stiff and stable. Make sure that you’re not too close to exceeding the recommended load capacity of the tripod and consider one made of carbon fiber rather than aluminum. Carbon fiber is stiffer and lighter than aluminum so it’s a great material for tripods. Carbon tripods have also come down in price drastically and are now rather affordable.
Finally, make sure it’s not too heavy. This is the last but arguably the most important consideration in a tripod. If you’re buying your first tripod, I recommend keeping it lighter than 5 pounds. Seriously. Anything heavier will likely be too big and heavy to carry. You should have no hesitation to bring your tripod with you everywhere you go. The lighter the better. I currently use the tiny Sirui T-025X which weighs less than 2 pounds.
Best of the Best: Anything from Really Right Stuff
Beginner on a Budget: Dolica Proline, Dolica Carbon
Compact Ultralight: Sirui T-025X, Manfrotto BeFree Carbon
4. Headlamp

You’ll need your hands free to handle your camera in dark conditions, so definitely pick up a headlamp. You’ll use it to help with focusing, you’ll use it to help find buttons on the camera, and you’ll need it to avoid tripping over bushes and rocks and critters at night.
Make sure your headlamp has a red “night vision” mode. Once you are initially set up, the red mode will help you retain your night vision for seeing in the dark better and won’t interfere with other stargazers in your group.
I wholeheartedly recommend Petzl Headlamps. I have had headlamps from both Black Diamond and Energizer fail on me at night but I have never had a Petzl fail, knock on wood. They’re weatherproof, bright, efficient, and comfortable. It’s possible to switch directly into red mode on most of their headlamps so you don’t blind yourself when turning it back on and they all have amazing battery life. When they’re batteries run low, they warn you with an indicator light and they automatically switch into a power saving mode to keep the light going for additional reserve hours. I personally use an older version, the Tikka XP2 for all of my astrophotography shoots.
Best of the Best: Petzl Tikka RXP
Affordable Luminosity: Petzl Tikka XP
Beginner on a Budget: Petzl Tikka +
Optional Items
The items above are all you need to start making astrophotos, but there are a couple extra things that can help you out:
Intervalometer
An intervalometer is a remote timer that plugs into your camera. It lets you do two things: make exposures longer than 30 seconds and shoot timelapse sequences. They’re cheap at around $20 and can come in handy with astrophotography.
Cheap and Reliable: Neewer Intervalometer
Star Chart App
As you’re getting started with astrophotography, I recommend using a smartphone app like Stellarium or Sky Guide to help you find the Milky Way. If you’re in a dark enough area, it should be easy to find with your eyes, but an app will make it a much simpler a task.
iOS: Sky Guide, PhotoPills, Stellarium
Android: Stellarium
A Final Check
Make sure your camera battery is charged, your headlamp has some fresh batteries, and you have a couple memory cards handy.
Let’s Get Started!
Once your kit is together, you’re ready to shoot!
Head on over to Astrophotography 101 for lessons on exposure, processing and other astrophotography tips and techniques.
First Time? Check out the How to Photograph the Milky Way lesson.
Disclosure
We are a participant in the Amazon Services LLC Associates Program, an affiliate advertising program designed to provide a means for us to earn fees by linking to Amazon.com and affiliated sites. We are also a participant in the B&H Affiliate Program which also allows us to earn fees by linking to bhphotovideo.com.
Learn Astrophotography
Astrophotography 101 is completely free for everyone. All of the lessons are available on the Lonely Speck Astrophotography 101 page for you to access at any time. Enter your email and whenever we post a new lesson you’ll receive it in your inbox. We won’t spam you and your email will stay secure. Furthermore, updates will be sent out only periodically, usually less than once per week.
[email-subscribers namefield=”NO” desc=”” group=”Lonely Speck Newsletter”]
Help us help you!
Believe it or not, Lonely Speck is my full-time job. It’s been an amazing experience for us to see a community develop around learning astrophotography and we’re so happy to be a small part of it. I have learned that amazing things happen when you ask for help so remember that we are always here for you. If you have any questions about photography or just want to share a story, contact us! If you find the articles here helpful, consider helping us out with a donation.
[button font_size=”16″ color=”#136e9f” text_color=”#ffffff” url=”https://www.paypal.com/cgi-bin/webscr?cmd=_donations&business=lonelyspeckblog%40gmail.com&item_name=These+tips+help+keep+lonelyspeck.com+running.¤cy_code=USD&source=url” target=”_blank”]Donate[/button]
Thanks so much for being a part of our astrophotography adventure.
-Ian
[button font_size=”16″ color=”#136e9f” text_color=”#ffffff” icon=”arrow-left” url=”http://www.lonelyspeck.com/astrophotography-101/” target=”_self”]Back to Astrophotography 101[/button]
any suggestions on good ballheads that won’t break the bank?
Paul, there are tons of options out there for ballheads to that’s a particularly tough call for me as I have only limited experience and haven’t done a thorough comparison. That said, I have had a lot of trouble with some of the cheap ballheads available on Amazon for less than $50 so I would tend to avoid those. (High friction, poor quality, etc.)
On a tighter budget I have had good luck with some of the more well known budget brands: Benro, Induro, and Sirui. All of them make excellent gear and offer some really good ballheads for much less than the competition.
If you are willing to spend more, Really Right Stuff is usually my first recommendation.
thanks Ian, I’ll check those out.
Another great article. One suggestion for your site. Is it possible to create a link at the top of your site that would bring you to affiliate links? That would make it easier to just come here before placing an amazon order (verses digging through an article). Unless you have to buy something from your direct link to it, but from what I understand that should not be the case (at least with what I’ve heard on how amazon deals with the links).
Thanks
Nathan, Thanks for the suggestion. I was thinking that I might make a quick access gear guide. Currently working on a panorama article so once I get that together I’ll try to throw the gear guide together.
Ian- if you had a few thousand dollars to start a kit for mostly landscape with occasional astro photography , what would you purchase. Would you lean to the XT1 or A7s?
Tim, that’s a really tough question. I think there are two different arguments for each. As a native system, the Fujifilm X-T1 has a bit of a step up on the a7S. The Fujifilm lens selection is more complete so the system as a whole feels more well-rounded at the moment. The XF 14mm, XF 23mm, XF 35mm are all excellent lenses.
The a7S has no native FE lenses that are particularly fast for astrophotography. (Yet) Of course, it can be paired with some of the faster manual third party lenses like the Rokinon lenses I typically recommend but they’re larger and heavier, making the system feel a bit imbalanced. That said, paired with a fast prime (like the 24mm/1.4) the a7S is very nice for astrophotography, it’s much easier to frame and images are just a tad cleaner.
I wish I had a more clear cut answer between the two. Frankly, they’re both great cameras.
Finally, if I was considering “mostly landscape” I would also consider the a7R just for the extra sensor resolution.
I know it hasn’t been mentioned in this question, but don’t rule out the EOS6D either.
I have found that an app that you can get onandriod and apple as well as your computer that is really useful is the photographers ephemeris. Also one other thing is what program would you suggest for creating a panorama outside your camera.
And also great blog with one question in mind. How do you light up a subject without overexposing it and getting a natural light that doesn’t make it look fake?
The Photographer’s Ephemeris is definitely super helpful! Thanks for sharing Gabriel. I use Photoshop to create my panoramas. I’ll also be covering how I assemble panoramas in the next lesson I will publish. As far as painting a subject with light, it’s often best to “bounce” the light off of something outside of the frame. This will help diffuse and dim the light and usually the dimmer and more diffuse, the better, especially if you’re matching the brightness of the milky way.
Hi Ian,
Yet another kiwi from down under, Wellington NZ this time.
Fantastic website, I’ve been watching for a while now and learning a lot, not to mention spending more money on kit…
Skies here are not quite as dark as what Jono would get in Tekapo, but pretty good none the less. First real clear skies here tonight for a couple of weeks so I’m off to try some Milky Way time-lapses after I finish work at 11pm, definitely one of the bonuses of shift work.
Heading in your direction (sort of) at the end of October, with a few nights in Monument Valley and Moab. While it may not be the best time of the year for the Milky Way hopefully I will get some nice photos.
Regards
Bruce
Bruce, shoot me an email at [email protected]. There’s the possibility of me shooting in the American Southwest around that time frame if you would like to meet up.
Sent you an email Ian, just in case you are back down in the South West.
Regards
Bruce