

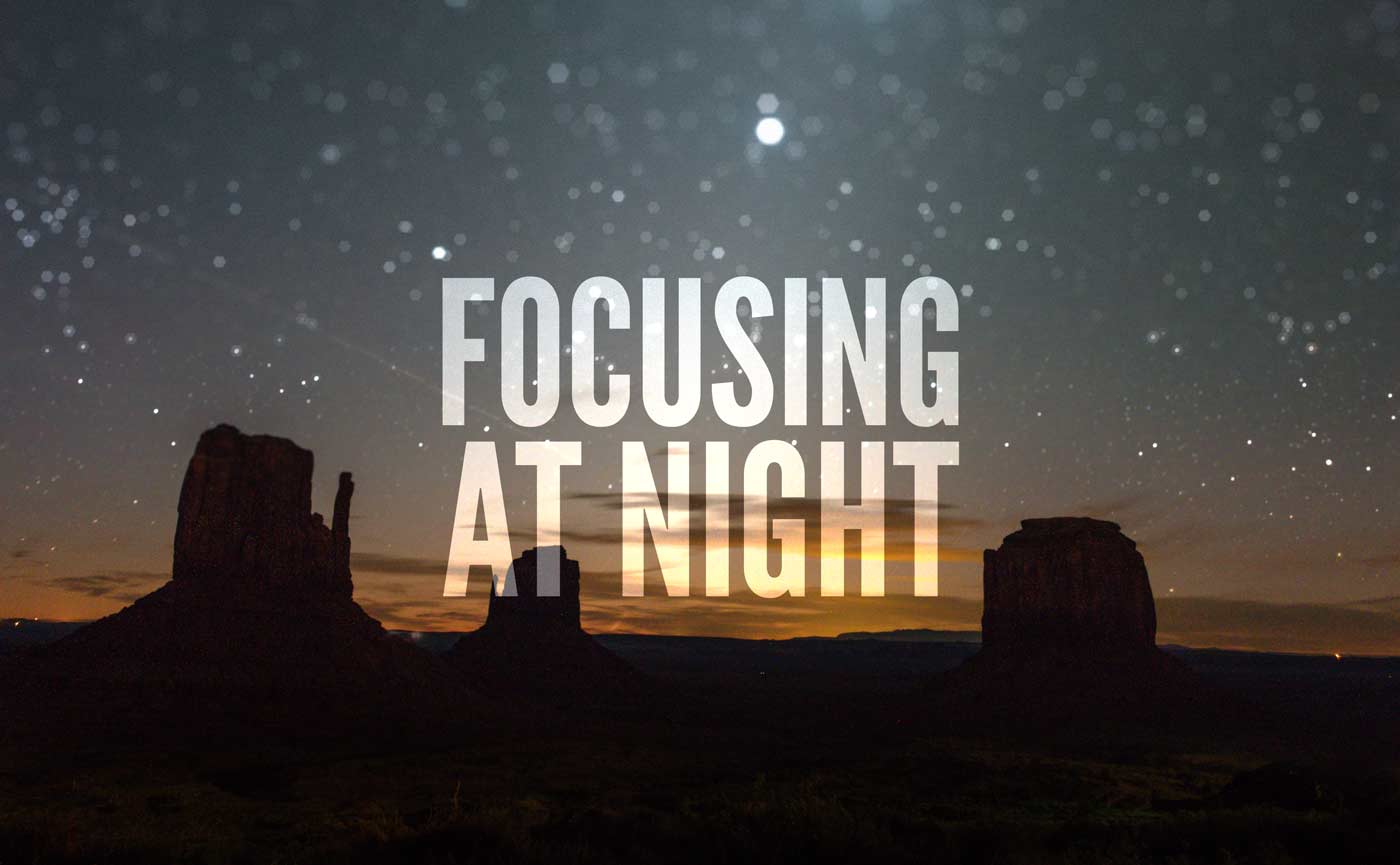
Focusing at night can be difficult. In this tutorial I review some of my favorite tips and techniques for focusing a camera lens in the pitch dark and I introduce a tool to make the process even easier.
Introduction
If you’ve tried astrophotography or any kind of night photography before, you’ll understand the typical frustrations surrounding focusing. Autofocus doesn’t work, at least not reliably, the readout on the LCD is often very dark, and the infinity mark on your camera or lens is often not super accurate.
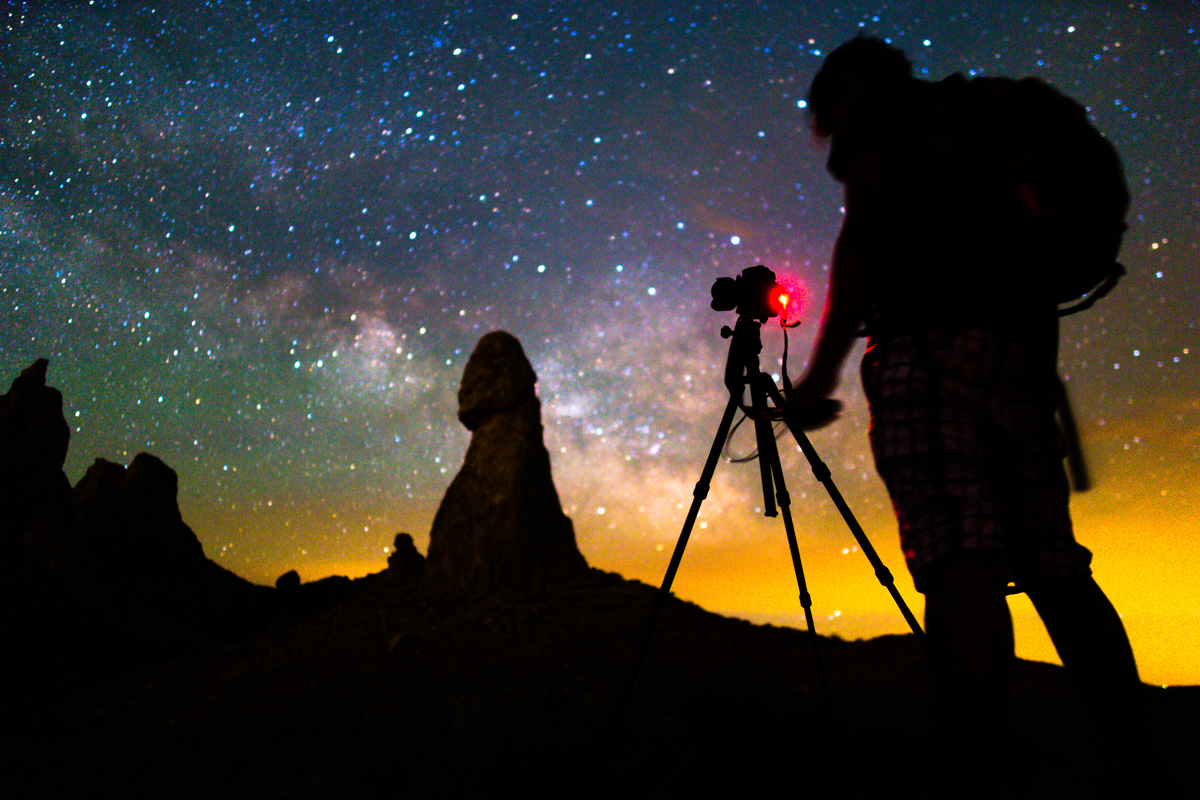
Some modern cameras like the Sony a7S (full review) or a7SII can autofocus in very dark conditions as low as -4 EV but on a moonless night in the backcountry, the sky can be dark as -9 EV or lower. That’s really really dark. At that level of darkness, most autofocus systems, even on the Sony a7S, will typically fail to catch sharp focus. There are some cases where the brightest stars or distant light sources may allow an autofocus system to catch focus, but it’s usually difficult and rarely accurate. When shooting astrophotography and night landscapes, we usually need to rely on manual focusing techniques for the best possible focus.
The Technique
Let’s review the basic steps and then we’ll jump in to my favorite techniques and tips to attain perfect focus on the stars.
Enable Manual Focus
Even the best autofocus systems are unreliable in dark sky conditions. Set your camera lens or camera to manual focus mode. Manual focus will allow us to more carefully and precisely scrutinize our focus.
Pre-Set the Lens to the Infinity Mark if Possible
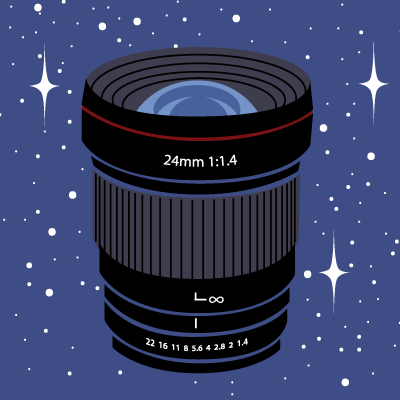
If your lens has an infinity mark, set the focus there. This will give us a decent start on our focus and help us frame a bright star or light source. Don’t rely solely on the infinity mark though. While “true infinity focus” is what we want, lens markings are rarely perfectly accurate. For the absolute best focus, we’ll need to refine it further. Let’s talk about how to do that next.
Enable Live View if on a DSLR
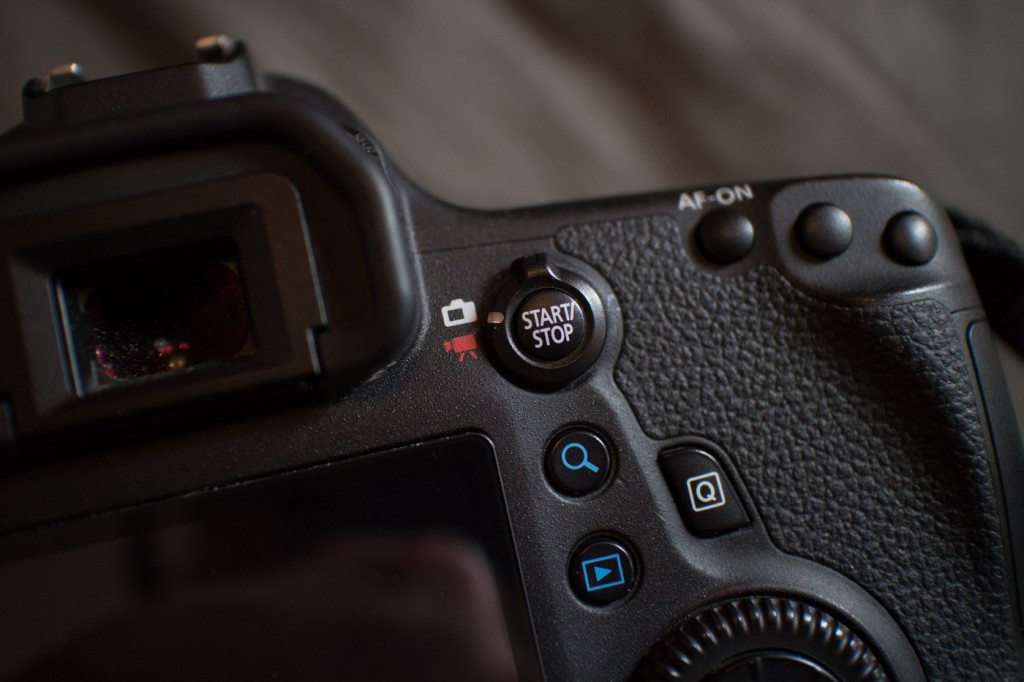
If you’re using a DSLR, you’ll want to enable live view mode so that you can use the back LCD monitor to frame your shots. The eye-level viewfinder will usually be too dark to see through. Live View can help us by amplifying the scene electronically and allow us to magnify the image on the LCD. Using your camera’s magnified Live View mode is the most accurate method of focusing on the stars. If you’re on a mirrorless camera, you’ll already be composing with the LCD monitor so just make sure that your back screen is on.
Pre-Set the Exposure
Before you start framing, set your camera to Manual mode and enter in the exposure that you wish to use. If you’re not sure about what settings to use yet, check out my Milky Way Exposure Calculator. The settings from the calculator should be good for focusing on the stars with most cameras but it might be helpful in some cases to use an especially high ISO like 6400 or 12800. Try it out to see if it makes the stars more visible to help with focusing. Most cameras, just by setting the shutter time to a long exposure, will boost the Live View feed sufficiently to be able to frame and focus on a bright star, no need to increase the ISO too high. If this is your first time shooting photos of the stars, check out my tutorial on how to photograph the Milky Way.
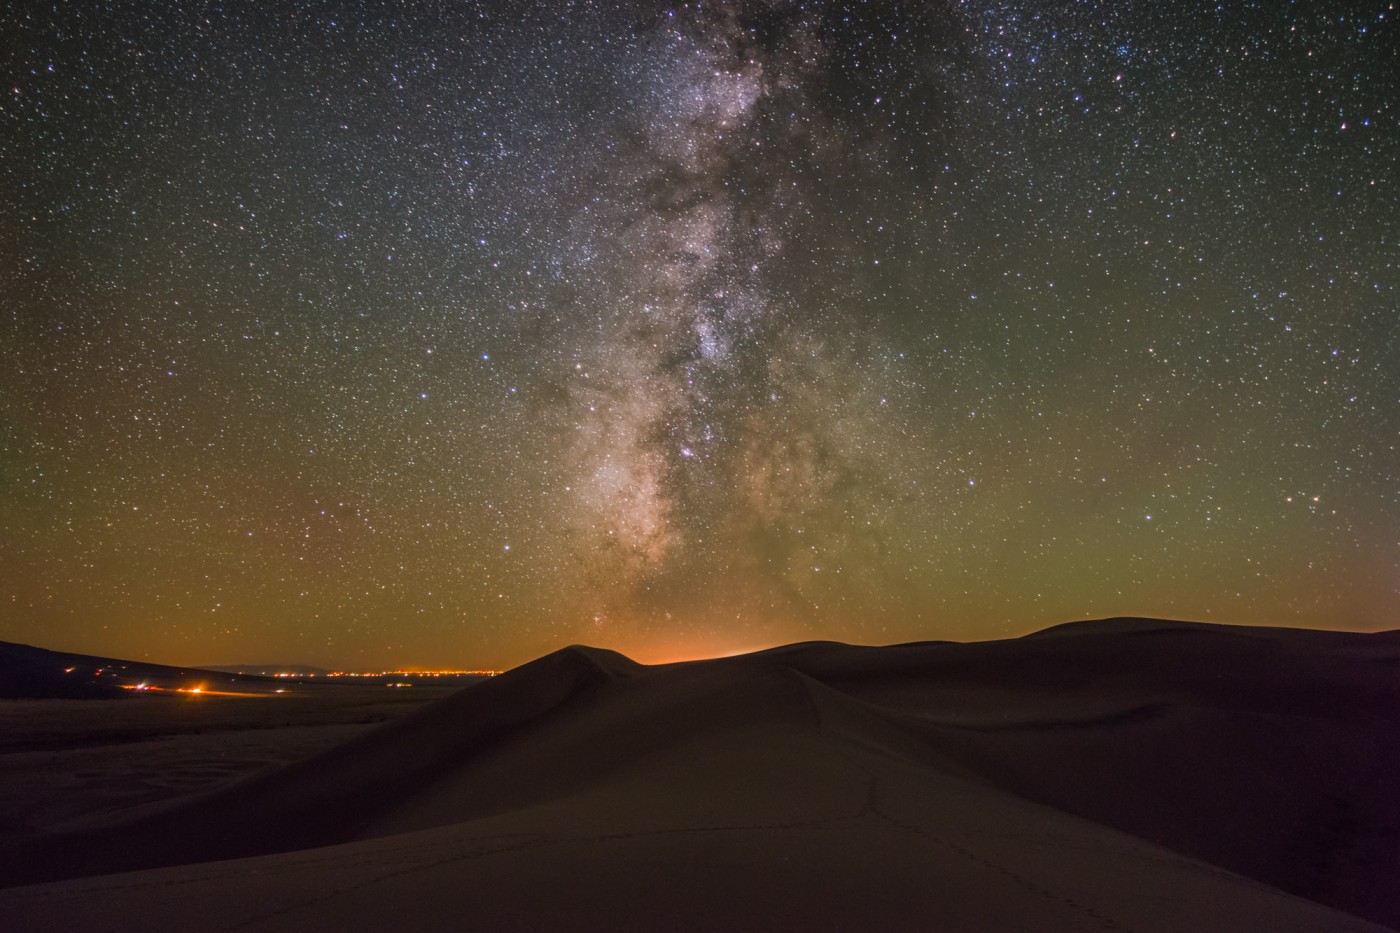
Center the Brightest Star… or Something Distant and Bright
Point your camera toward the brightest star you can find in the sky and put it in the very center of your frame. Using your camera’s magnification feature to zoom into the live view feed can help you spot dimmer stars.
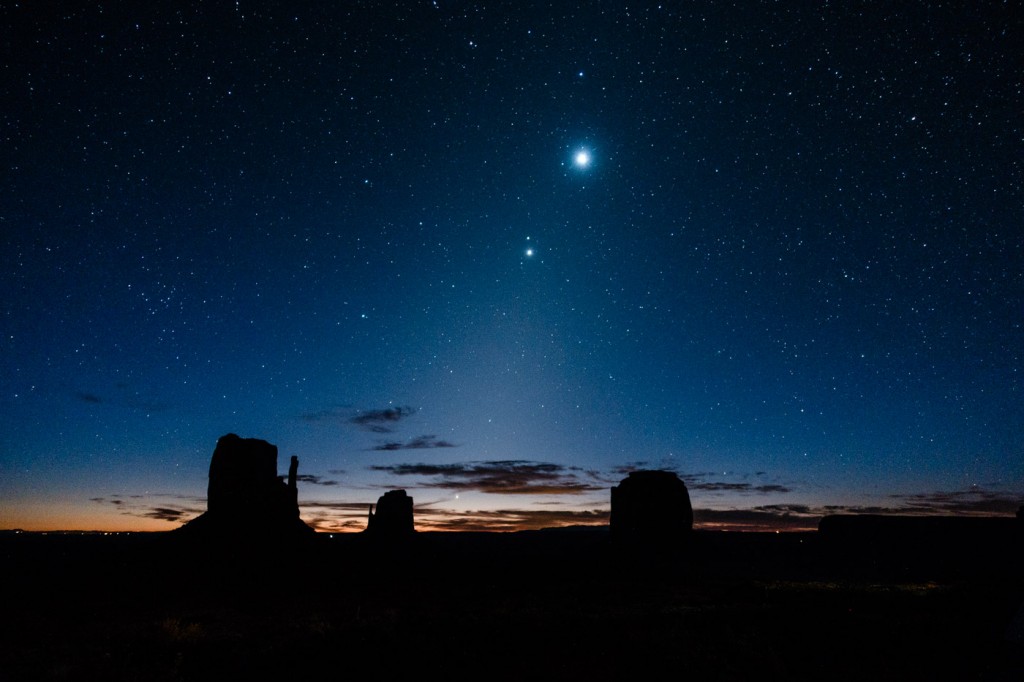
If you are having trouble finding a bright enough star, you can also use an artificial light source. A distant building, far off town, roadway, bright tent or your own headlamp can work. I’ve even heard of some photographers using the spot from a laser pointer.
The important thing when using an artificial light source for focusing is that it must be far away. Make sure it’s at least 100 feet or 30 meters away. That should be sufficiently far away for focusing most standard or wide angle lenses. As long as the thing on which we’re focusing is far enough, it should allow us to achieve “true infinity” focus.
Focusing Aids
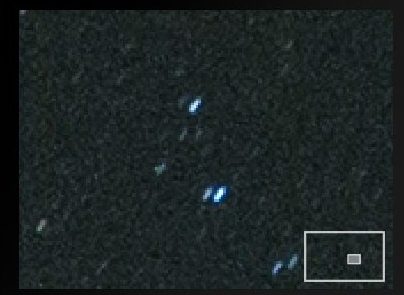
Use Live View and the digital magnification function to zoom the view on the star or distant light source and adjust the manual focus ring until the star or light appears in focus. How do we know when it’s really in focus? There are a number of different indicators of good focus and here are a few that I usually look for:
Size
When focusing on a bright star or artificial light source, look at its size. Perfect focus is when the star looks as small and pinpoint-like as possible. Out of focus stars will obviously appear softer but they will also tend to show a little more more color, sometimes due to spherochromatism as I explain below. When in focus, most stars, even the dimmer ones, should look small, sharp, bright and nearly white.
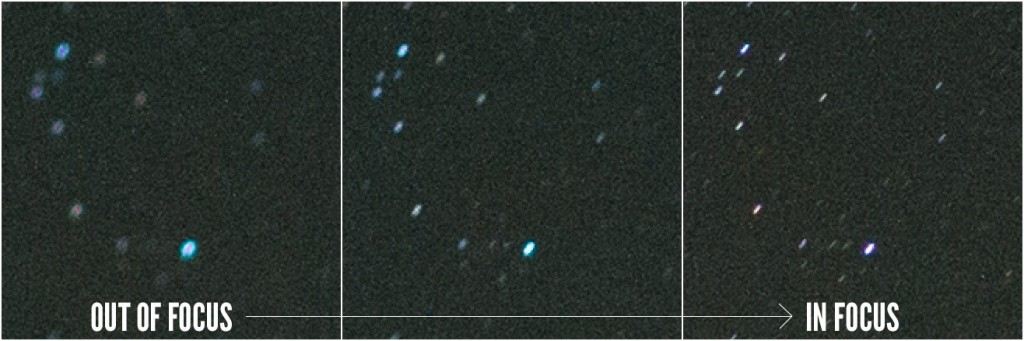
Dim Stars
Look adjacent to your bright focusing star. It’s usually possible to start seeing some of the dimmer stars on the LCD as you near perfect focus. Dim stars will become very diffuse and will nearly disappear from view if you’re not focused properly so try to find the point of focus where the dimmer stars are most visible.
Spherochromatism
Many fast, large-aperture lenses like the ones we like to use for photographing the Milky Way, exhibit a form of spherical aberration call spherochromatism. Spherochromatism causes high contrast out-of-focus highlights to shift in color to create green or magenta halos. When focusing on a bright star, it’s often possible to notice a star shift in color from green when focused too close to magenta when focused too far. Perfect focus is usually very close to the point in-between when the star appears neutrally colored, neither predominantly green nor magenta.

If you’re having trouble getting the star to be completely neutral, I recommend erring on the side of the magenta shift just because magenta halos tend to appear more natural around a star than green ones. Ideally, the star should look neutral in color. It’s usually OK if your stars are a little bit stretched due to star trailing. If this bothers you, just reduce your shutter time a little bit. You can calculate a good starting exposure with our Milky Way Exposure Calculator.
Shoot and Check
When you think you’ve achieved decent focus via the indicators above, shoot a test shot and check the results. Use your camera’s magnification function when reviewing the image to make sure you have perfect focus. Making a test shot should always be the last check. And remember to double check after a few more shots in order to make sure the focus is still in tune.
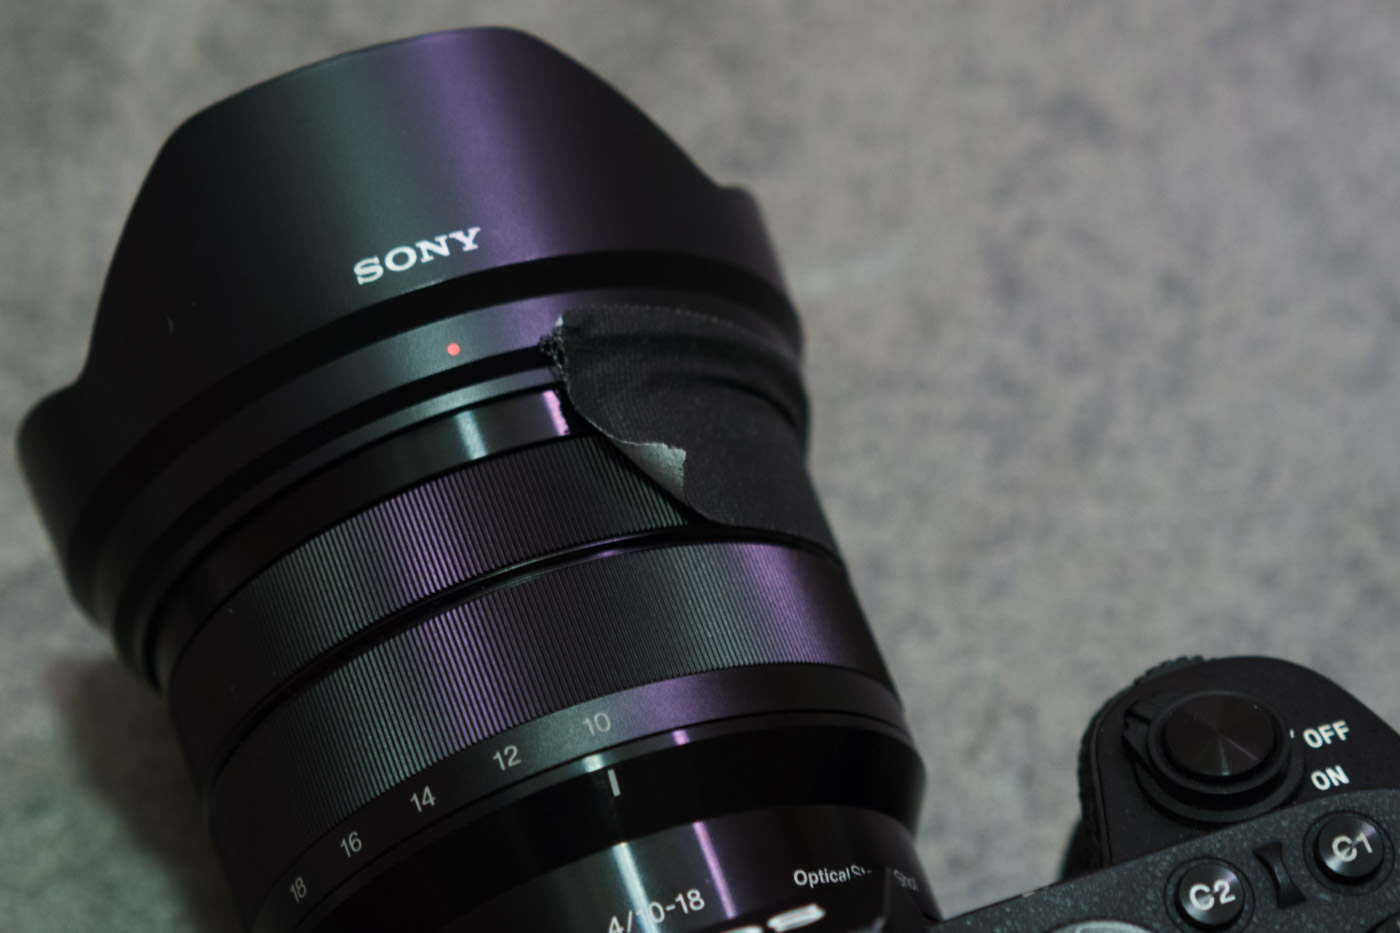
Lock it Down and Shoot Away
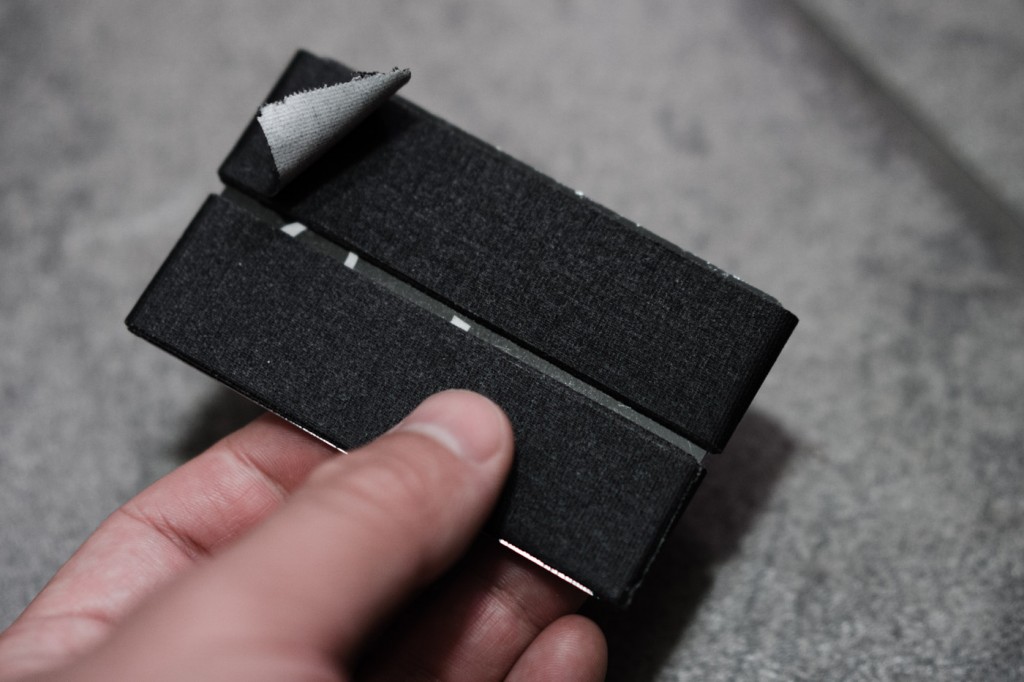
Once you’re confident in your focus, it’s often an excellent idea to lock it down by carefully taping your focus ring with a piece of gaffers tape. It’s easy to stick but doesn’t leave any residue.
I always keep a little bit of gaffers tape wound around an old unused plastic card like an expired credit card so that it fits easily in my camera bag. There are some small gaffer tape rolls available like the MicroGaffer, but you’ll get more for your money if you make one yourself, plus the flat profile of a credit card is even more compact. No one wants to lug around an entire roll.
When your focus is locked down, it’s likely that you won’t need to adjust it all night. Just be careful to not bump it, even gaffers tape can come undone with a good knock.
Even Better Focus: Use a Focusing Mask
While the above methods should help you get decently accurate focus, there’s a certain lack of precision in the method of “focus until it looks best.” There’s always that last little bit of uncertainty surrounding traditional focusing methods. That last little bit of throw in the focusing ring is usually the most difficult to truly master. So how do we know if our focus is really as good as it gets?
As it turns out, there’s actually a tool that astronomers have been using for years that gives a precise indication of focus success: the focusing mask. There are a number of different types of focusing masks but the most popular one that I know about at the moment is called the Bahtinov Mask.
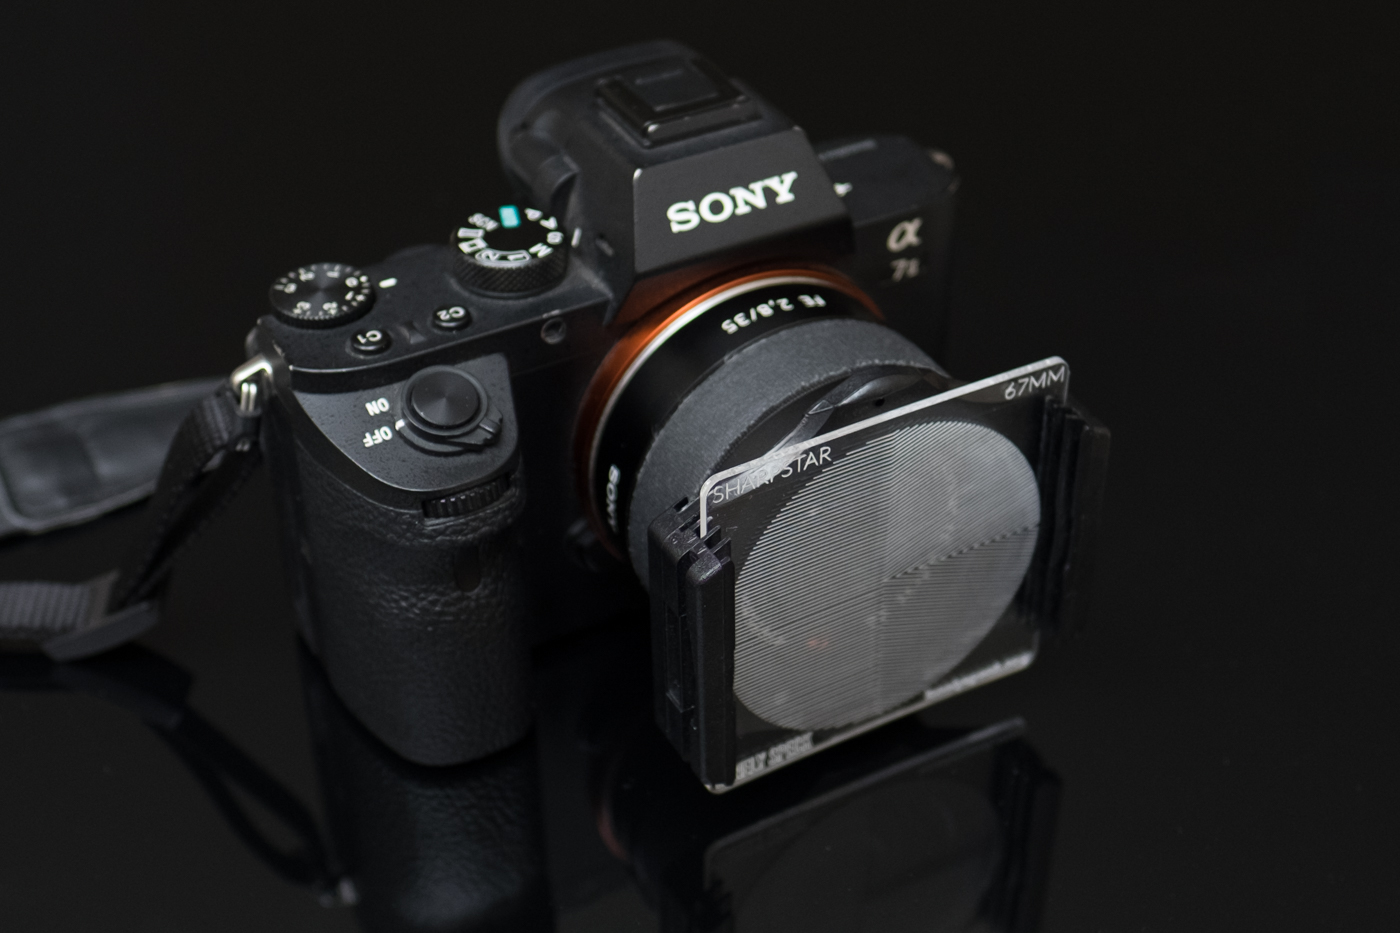
The Bahtinov Mask (wikipedia) was developed by an amateur astronomer named Pavel Bahtinov. It’s a simple mask that covers your camera lens. It has a special slit pattern cut in the mask that produces three distinct diffraction spikes around the brightest stars. Because of the arrangements of the slits, the shape of the diffraction pattern changes as you focus. When all three diffraction spikes are lined up symmetrically, the image is in perfect focus on the star.

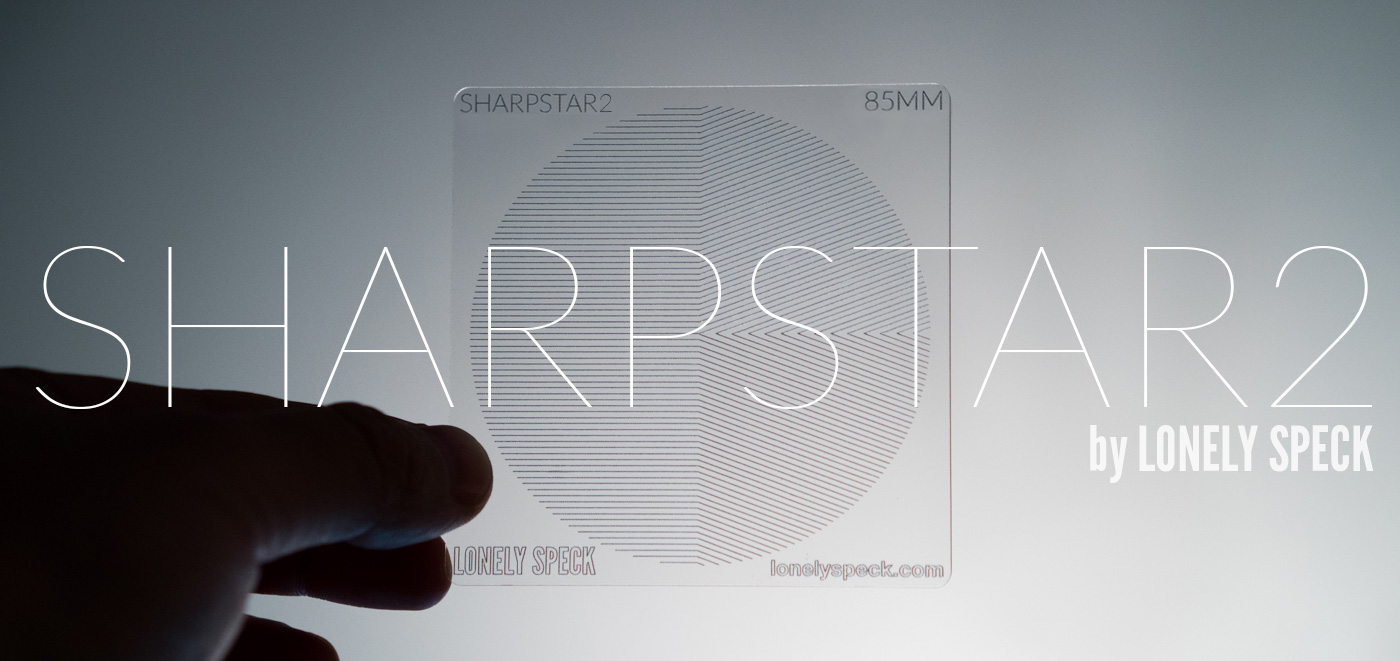
While I was writing this article, I made a new design for a Bahtinov mask that would fit into a standard 67mm, 85mm or 100mm filter holder like the Formatt Hitech Filter Holder that I use. It’s special design is an improvement upon the traditional Bahtinov mask so that it works on nearly any camera lens. I’m calling my focusing mask the SharpStar2 by Lonely Speck. I make the SharpStar2 in the USA and ship them out myself. I’ve now sold hundreds of SharpStars to astrophotographers around the world. Read more about the SharpStar by clicking the button below.
[button font_size=”20″ color=”#c8232b” text_color=”#ffffff” url=”http://www.lonelyspeck.com/sharpstar/” target=”_blank”]Order the SharpStar Now[/button]
The SharpStar2 is an improved design of our original SharpStar that works on most lenses, even relatively slow wide angle lenses like a typical 18-55mm f/3.5-5.6 kit lens. I now use the SharpStar2 for most of my astrophotos. Even the tiniest changes in focus are immediately apparent when using the SharpStar2. It adds a lot more confidence in the quality of focus and makes the whole process a lot easier. If you want to support Lonely Speck and the SharpStar project, you can place and order for the SharpStar2 above.
Q: What if my camera doesn’t have Live View?
A: Trial and Error: Manually Set and Check Focus
Many older generation DLSRs do not have a Live View function. If this is the case, you’ll have to use trial-and-error. Set the focus as well as you can manually or start it at the infinity mark, take a photograph and review it under magnification. If it’s out of focus, take note of the focus ring position, adjust the focus a little bit in one direction and take another photograph and review it again. Repeat until you are convinced that you have achieved sharp focus.
Your eyes’ night vision abilities will drastically affect how successful you’ll be able to see a bright star in an optical viewfinder. Give yourself at least 30 minutes of pure dark, with no artificial light sources (even red lamps) so that your eyes can more fully adjust to seeing in the dark.
This is a rather time consuming method and requires much patience but it’s still possible to get good focus with this method. If you’re using a camera without Live View, I might also recommend picking up a focusing mask like the Lonely Speck SharpStar. It at the very least will give you a good indication of focus success upon reviewing a test image.
Regardless of the method of focus you decide to use, always use the magnify function on your screen preview when reviewing the photograph to check the focus. Don’t take the initial thumbnail at face value. Once your shots are in focus, remember that you can use a piece of tape to hold the focus ring and prevent you from accidentally bumping the focus.
Conclusion
The techniques I outline here are the ones I always use for focusing at night. There’s nothing more frustrating than returning home to find out that half of your photos are slightly out of focus. Don’t be too disappointed if you’re having some trouble at first. Focusing in the dark certainly requires some careful patience. Practice. Check. Re-check.
I hope this writeup was helpful. If you have any questions or alternate methods that you use to help with focusing, please feel free to comment below.
Equipment
I’d like to give one last shout out to the Sony a7S and a7SII. If there’s one piece of equipment that will make the most difference for focusing and framing success while shooting astrophotography, it’s probably either one of these cameras. I’ve used a ton of different cameras for shooting astrophotography, and the a7S is arguably the easiest to focus because of its particularly high sensitivity CMOS sensor. If you want the best, get one of these cameras.
Links:
Disclosure
We are a participant in the Amazon Services LLC Associates Program, an affiliate advertising program designed to provide a means for us to earn fees by linking to Amazon.com and affiliated sites. We are also a participant in the B&H Affiliate Program which also allows us to earn fees by linking to bhphotovideo.com.
Learn Astrophotography
Astrophotography 101 is completely free for everyone. All of the lessons are available on the Lonely Speck Astrophotography 101 page for you to access at any time. Enter your email and whenever we post a new lesson you’ll receive it in your inbox. We won’t spam you and your email will stay secure. Furthermore, updates will be sent out only periodically, usually less than once per week.
[email-subscribers namefield=”NO” desc=”” group=”Lonely Speck Newsletter”]
Help us help you!
Believe it or not, Lonely Speck is my full-time job. It’s been an amazing experience for us to see a community develop around learning astrophotography and we’re so happy to be a small part of it. I have learned that amazing things happen when you ask for help so remember that we are always here for you. If you have any questions about photography or just want to share a story, contact us! If you find the articles here helpful, consider helping us out with a donation.
[button font_size=”16″ color=”#136e9f” text_color=”#ffffff” url=”https://www.paypal.com/cgi-bin/webscr?cmd=_donations&business=lonelyspeckblog%40gmail.com&item_name=These+tips+help+keep+lonelyspeck.com+running.¤cy_code=USD&source=url” target=”_blank”]Donate[/button]
Thanks so much for being a part of our astrophotography adventure.
-Ian
[button font_size=”16″ color=”#136e9f” text_color=”#ffffff” icon=”arrow-left” url=”http://www.lonelyspeck.com/astrophotography-101/” target=”_self”]Back to Astrophotography 101[/button]
Thank you! This was very helpful