

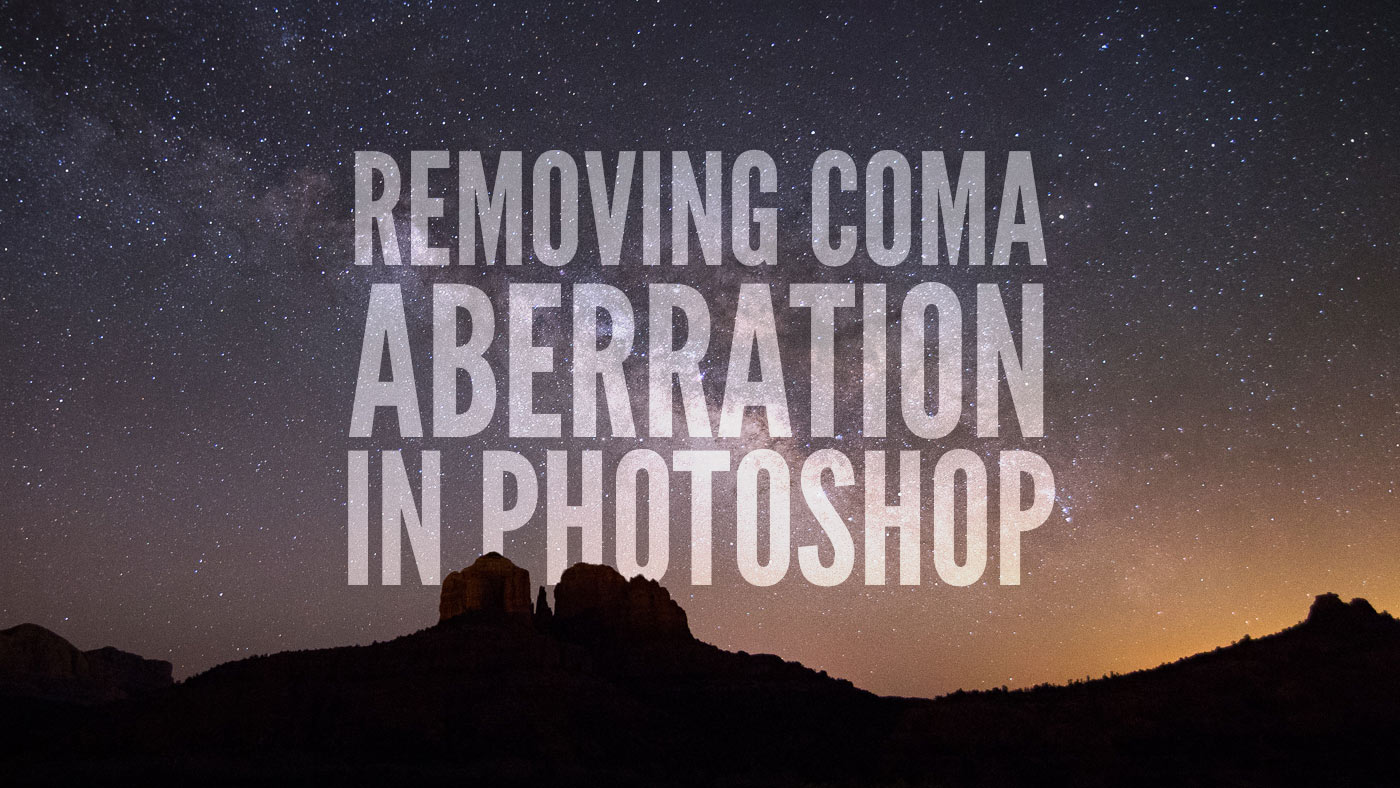
In this video tutorial, Tyler Sichelski walks through a novel method for removing coma aberration from astrophotography using Adobe Photoshop.
Introduction
We’re always on the look out for lenses that have low levels of aberration (read about the different types of aberration in our practical guide to lens aberrations). But sometimes it’s impractical to just ditch your current gear and upgrade to something that’s only slightly sharper. Tyler Sichelski put together a short and simple video tutorial of how he uses Adobe Photoshop to remove coma aberration from the stars in his astrophotography.
Check out the video below:
If you’d like to follow along with Tyler in the tutorial, he has shared his unedited full resolution photograph with us. Download the full resolution 8.6MB jpeg here.
Before and After
Tyler used his Canon EOS 6D and Tokina 16-28mm f/2.8 lens to shoot this photograph of the Galactic Center rising above the rocks of Sedona, Arizona. The Tokina 16-28mm f/2.8 lens is a great choice for an affordable ultra wide angle full-frame lens but it’s not absolutely perfect when shooting at f/2.8 and shows some mild coma and astigmatism in the corners of the image. Check out this before and after to see how Tyler’s method reduces the apparent aberration in the image and gives the stars a slightly sharper look:
[himage]
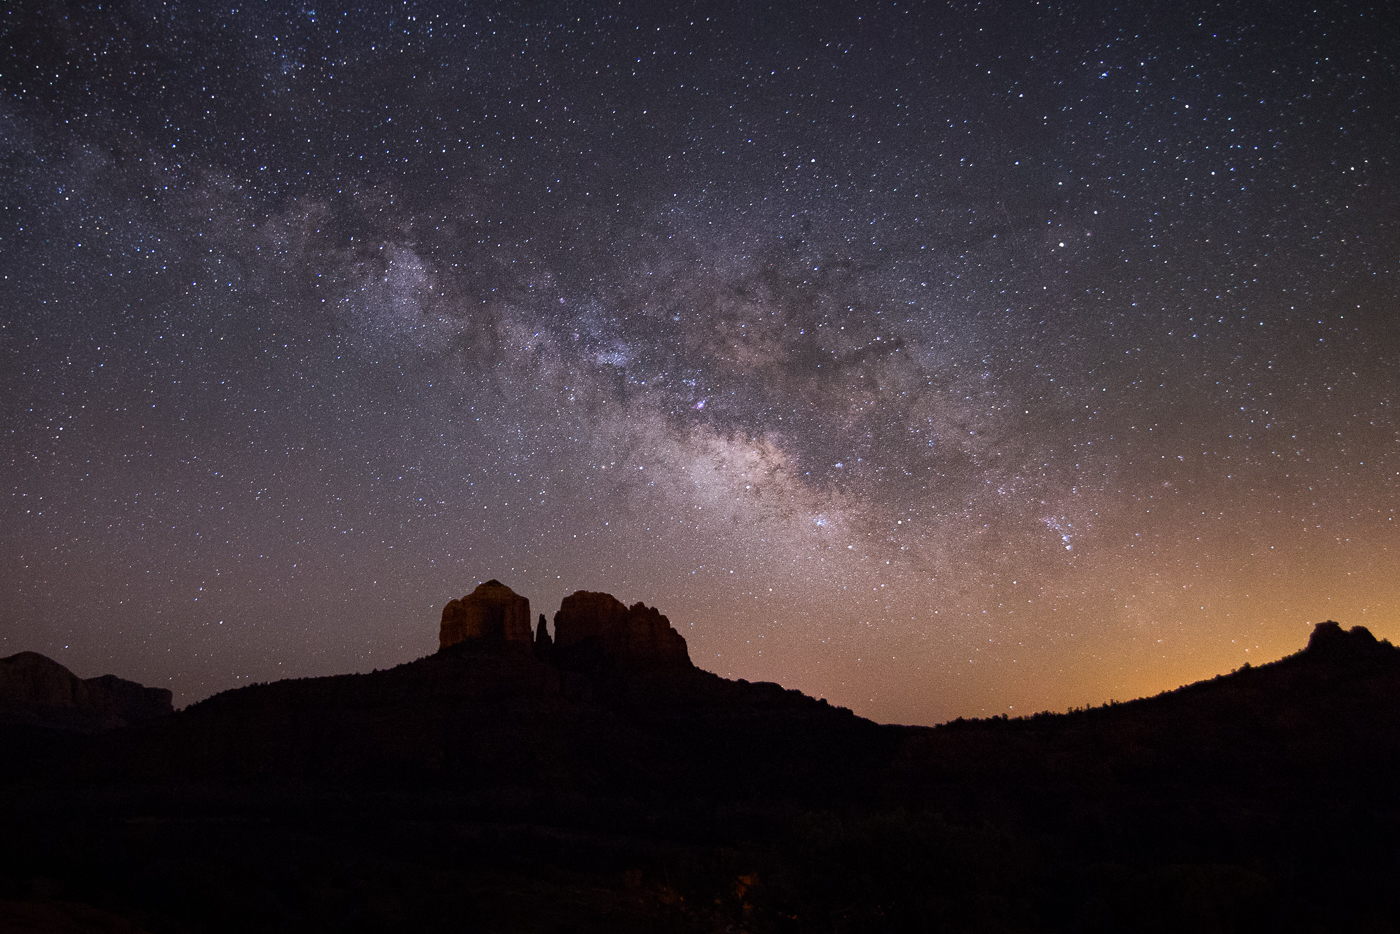
[/himage]
Conclusion
Coma aberration can be a bothersome element in astrophotography. It distorts the shape of the stars and that can distract from the desired look of the final image. Tyler’s simple method is like a “blemish” removal technique for astrophotos that improves the apparent sharpness of the image.
The most beneficial aspect of Tyler’s coma aberration removal technique is that it allows us to continue to use our lenses at their lowest f/number, in spite of what aberrations might start to show up. The lower the f/number, the more light the camera can collect and the “cleaner” the image will typically appear but lenses usually have show worse aberration performance at the lowest f/numbers. Having the option to correct for apparent aberrations in post processing ends up becoming a useful tool for the times when we prefer to use a lower f/number at the expense of aberrations.
Equipment
Disclosure
We are a participant in the Amazon Services LLC Associates Program, an affiliate advertising program designed to provide a means for us to earn fees by linking to Amazon.com and affiliated sites. We are also a participant in the B&H Affiliate Program which also allows us to earn fees by linking to bhphotovideo.com.
Learn Astrophotography
Astrophotography 101 is completely free for everyone. All of the lessons are available on the Lonely Speck Astrophotography 101 page for you to access at any time. Enter your email and whenever we post a new lesson you’ll receive it in your inbox. We won’t spam you and your email will stay secure. Furthermore, updates will be sent out only periodically, usually less than once per week.
[email-subscribers namefield=”NO” desc=”” group=”Lonely Speck Newsletter”]
Help us help you!
Believe it or not, Lonely Speck is my full-time job. It’s been an amazing experience for us to see a community develop around learning astrophotography and we’re so happy to be a small part of it. I have learned that amazing things happen when you ask for help so remember that we are always here for you. If you have any questions about photography or just want to share a story, contact us! If you find the articles here helpful, consider helping us out with a donation.
[button font_size=”16″ color=”#136e9f” text_color=”#ffffff” url=”https://www.paypal.com/cgi-bin/webscr?cmd=_donations&business=lonelyspeckblog%40gmail.com&item_name=These+tips+help+keep+lonelyspeck.com+running.¤cy_code=USD&source=url” target=”_blank”]Donate[/button]
Thanks so much for being a part of our astrophotography adventure.
-Ian
[button font_size=”16″ color=”#136e9f” text_color=”#ffffff” icon=”arrow-left” url=”http://www.lonelyspeck.com/astrophotography-101/” target=”_self”]Back to Astrophotography 101[/button]
Great work Tyler and thank you for making the video available! I am new to photo shop and was able to follow along and fix some coma issues in a photo of mine and will continue with future images.
Enjoy the shoot,
Josh
Fantastic tutorial. As it pertains to workflow, I’m interested to hear more about where you go following the COMA correction… Based on the start of this tutorial, this work should be done prior to any other changes (“pre-processing correction”). As such, I’m moving from LR > PS. Once I manage my COMA modifications, I wonder what you’d recommend as to making additional edits? Since I prefer to work in LR, what file would you recommend that I save this in with PS before moving back to LR?
Thanks!
I too have that Tokina lens and, yes there is coma, but it is great for general photography. Since I live on the East Coast (lots of light pollution and high humidity) I do not have the opportunity to shoot that many starscapes. As a result the thought of buying a dedicated lens (Rokinon) for star photos does sit well with my psych. Found your tutorial fascinating and I began to start/stop the video in order to capture your instructions but I was becoming confused. Bottom line, have you prepared a set of written instructions, that I could use as I follow your video?