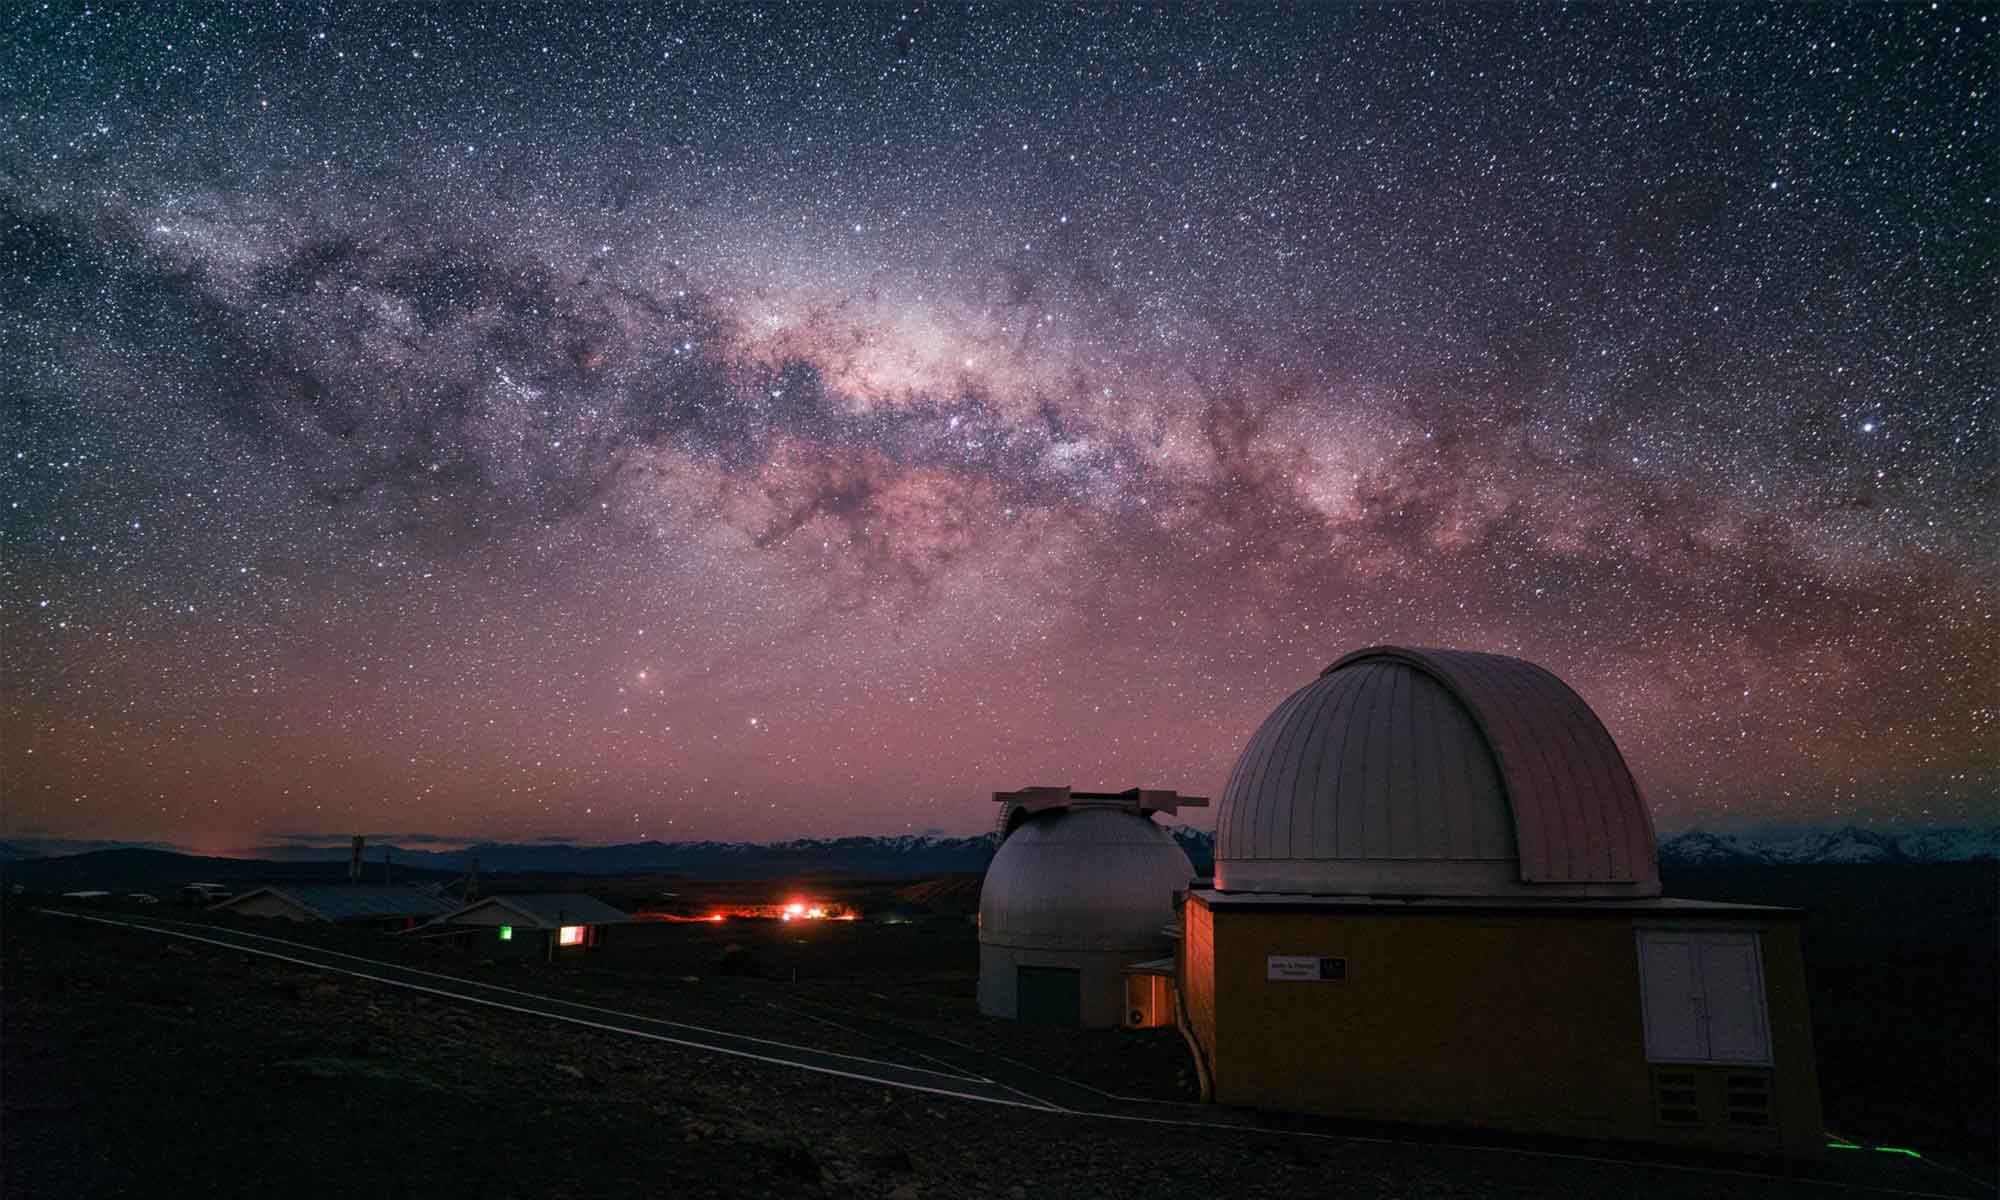
A video tutorial for reducing noise in Milky Way photos with image stacking in Adobe Photoshop CS6 Extended.
Sometimes you just have to accept noisy images for your astrophotos. With astrophotography, you’re typically shooting at high ISO settings, often exceeding ISO 3200. Sometimes this is perfectly acceptable, but depending on your equipment limitations, you may be restricted to lower shutter speeds and smaller apertures where signals are low and noise is high. This video will show you what I do in those situations.
There are a variety of methods for noise reduction including built-in camera settings and noise reduction post processing algorithms such as the ones available in Adobe Lightroom. Let me start by saying that the noise reduction capabilities of Adobe Lightroom and the Nik Dfine 2 plug-in are nothing short of amazing. If you are not already using Lightroom as your RAW processor, you should highly consider it.
But there are times where your equipment is just too limiting and no matter what you do, the noise just plain terrible. This is where image stacking makes a huge difference in reducing noise in your images. The averaging of even 4 or more separate exposures will do wonders to images that you might have abandoned otherwise. Image stacking is pretty much what all astronomers use for their deep sky images.
Landscape astrophotography presents some challenges with image stacking methods though because we have to deal with relative motion of the stars to the ground. In this video lesson, I show you how I use image stacks of smart objects with a median statistics filter in Adobe Photoshop CS6 to reduce noise in my astrophotos.

This apparently doesn’t work with “regular” versions of Photoshop. From what I’ve found elsewhere on the web, it only works with Extended versions. Very disappointing.
That’s correct, either Extended or the new CC photoshop is needed for Median Stacking.
Ian, in the video, it all made sense except for when you auto-aligned the layers, you left the blend mode at Normal. Wouldn’t that leave only the top layer visible and not make use of the other 14 images ? I would’ve thought a blend mode change would have been required so that all 15 images contributed to the brightness of the stars.
Was a step missed ?, or have I misunderstood something?
Fantastic info though regarding your process and the use of the median filter for noise reduction.
regards,
Steve.
Steve, that’s a good question. If we are using a median filter for noise reduction, we want all of the layers to be ‘normal’ for the blend mode. You are right that at first, just after aligning, all we are seeing is the top layer. The lower layers only contribute once we combine them all into a smart object and tell that smart object to filter all the layers with the median stack mode. At that point Photoshop is filtering through each pixel location and only returning the median value. This means that the noisy pixels will tend to be thrown out and it will keep the data we we want from any given layer for any given pixel location, hopefully resulting in a less noisy photo.
Do you know if photoshop Elements 12 is capable of these results? Or is CS6 required?
Hi Ian!
Just a simple question : is image stacking necessary even after using Nik Dfine 2?
Thank you in advance
Samuel
Samuel, I recommend stacking before using Dfine or any other noise reduction filter. Stacking is not explicitly necessary at all. I make single exposure images all the time too but for the best results an image stack can make a really clean photo, far cleaner than what could be done with just a noise reduction filter like Dfine.