


In this review, we take a look at Canon’s latest camera designed specifically for astrophotography: the Canon EOS Ra. We point it toward some staple Northern Hemisphere winter constellations. How does an astrophotography specific camera differ from a normal camera? Read on to find out.
Video Review
Introduction
We’ve been asked many times about our opinions of “astrophotography-modded” cameras, but until now, we’ve never actually had any experience shooting with one. For this review, we shot a series of photos during one night with the Canon EOS Ra with its specially-filtered sensor made specifically for astrophotography.
Most cameras are designed to capture most light in the visible spectrum: all the colors of the rainbow that our eyes can normally see. But the Canon EOS Ra was designed to better capture certain colors in the red end of spectrum. The most important of these specific bands of light is called Hydrogen alpha or H-alpha light, which is emitted by many of the nebulae in the night sky.

The EOS Ra achieves this ability simply by using a different type of filter glass on its sensor. Rather than the typical infrared and ultraviolet cut filter (a.k.a. the “hot mirror”) found on most camera sensors, the EOS Ra has a special filter that allows a larger portion of the red end of the spectrum to better pass through to the sensor, greatly augmenting the camera’s ability to capture H-alpha details from certain nebulae in the night sky.
When we photograph the night sky, many of the most iconic night sky objects present themselves in these reddish colors. Nebulae such as the Orion Nebula, the North America Nebula, Barnard’s Loop and the Angelfish Nebula all transmit a lot of Hydrogen alpha light that would otherwise be less visible to most cameras.
First Impressions
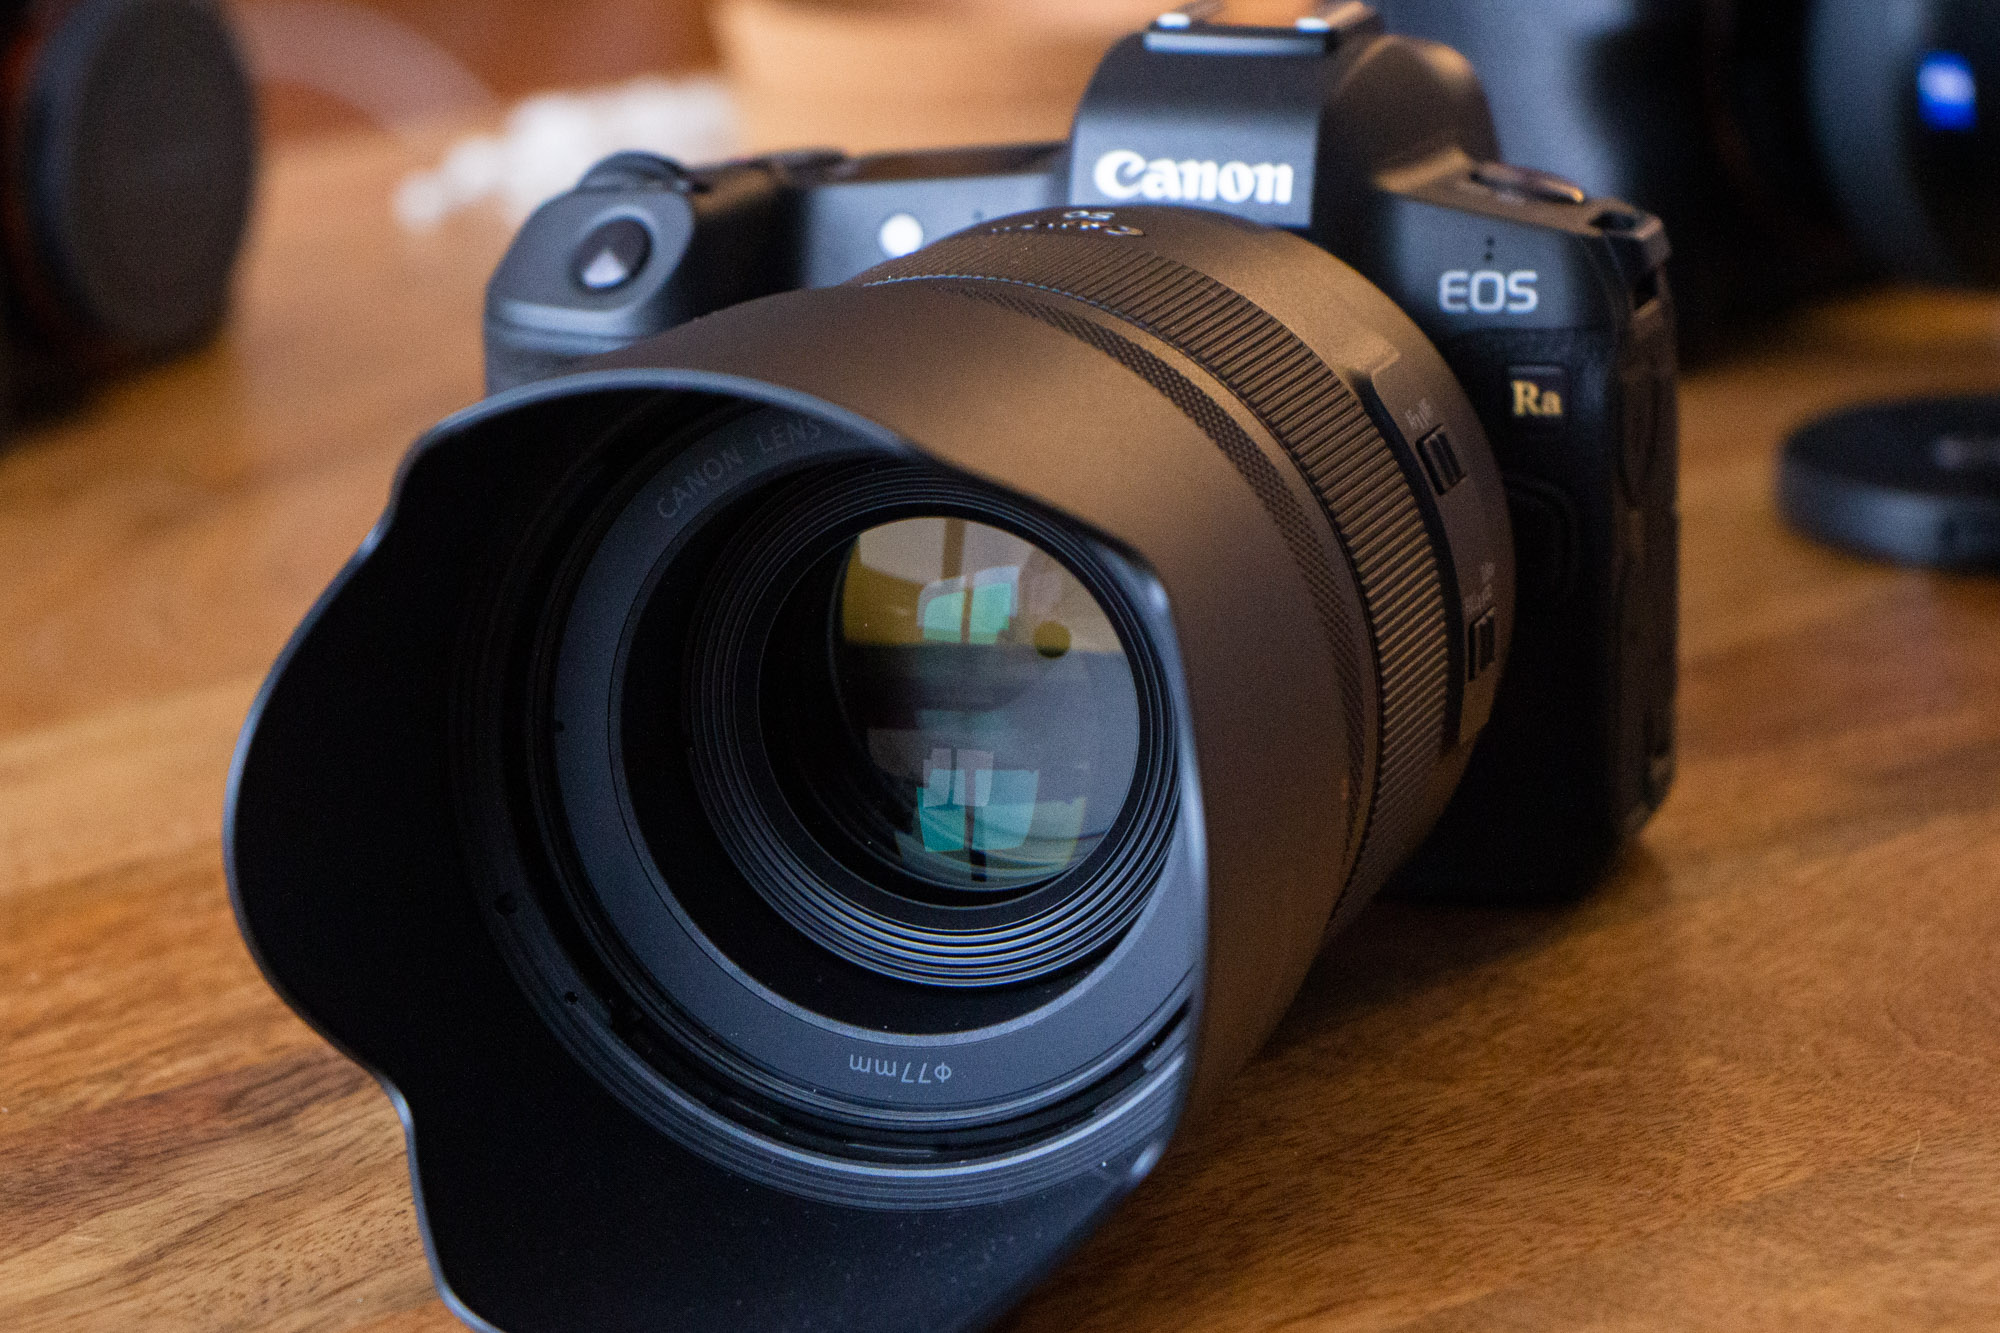
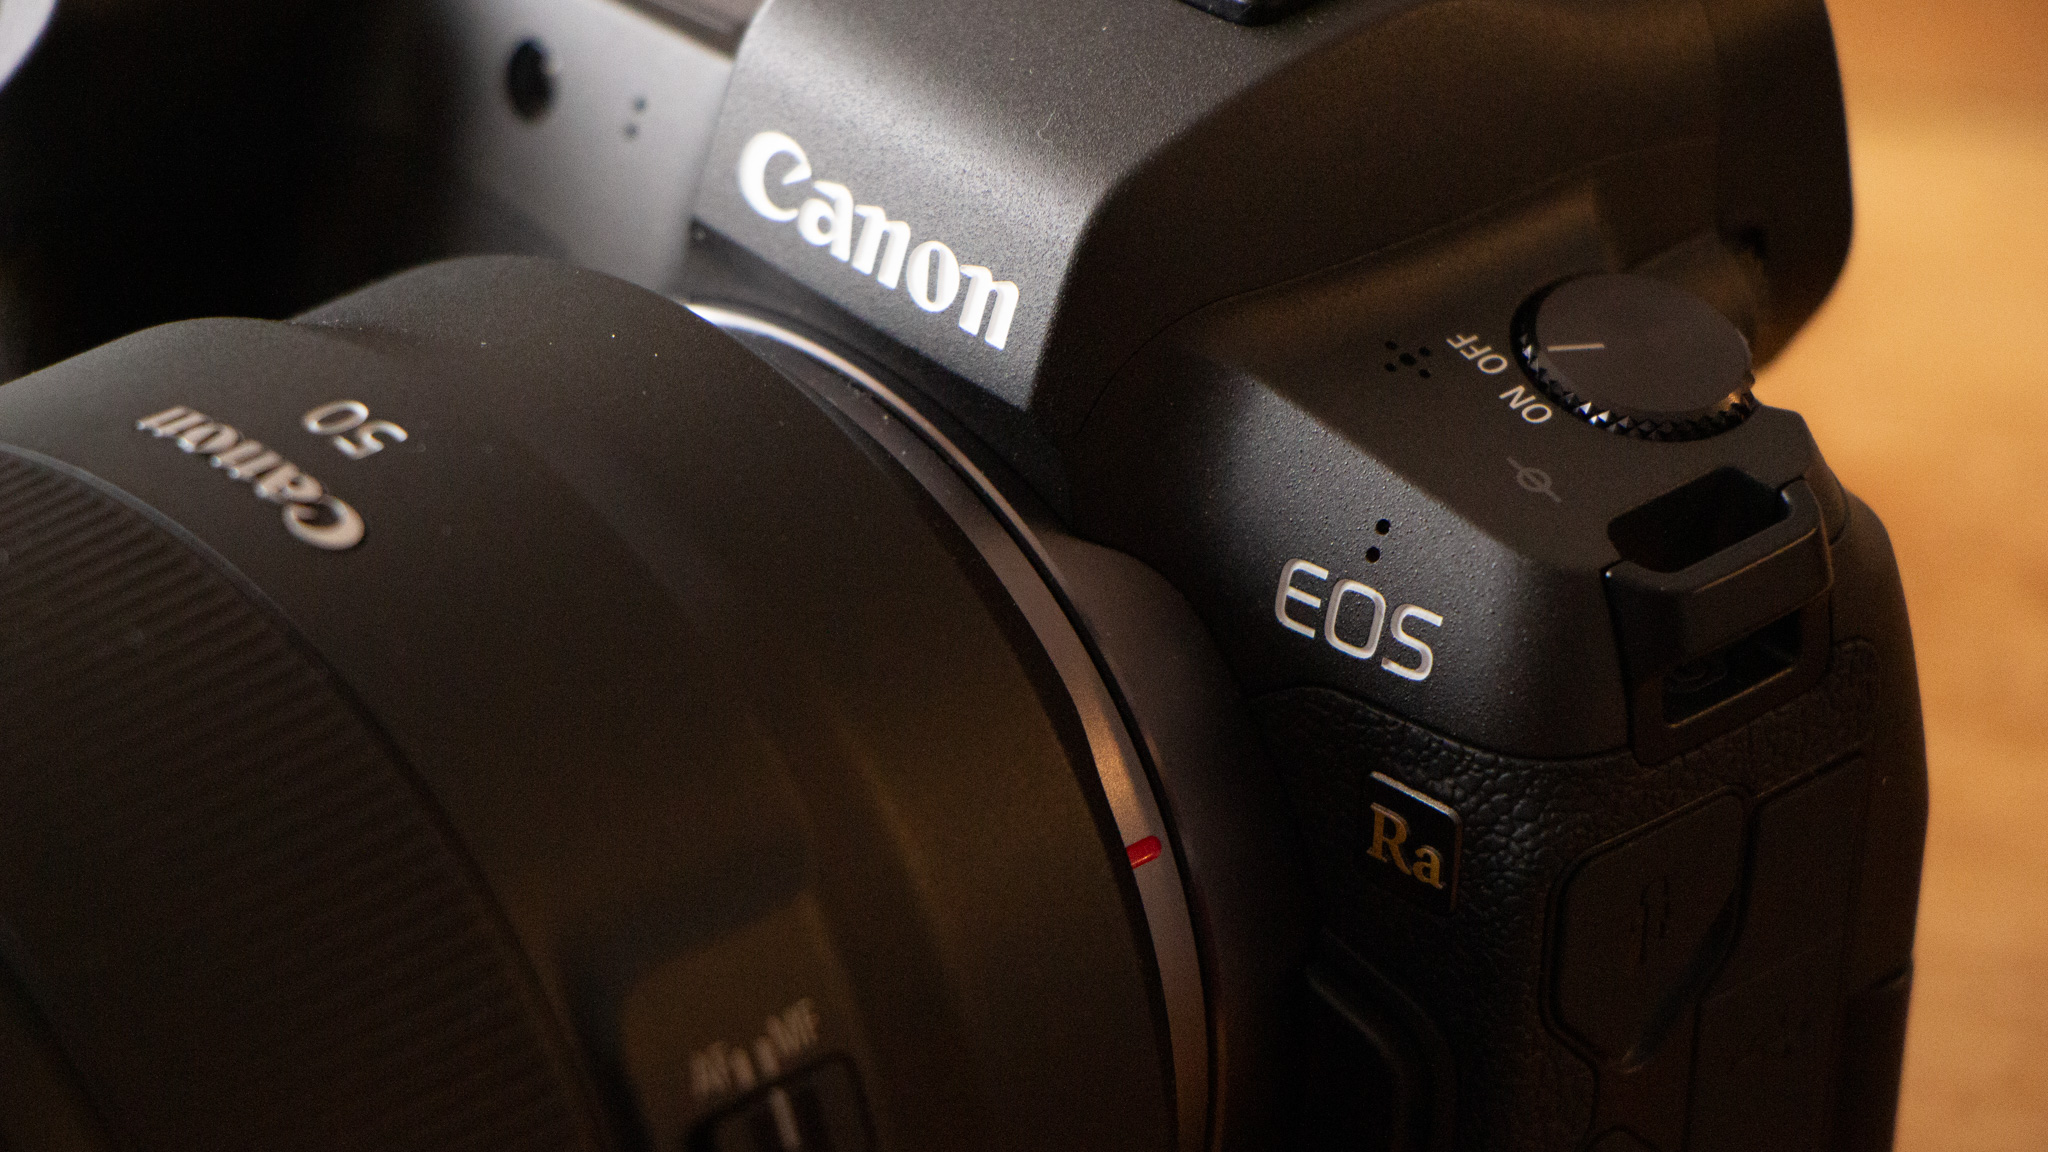
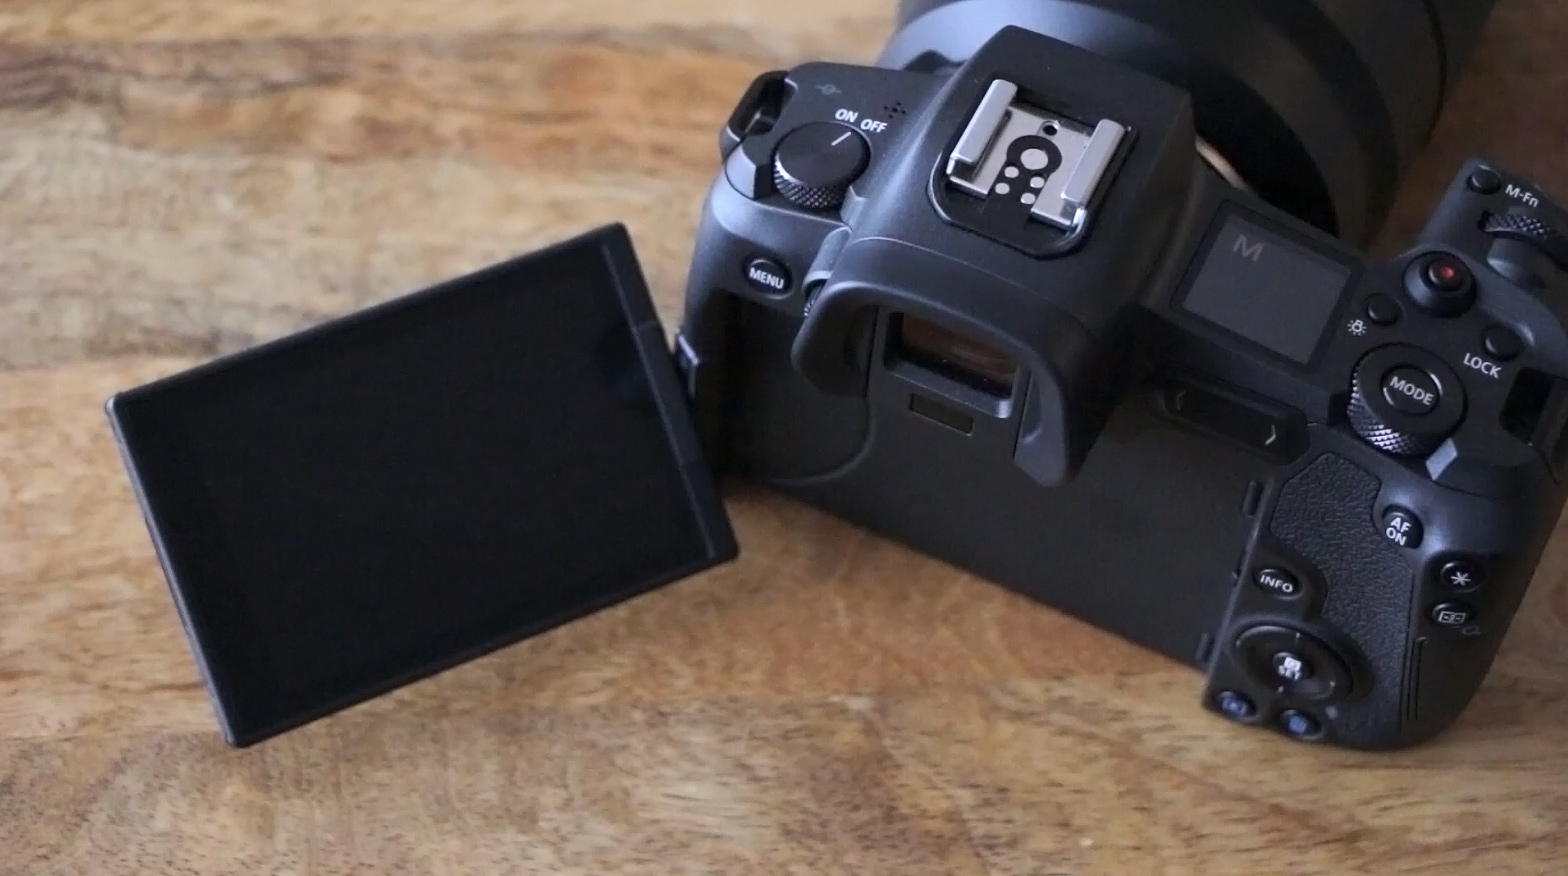
If you’re familiar with Canon’s first full-frame mirrorless camera, the “normal” Canon EOS R, the Ra variant will appear and operate identically, save for the small badge on the front of the camera that reads “Ra”. The “a” in this case stands for “astrophotography”.
Internally, there are two other differences: (1) a re-calibration of the sensor’s color processing to account for the different sensor filter, and (2) the added ability to use a stronger 30x live magnification for precision manual focusing. Besides those two features, the EOS Ra camera operates exactly the same as the regular EOS R and shares the exact same specifications sheet.

Coming from several years of shooting Sony mirrorless cameras, Canon’s interface design language and overall user experience is refreshing. The Ra is slightly larger than our Sony a7III (full review), but in a good way. The body is taller and its grip is noticeably bigger and deeper, making it slightly more comfortable to hold.
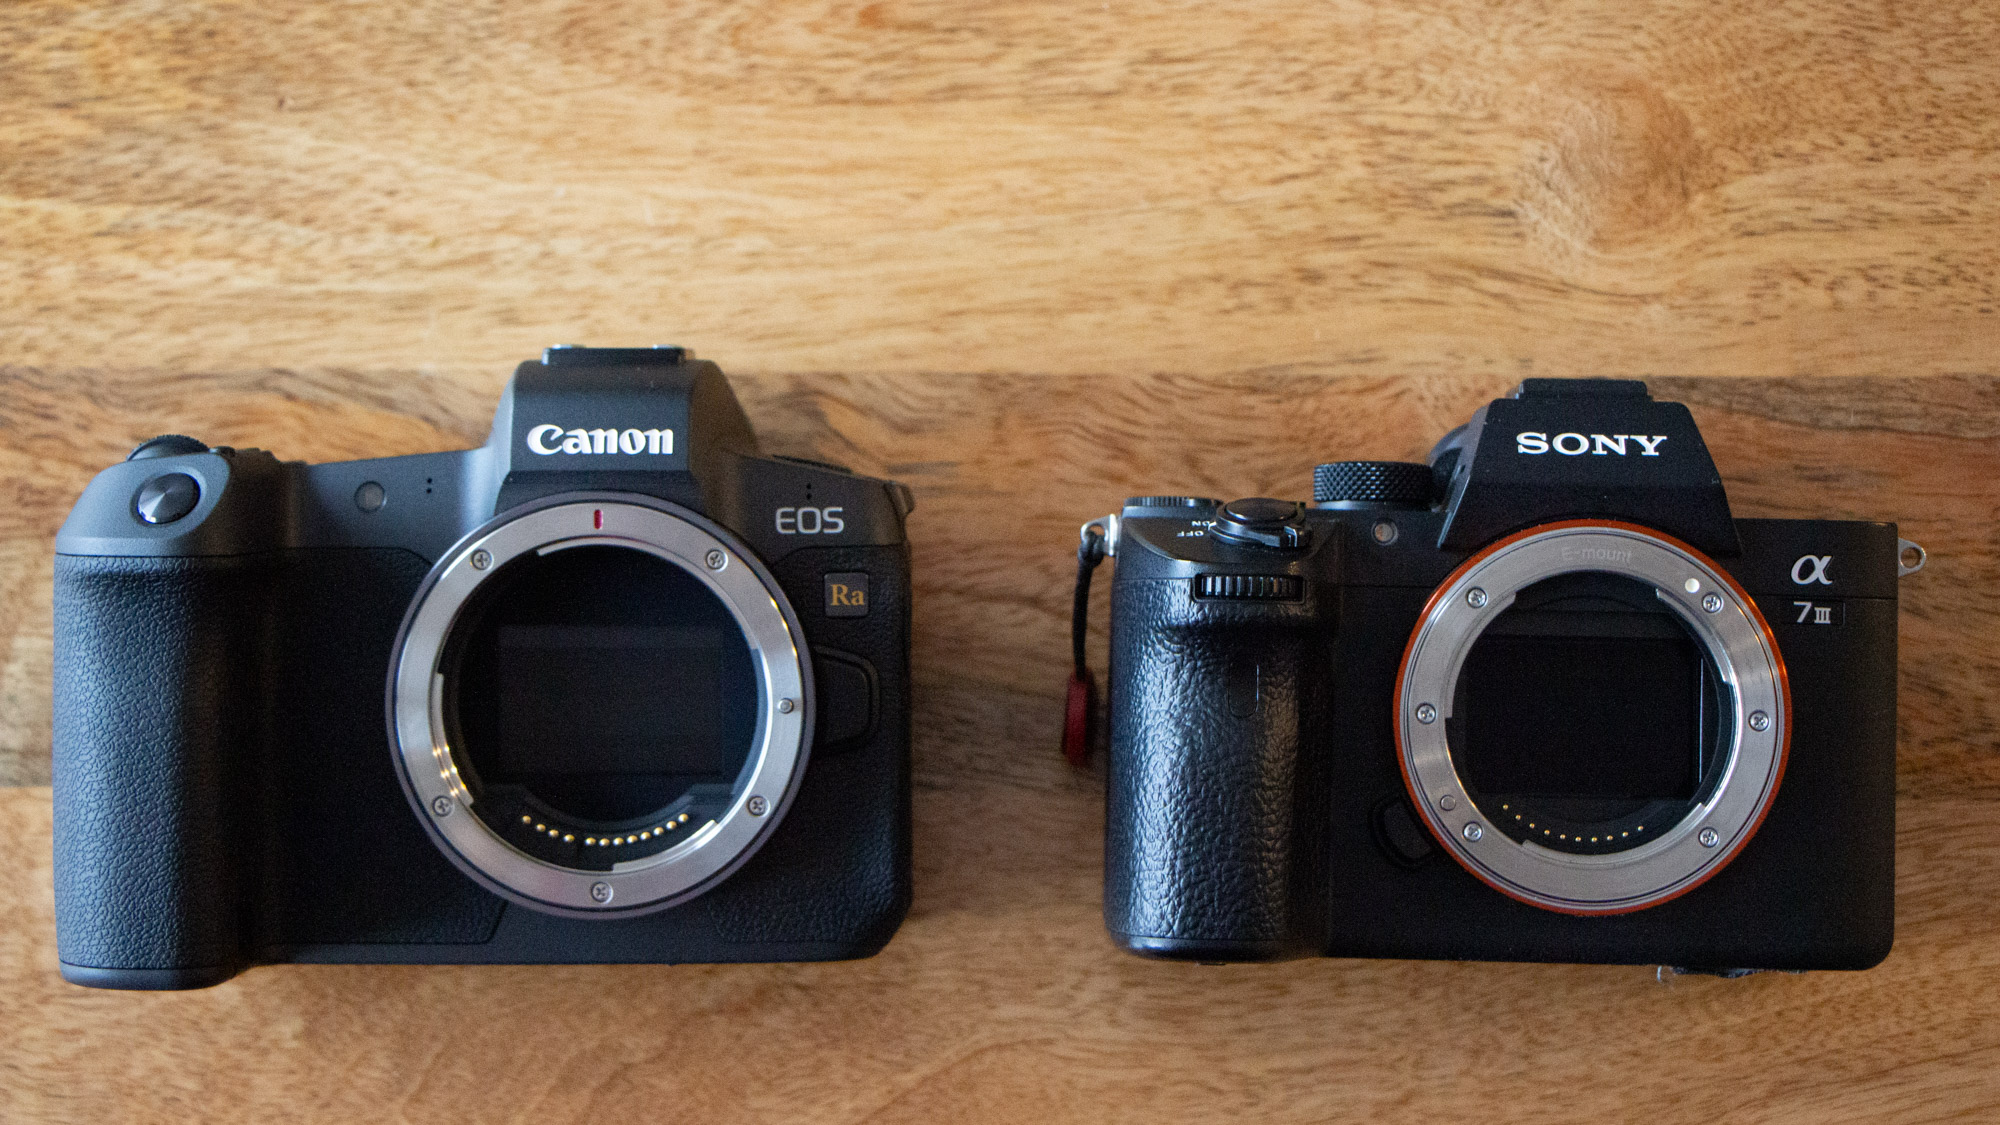
Like Nikon’s new Z mount, the new Canon RF lens mount is noticeably larger in diameter than Sony’s E mount, allowing Canon engineers much more room for designing in large lens elements for their lens designs. That means the RF mount should be much more suitable for fast, low f/number lenses, which is a huge advantage for night photographers looking forward to the development of fast lenses for Canon’s mirrorless system. Canon already offers several fast lenses for the RF mount, such as the 28-70mm f/2L, 85mm f/1.2L and 50mm f/1.2L lenses.
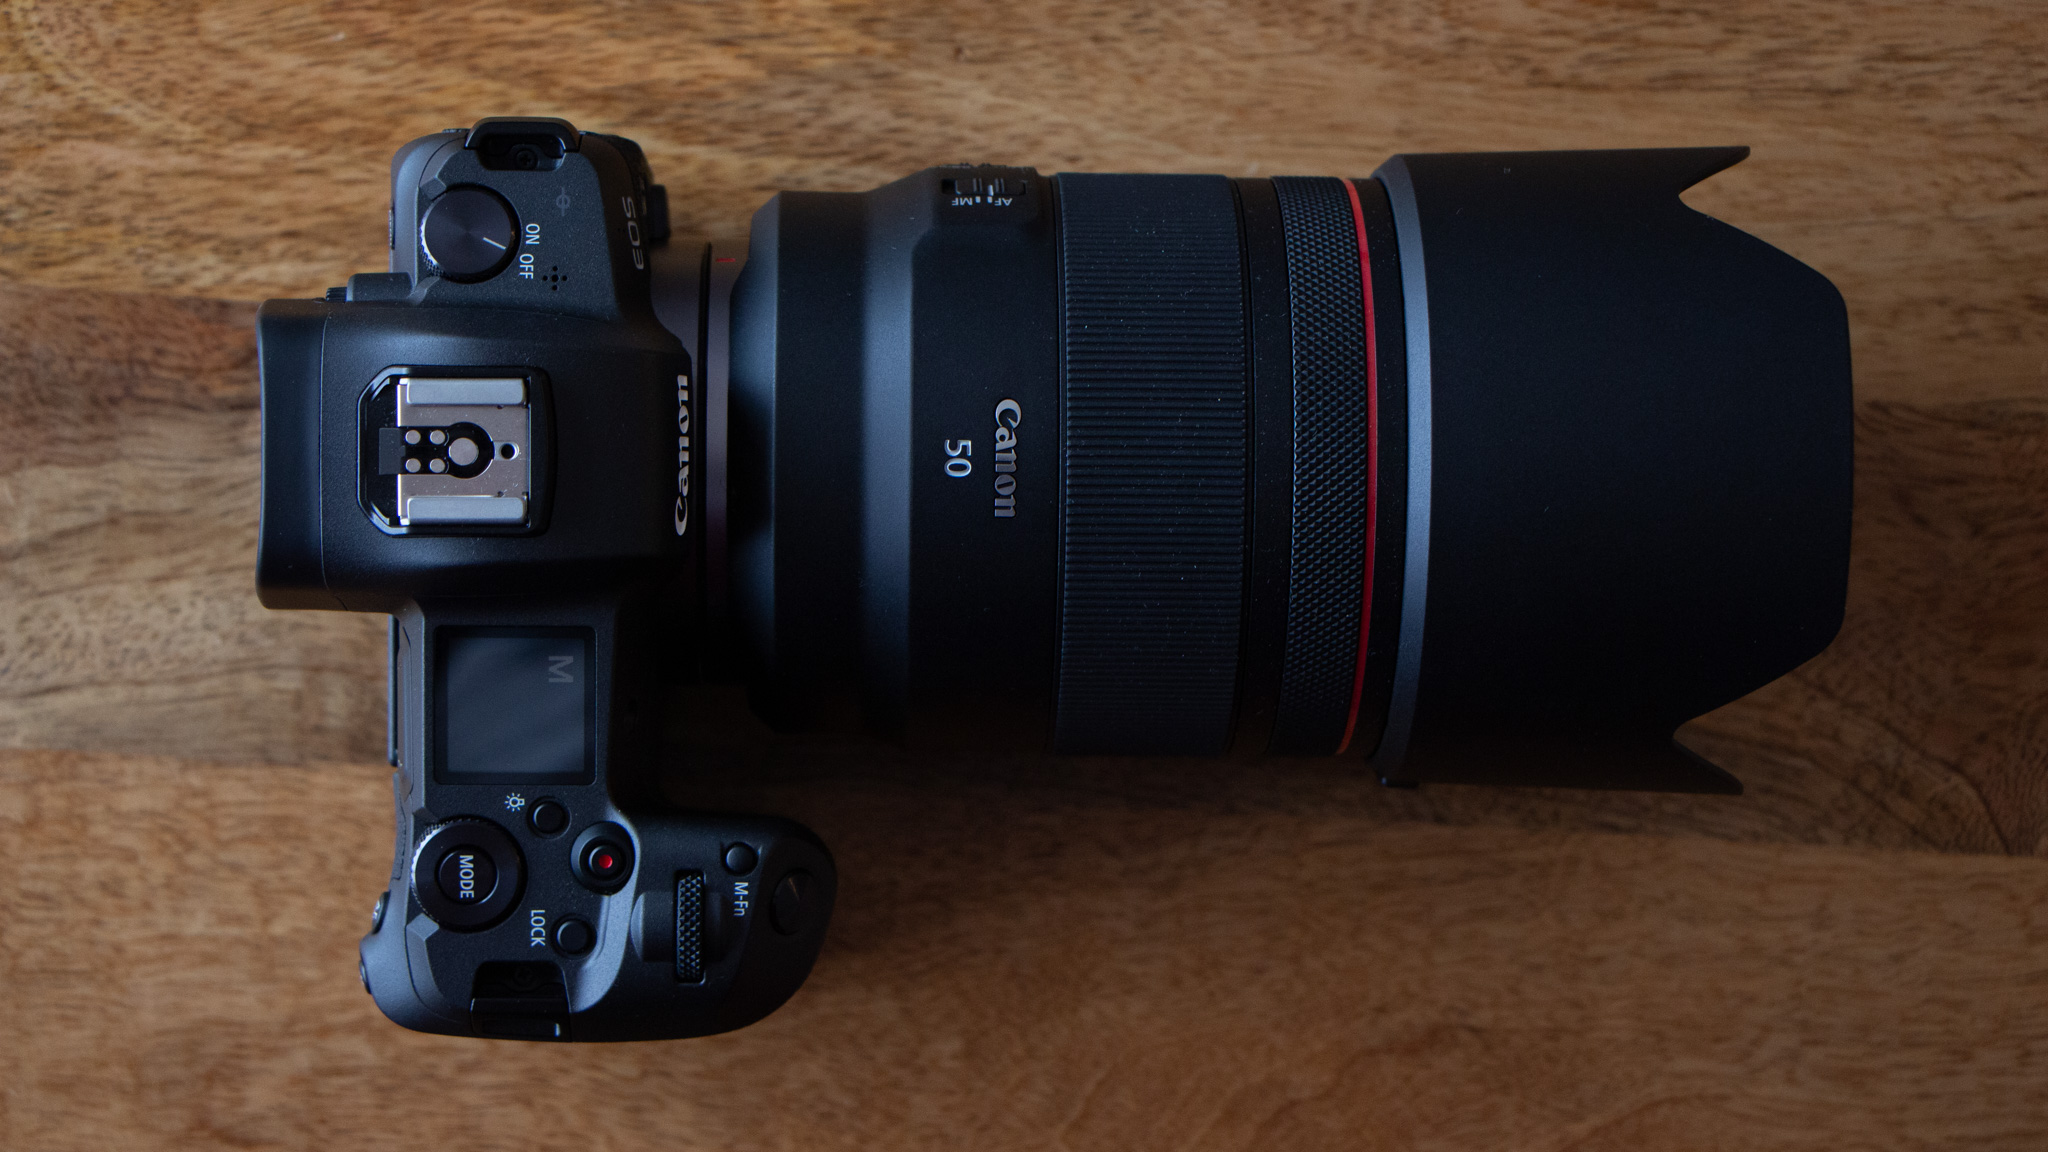
With a large lens mounted, the EOS Ra feels solid and balanced, much more so than I would expect with a similarly large lens mounted to one of our Sony cameras. We paired our EOS Ra with the extra large RF 50mm f/1.2L lens, hoping the huge f/1.2 aperture would give us extra light gathering capability and plenty of room to stop down for minimal vignetting. The 50mm field of view is also a perfect choice for photographing one of our favorite parts of the winter night sky: the Orion constellation. In practice, the RF 50mm f/1.2L lens was excellent for astrophotography, particularly when stopped to f/2.0, as we show later in this review.
Shooting Experience
As far as ergonomics for shooting astro, we love that the EOS Ra has a fully articulating touchscreen. It’s much nicer to be able to use the camera in both portrait and landscape orientations, or anywhere in between, especially when compared to the uni-directional tilt screen of all of our Sony cameras. Most of the button layout is easy to learn, and we found that all of the buttons were fairly easy to press while wearing gloves on a cold night. The LCD touchscreen interface design has large graphical elements that make it work well with touchscreen friendly gloves, a welcome function when shooting in winter conditions.
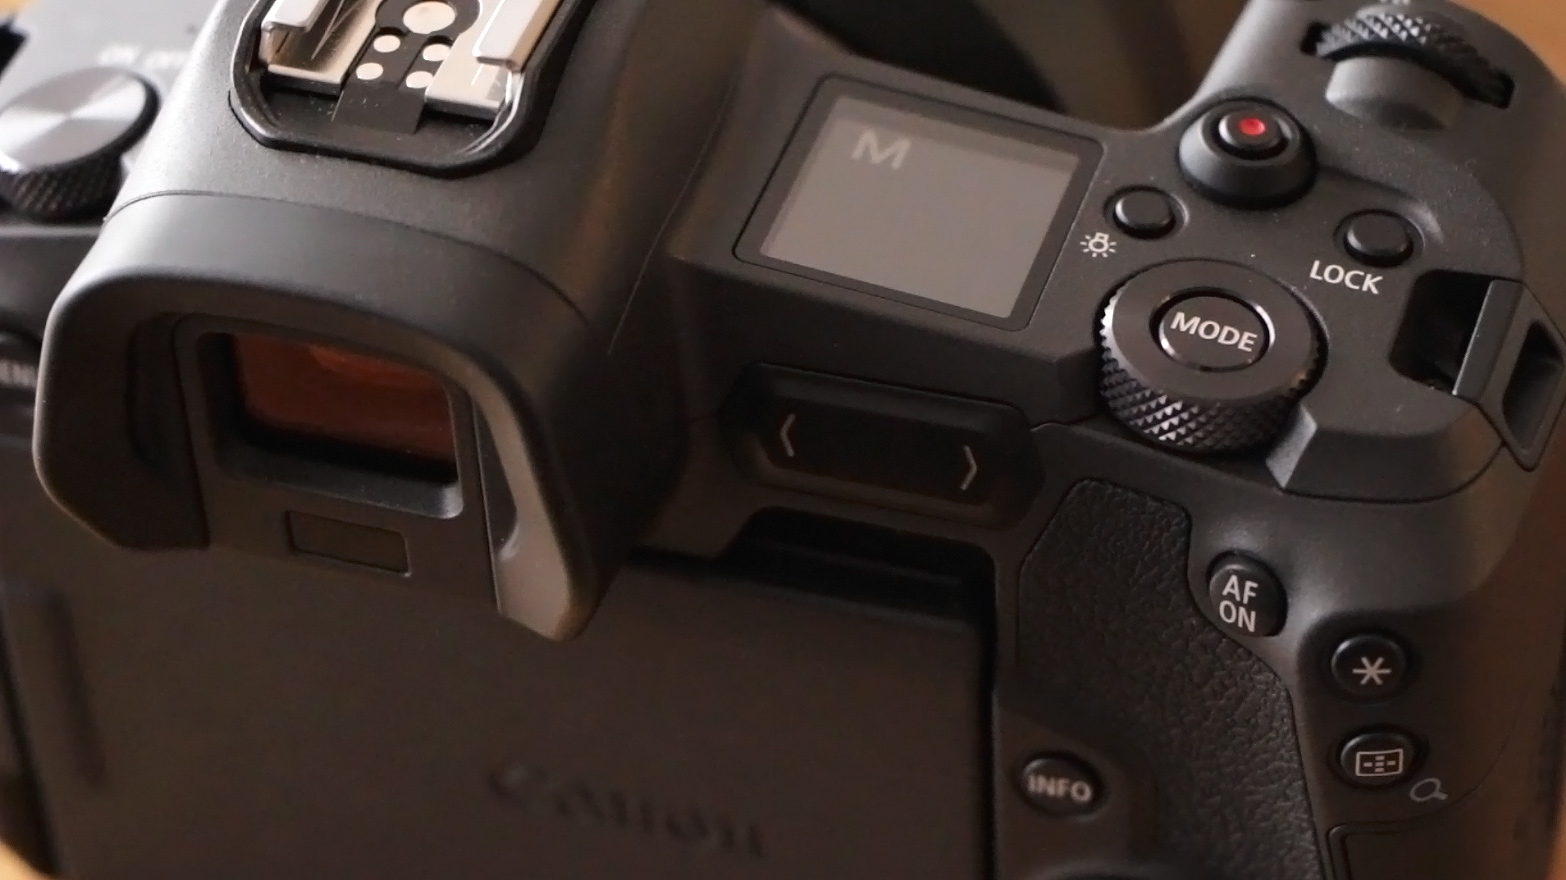
The rear directional touch bar was the most controversial feature of the original EOS R when it was released — and with good reason. It’s weird to operate. Unfortunately, this feature is the same on the EOS Ra. By default, the touch bar requires the user to hold their thumb down on the bar to unlock it before it can be used, a behavior that takes a bit to get used to. After it’s unlocked, the touch bar can be used to change a variety of different settings, such as ISO, depending on how it is programmed. With some practice in how it functions, it works fine, but overall, it just doesn’t feel very good to use. There’s no tactile feedback, so sometimes it feels difficult to change a setting while other times it feels too sensitive. A simple physical knurled click dial or wheel would have been better.
Most Canon users will take this for granted, but the most refreshing element of the EOS Ra’s user experience is its flip out touch screen. Canon mastered touch screen capable DSLRs eight years ago with the Canon EOS T4i, and if you’ve used any modern Canon DLSR, you’ll feel extremely comfortable with the Canon EOS Ra’s touch screen. Every single function of the camera is navigable with the touch screen, and its overall interface layout is intuitive and very quick to operate. Ultimately, it’s nothing new if you’re already shooting Canon, but coming from Sony, it makes the Sony a7III’s lack of a true touch interface feel exceptionally antiquated.
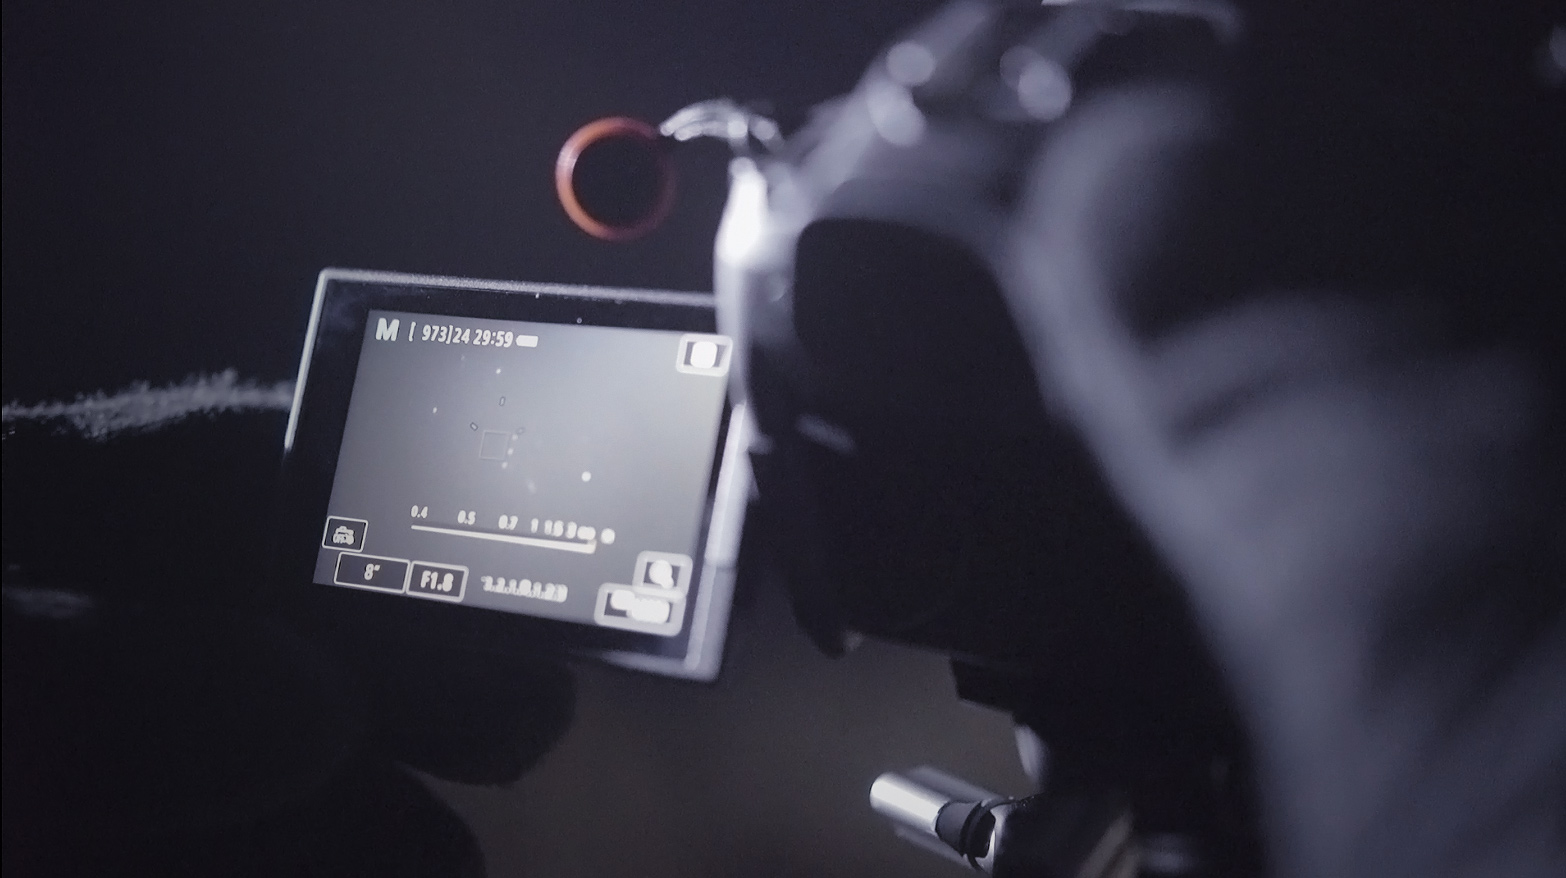
We liked that the EOS Ra had the capability to digitally magnify to 30x for precision manual focusing, but we were disappointed that this function entirely replaces the standard 10x magnification. You can choose to magnify at 5x or 30x but nowhere in between. In some cases, we felt that the 30x view was a little too strong, while the 5x too weak for certain focusing targets. Luckily, the live feed from the sensor is exceptionally bright, making it possible to see numerous dim stars and to see a well-defined horizon line, even in very dark conditions. Composition and focusing on the EOS Ra is exceptionally easy.
We were disappointed to find out about the lack of a built-in interval timer in the EOS Ra. While the camera has an internal time-lapse video function, it only outputs a video file and does not save raws of the individual frames. The lack of such a valuable feature for astrophotography, especially one that’s already available on many Canon cameras like the EOS 5D Mark IV, seems like a big misstep. The only options for owners of the EOS Ra to be able to capture time lapse sequences of raw photos is to use an external remote or tethering solution such as the Canon TC-80N3 or with a laptop and Canon’s EOS Utility software.
We didn’t have either a laptop or the TC-80N3 for our review, so we opted to shoot our numerous exposure stacks for this review by utilizing the touch-to-shoot function of the EOS Ra. That feature made it possible to very lightly touch the LCD screen to trigger the shutter. While a bit tedious for large amounts of images, it made it easy to make shake free images throughout the night, even without a remote.
Overall, in spite of a few quirks, the Ra is exceptionally intuitive in function, and we had no issues getting comfortable with its operation. Even though its shooting experience is pretty similar to most Canon DSLRs from the last few years, its user experience design still feels like a generational leap when compared to our modern Sony mirrorless cameras.
Image Quality
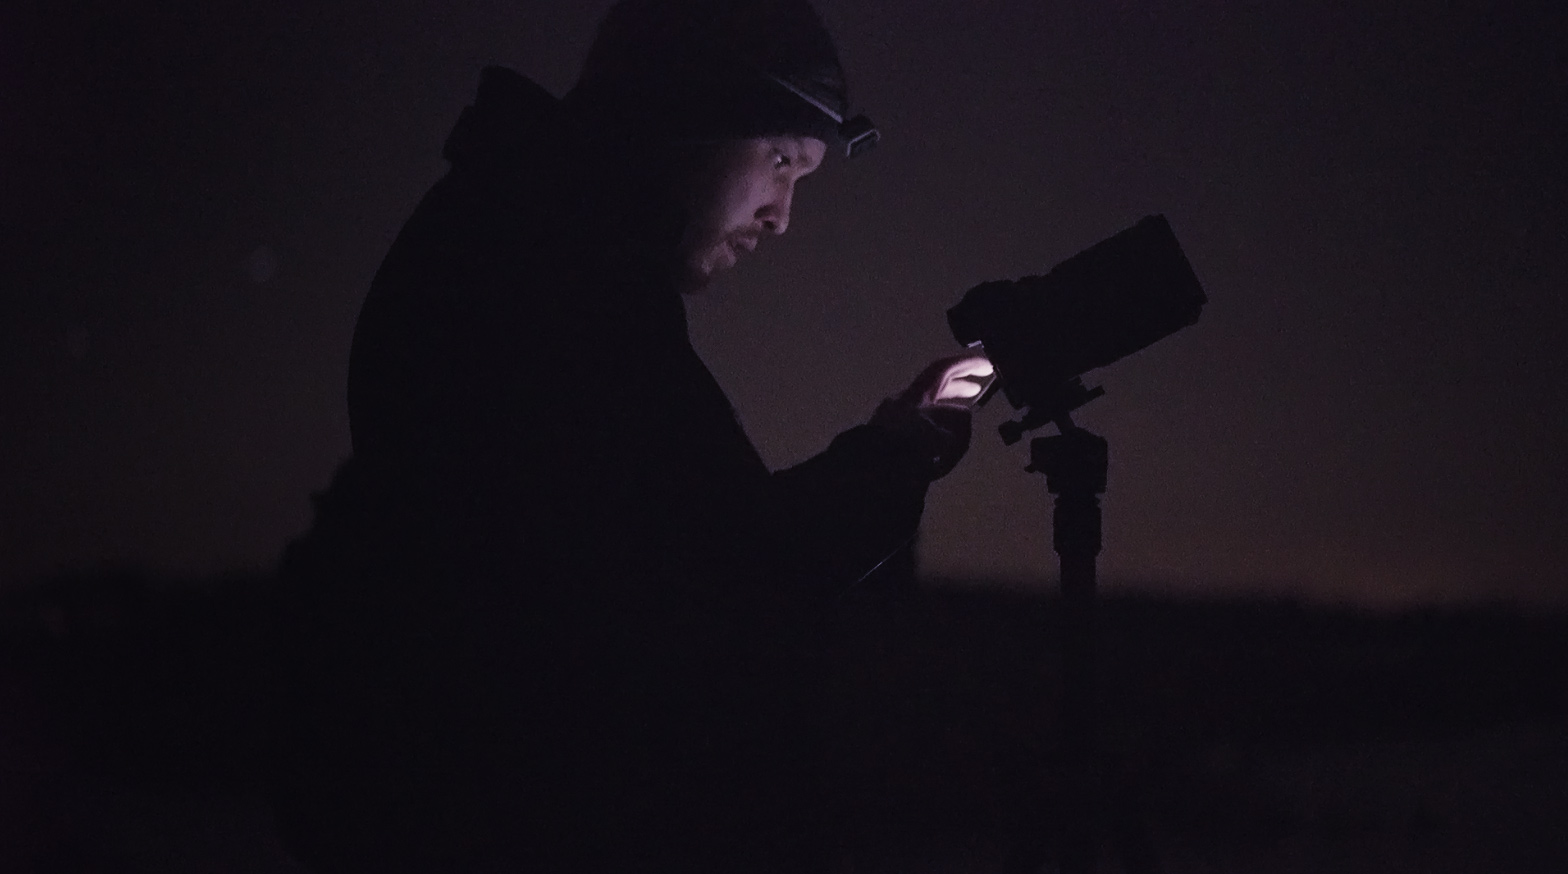
For this review, we traveled to Green River State Wildlife Management Area in Illinois, about 2 hours outside of Chicago. We arrived on a cold evening just before sunset, giving us time to figure out our shooting locations well before it got fully dark.
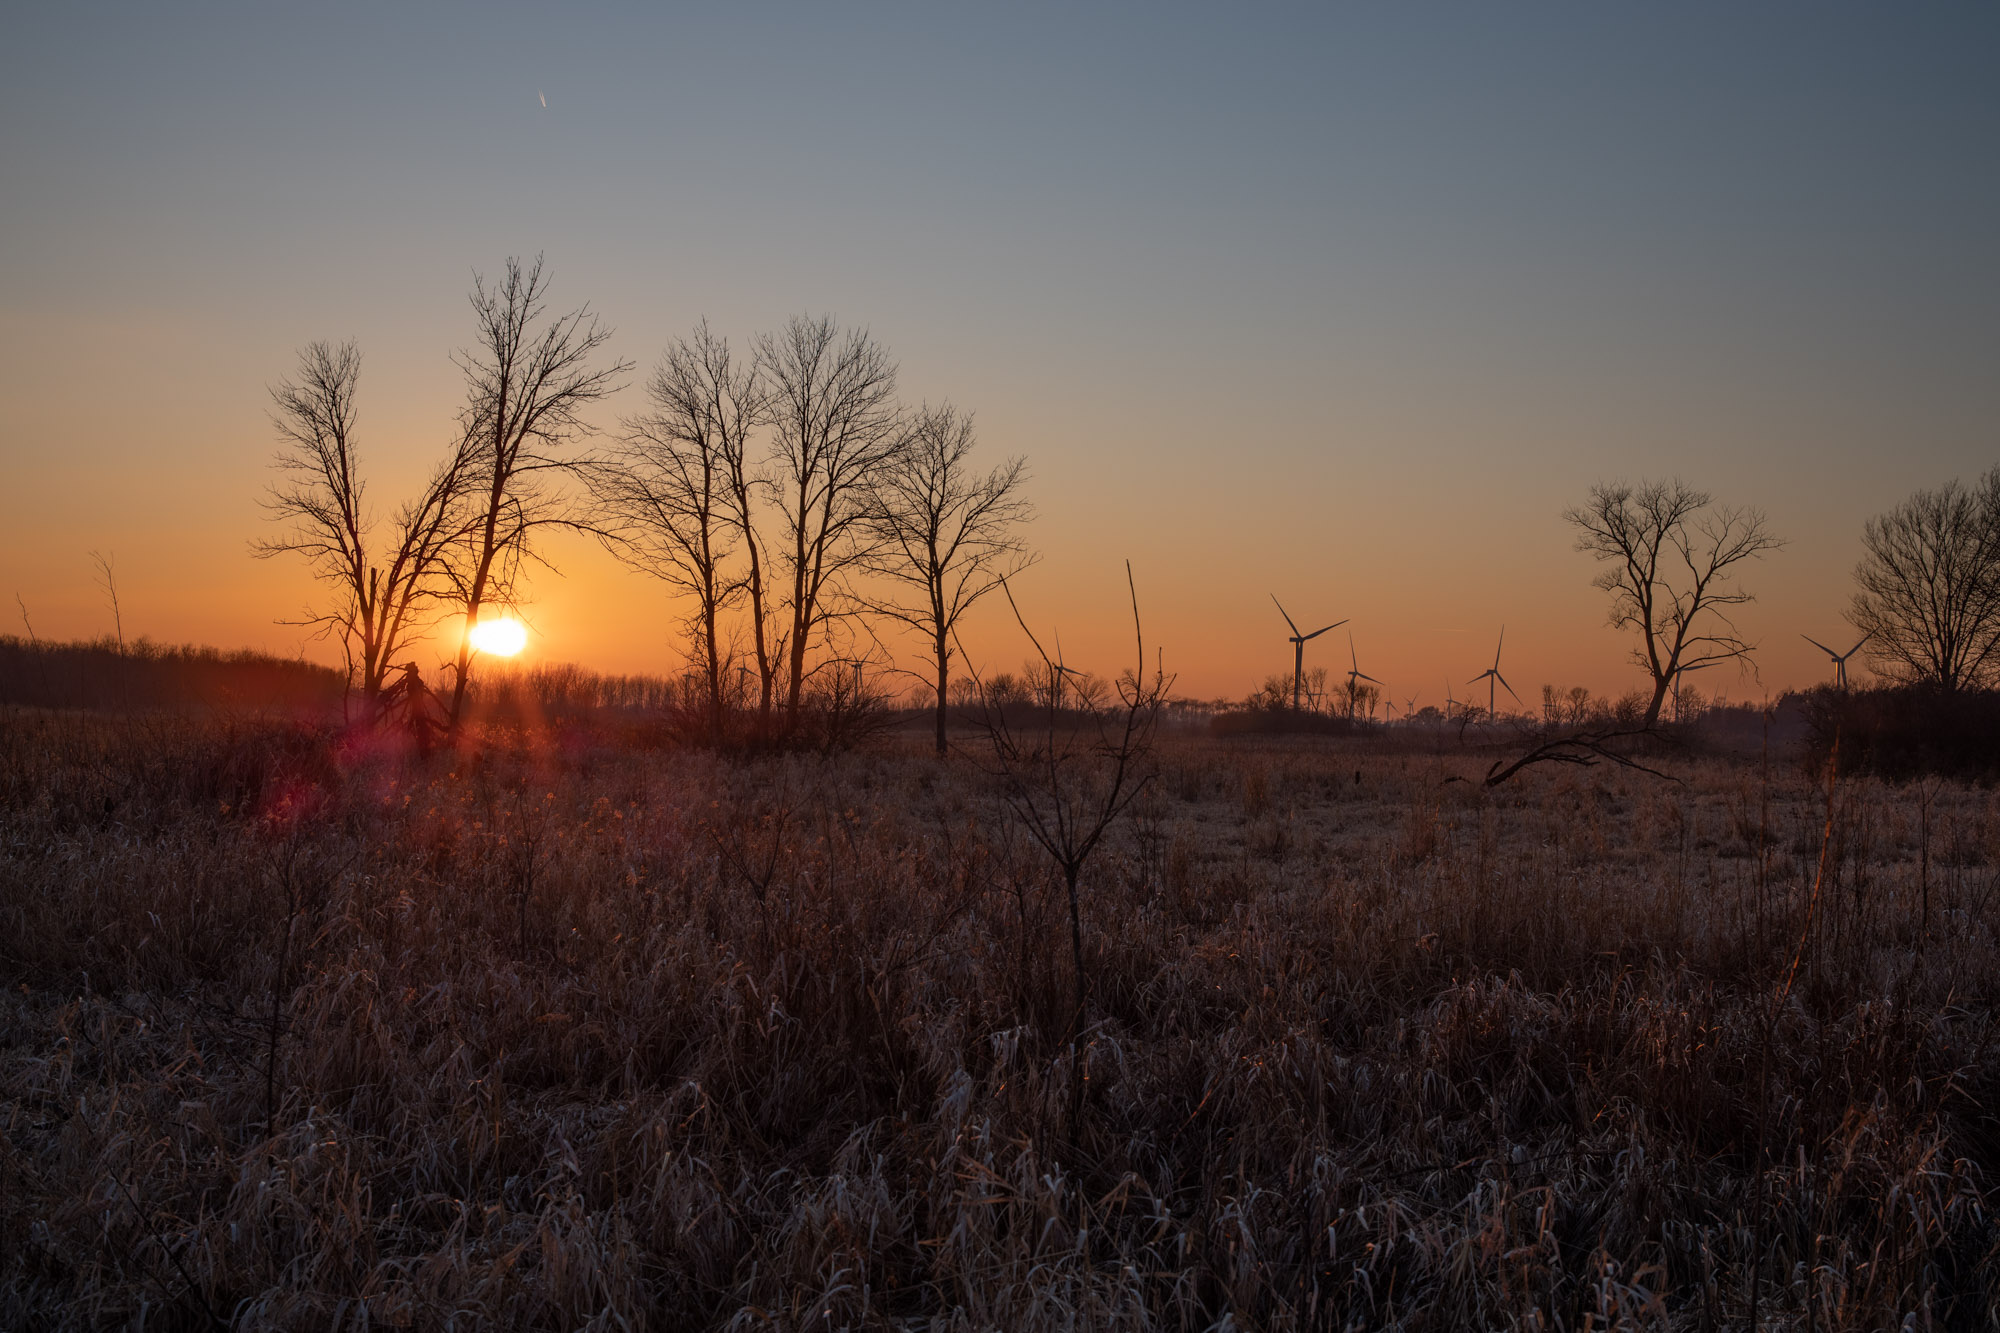
The Green River Wildlife Area is an expansive restored prairie with wetlands and grassland areas. It’s located adjacent to huge rows of electricity generating windmills and features areas for hiking, horseback riding, camping and hunting. On such a chilly evening, with frost coating much of the dry brush and a layer of ice on the marshes, we had the entire wildlife area to ourselves.

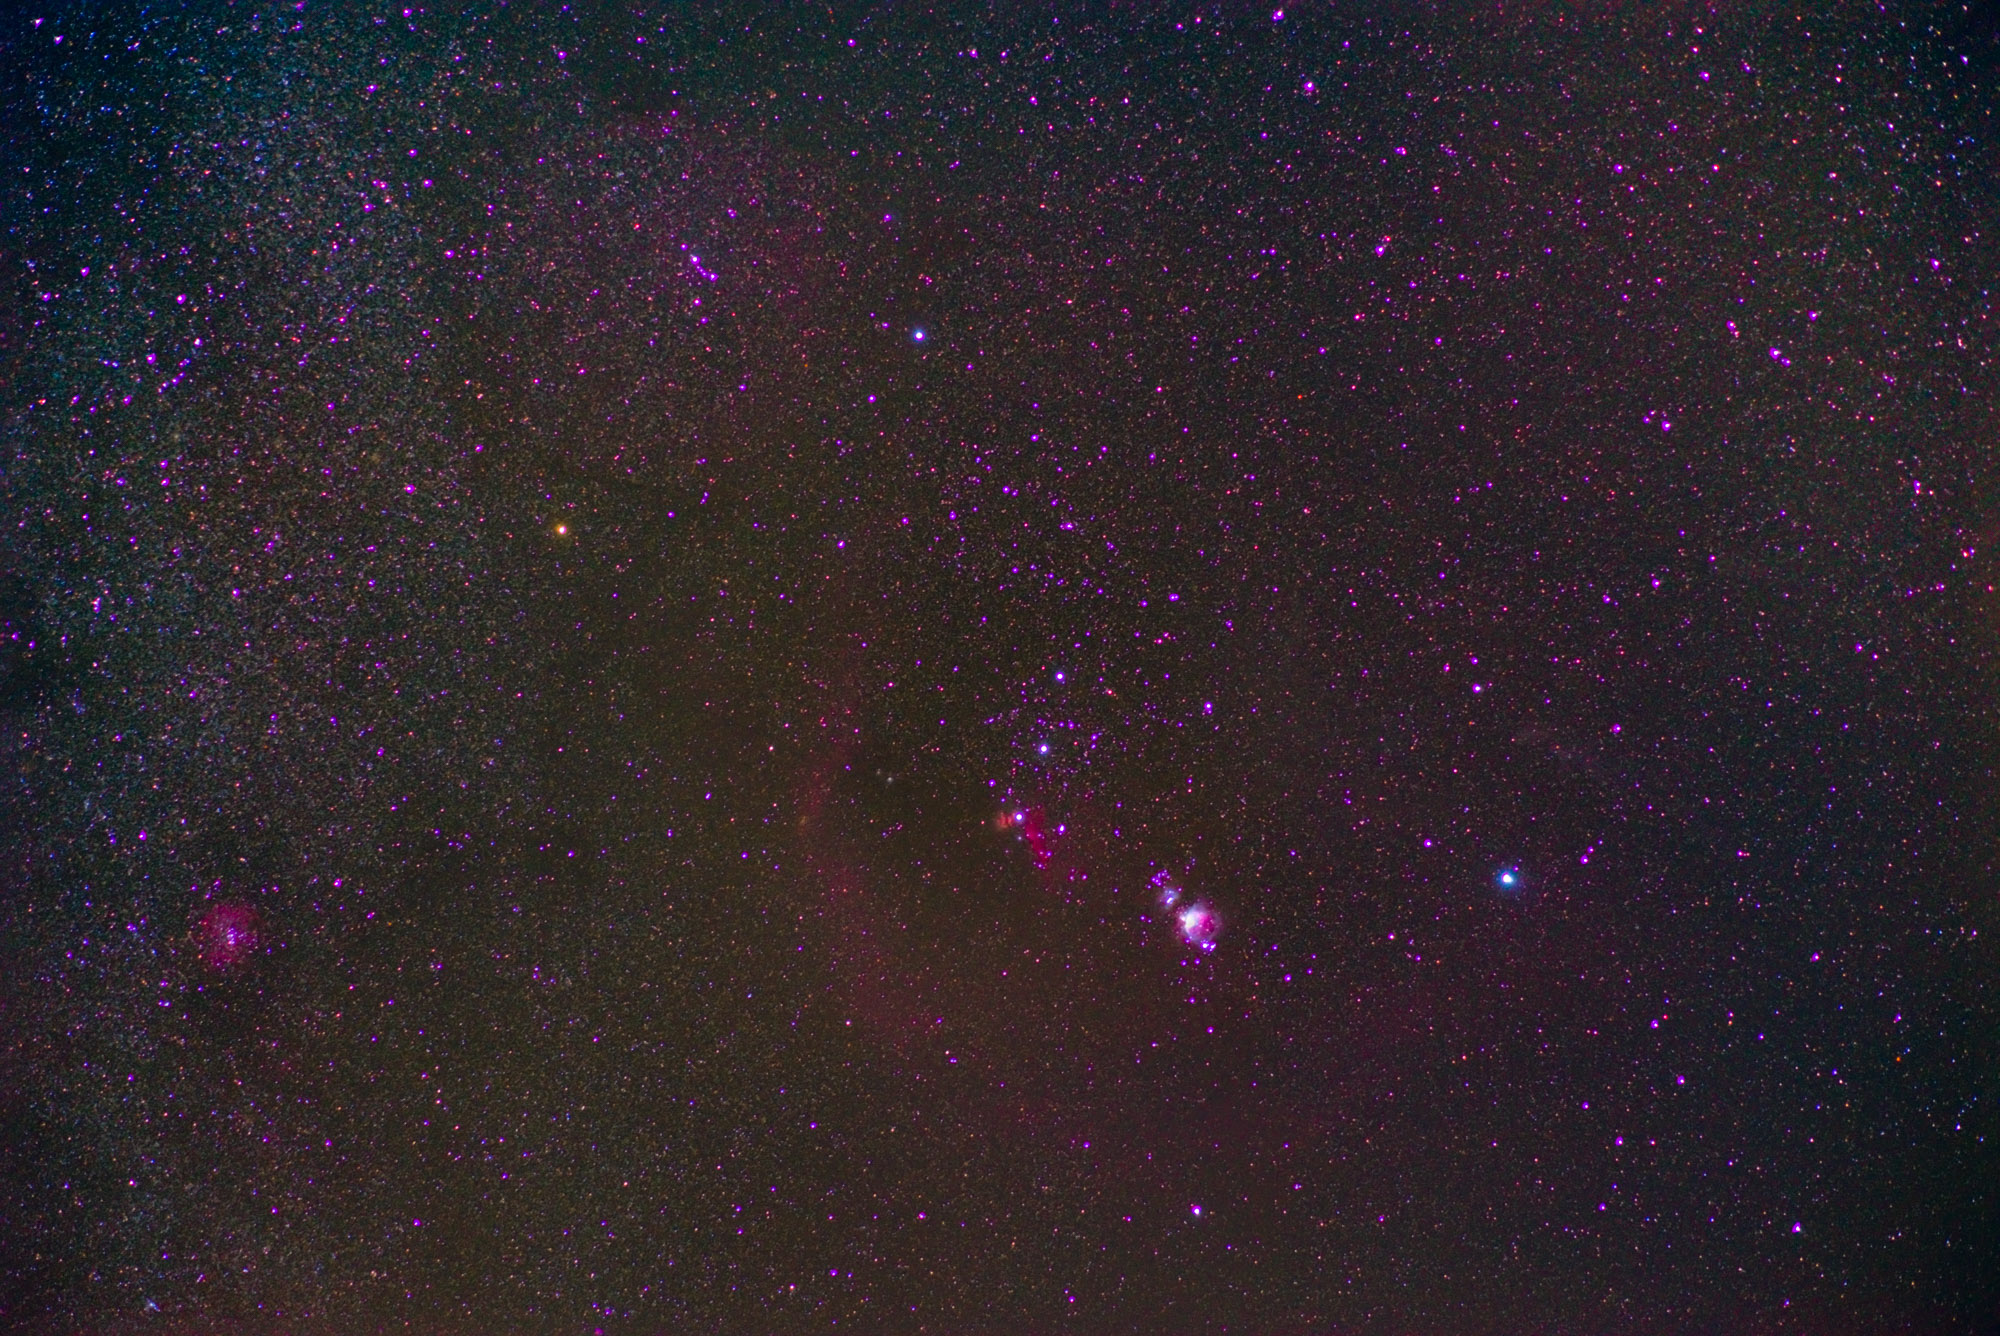
We set out with the EOS Ra to capture some staple constellations that are typically most visible in the Northern Hemisphere’s winter. Our first and most important target in the night sky was the Orion constellation. Orion contains some of the brightest stars in the night sky and is filled with numerous red emission nebulae, perfect for testing the H-alpha capability of the EOS Ra’s sensor. We also brought our unmodified Sony a7S as a comparison baseline to see if the Ra’s sensor was actually giving us an advantage over a “normal” full-frame camera.
The constellation Orion is one of our favorite areas of the night sky. Over the course of the year, it’s normally only visible roughly between October and April, making it the staple winter constellation in the Northern Hemisphere.
For this review, we’ll be employing the practice of stacking multiple exposures to help pull out as much faint detail in our astrophotos as possible. Let’s start with a direct comparison of unprocessed shots from the Canon EOS Ra and Sony a7S:
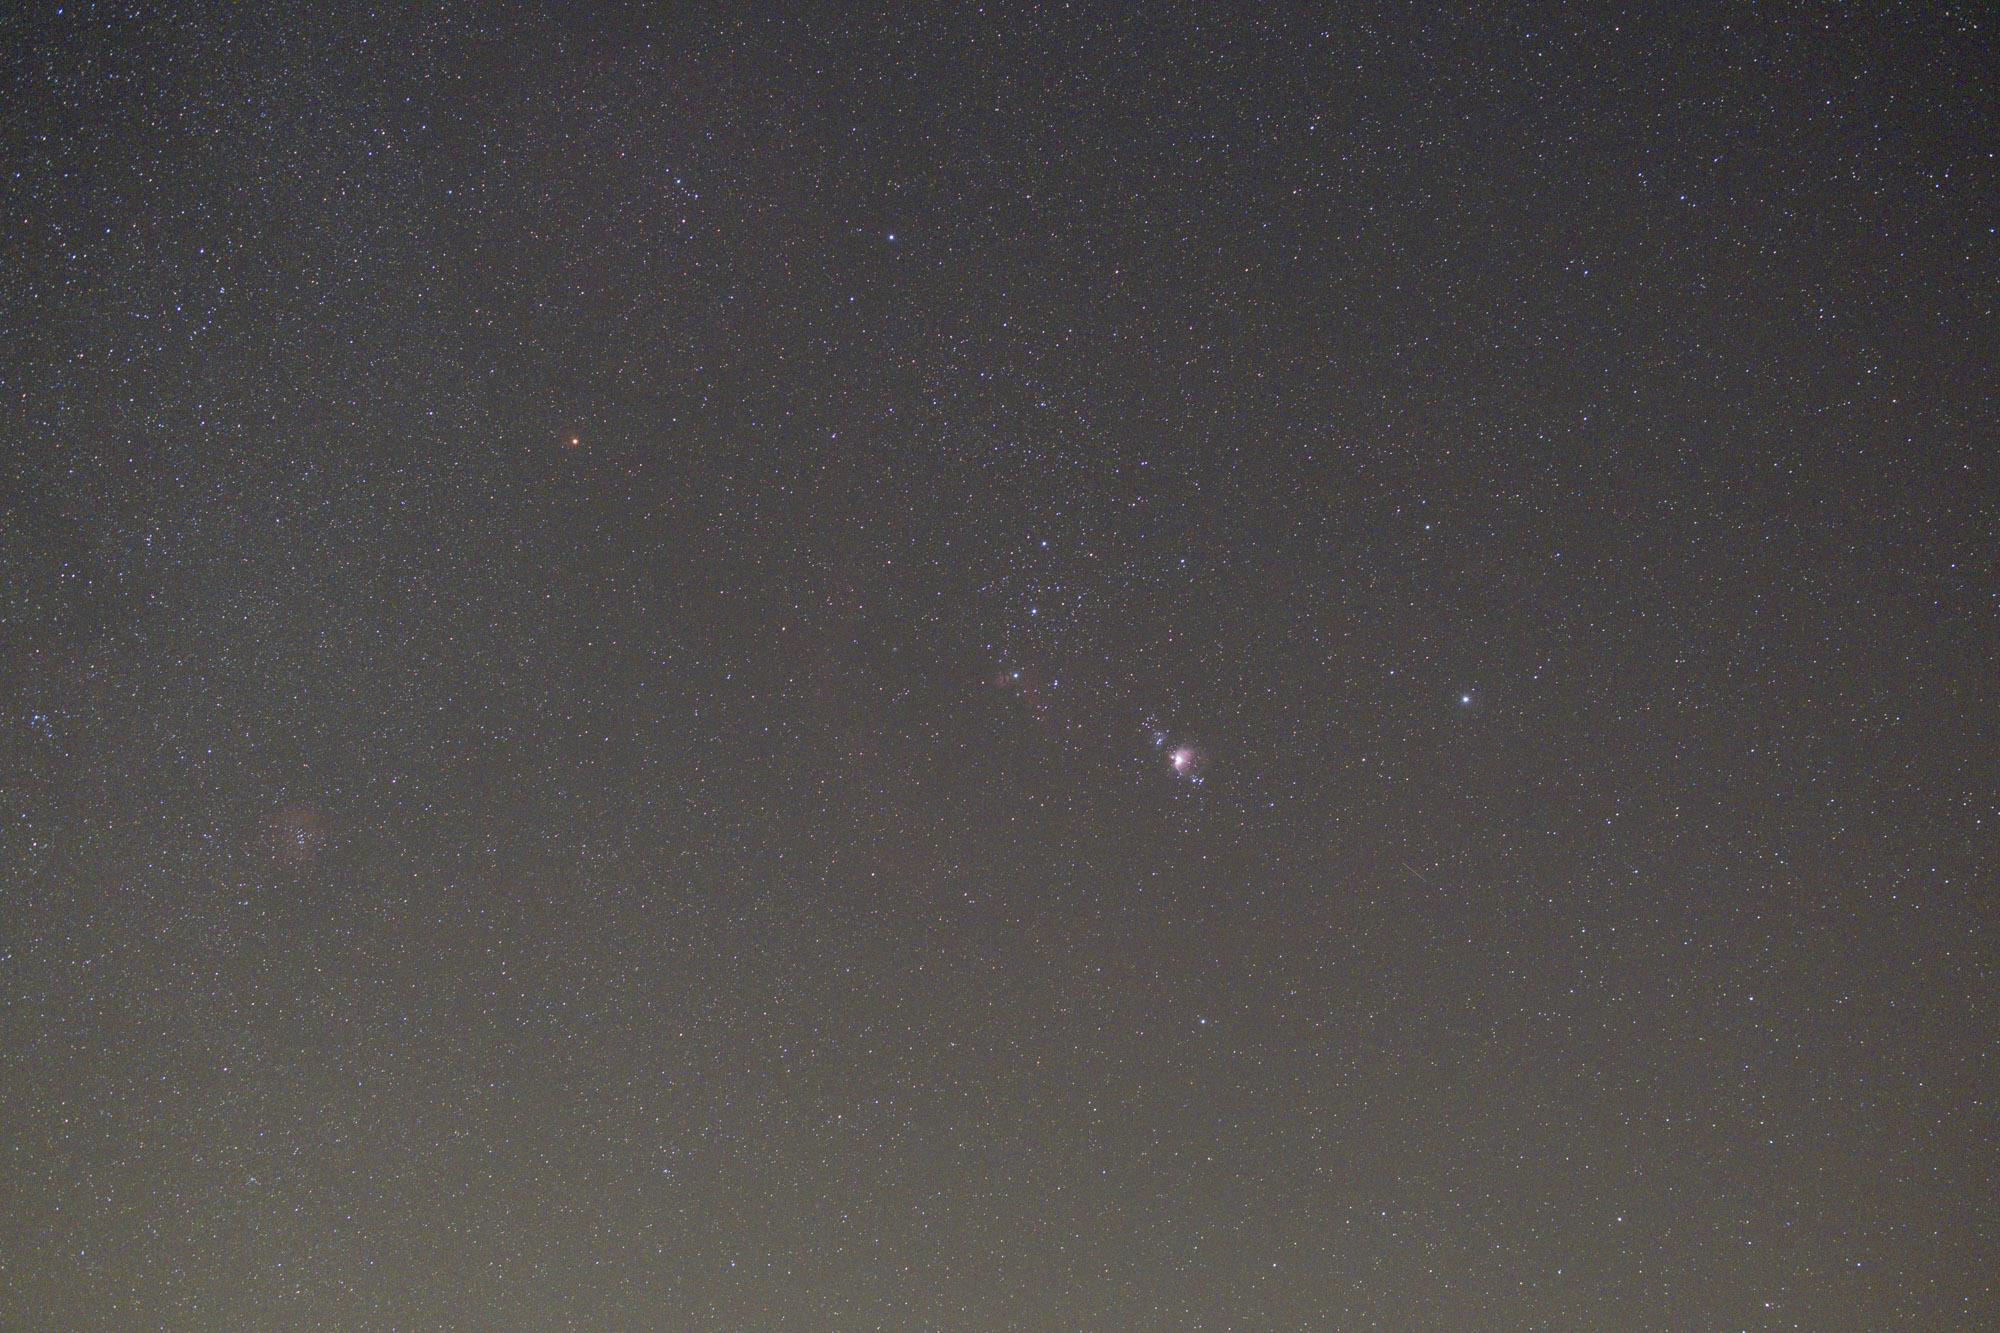
Both: 5.0s, f/2.0, ISO 12800
With a single shot, straight out of camera, it is not immediately apparent if the shots from the EOS Ra were better than our Sony a7S. The increased resolution of the sensor was the most apparent: the stars in the 30 megapixel EOS Ra shot were much finer and sharper than the 12 megapixel Sony a7S. Even in our rural Illinois setting, there is still noticeable light pollution, creating a slight haze across the frame that obscures some of the nebulosity in the shots. In a single RAW file straight out of the camera, even with the use of our PureNight® light pollution filter on these shots, it was hard to see if we had successfully captured the faint nebulae around the constellation Orion on either camera.
In order to really make this comparison and show if the Canon EOS Ra has a true advantage over our Sony a7S, we captured 60 separate 5-second exposures of Orion with each camera in addition to 60 separate dark exposures with the lens cap on and stacked them together in software. Even though we didn’t include a horizon line in these shots, we managed to use Starry Landscape Stacker (tutorial) for this automatic stacking process. After stacking, the images were processed to the best of our abilities in Adobe Photoshop by using an LRGB processing method. If you’d like to learn more about this technique for shooting and processing Orion specifically, check out our Orion LRGB processing tutorial here. Here’s our result with the Canon EOS Ra:

To showcase what our stacking and LRGB processing technique did with the EOS Ra files, here’s the before and after:

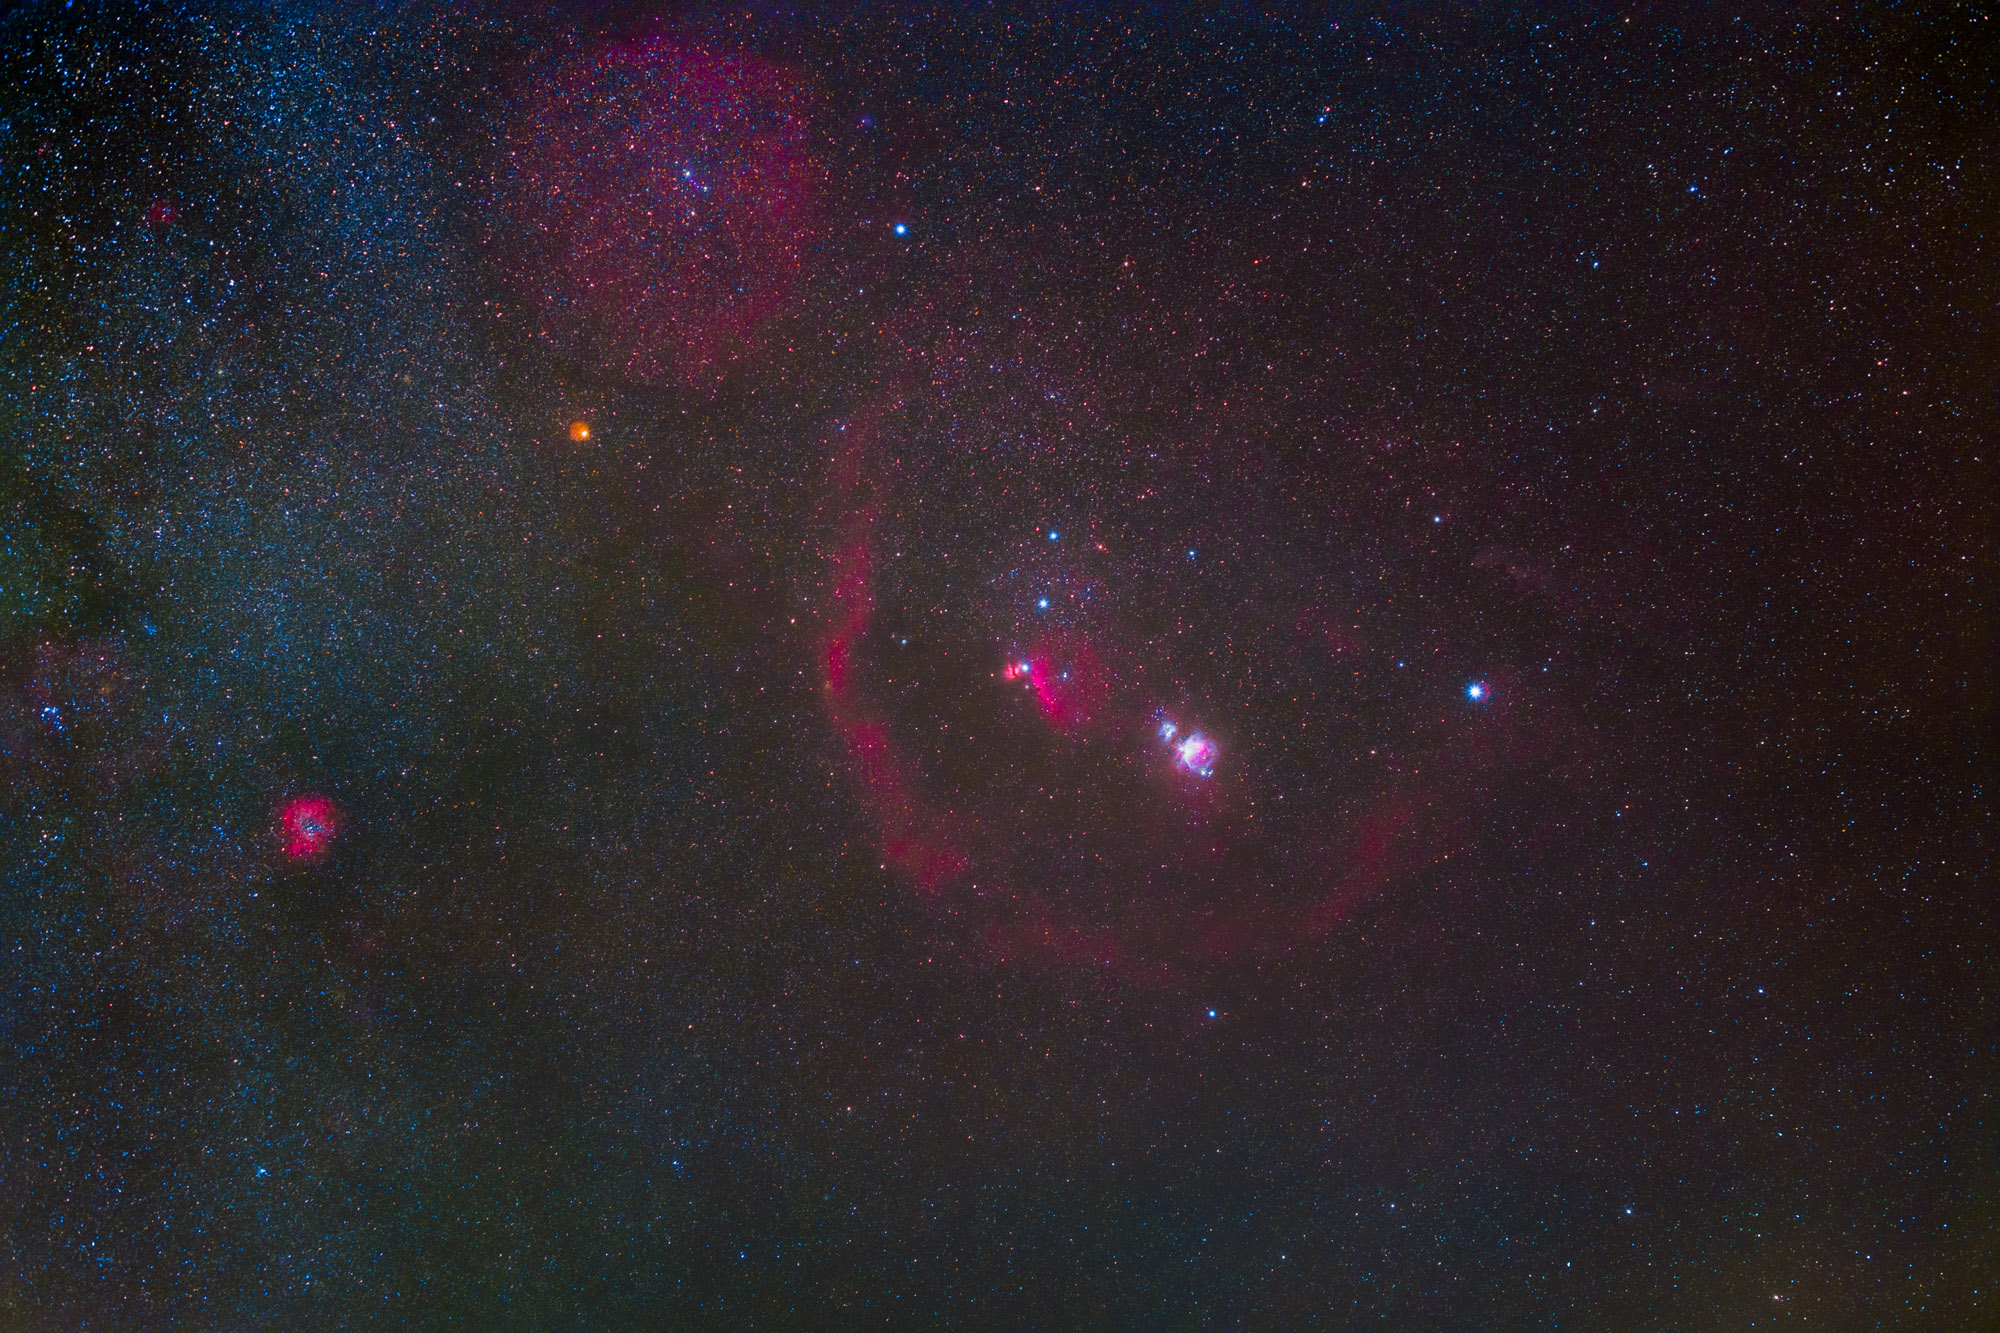
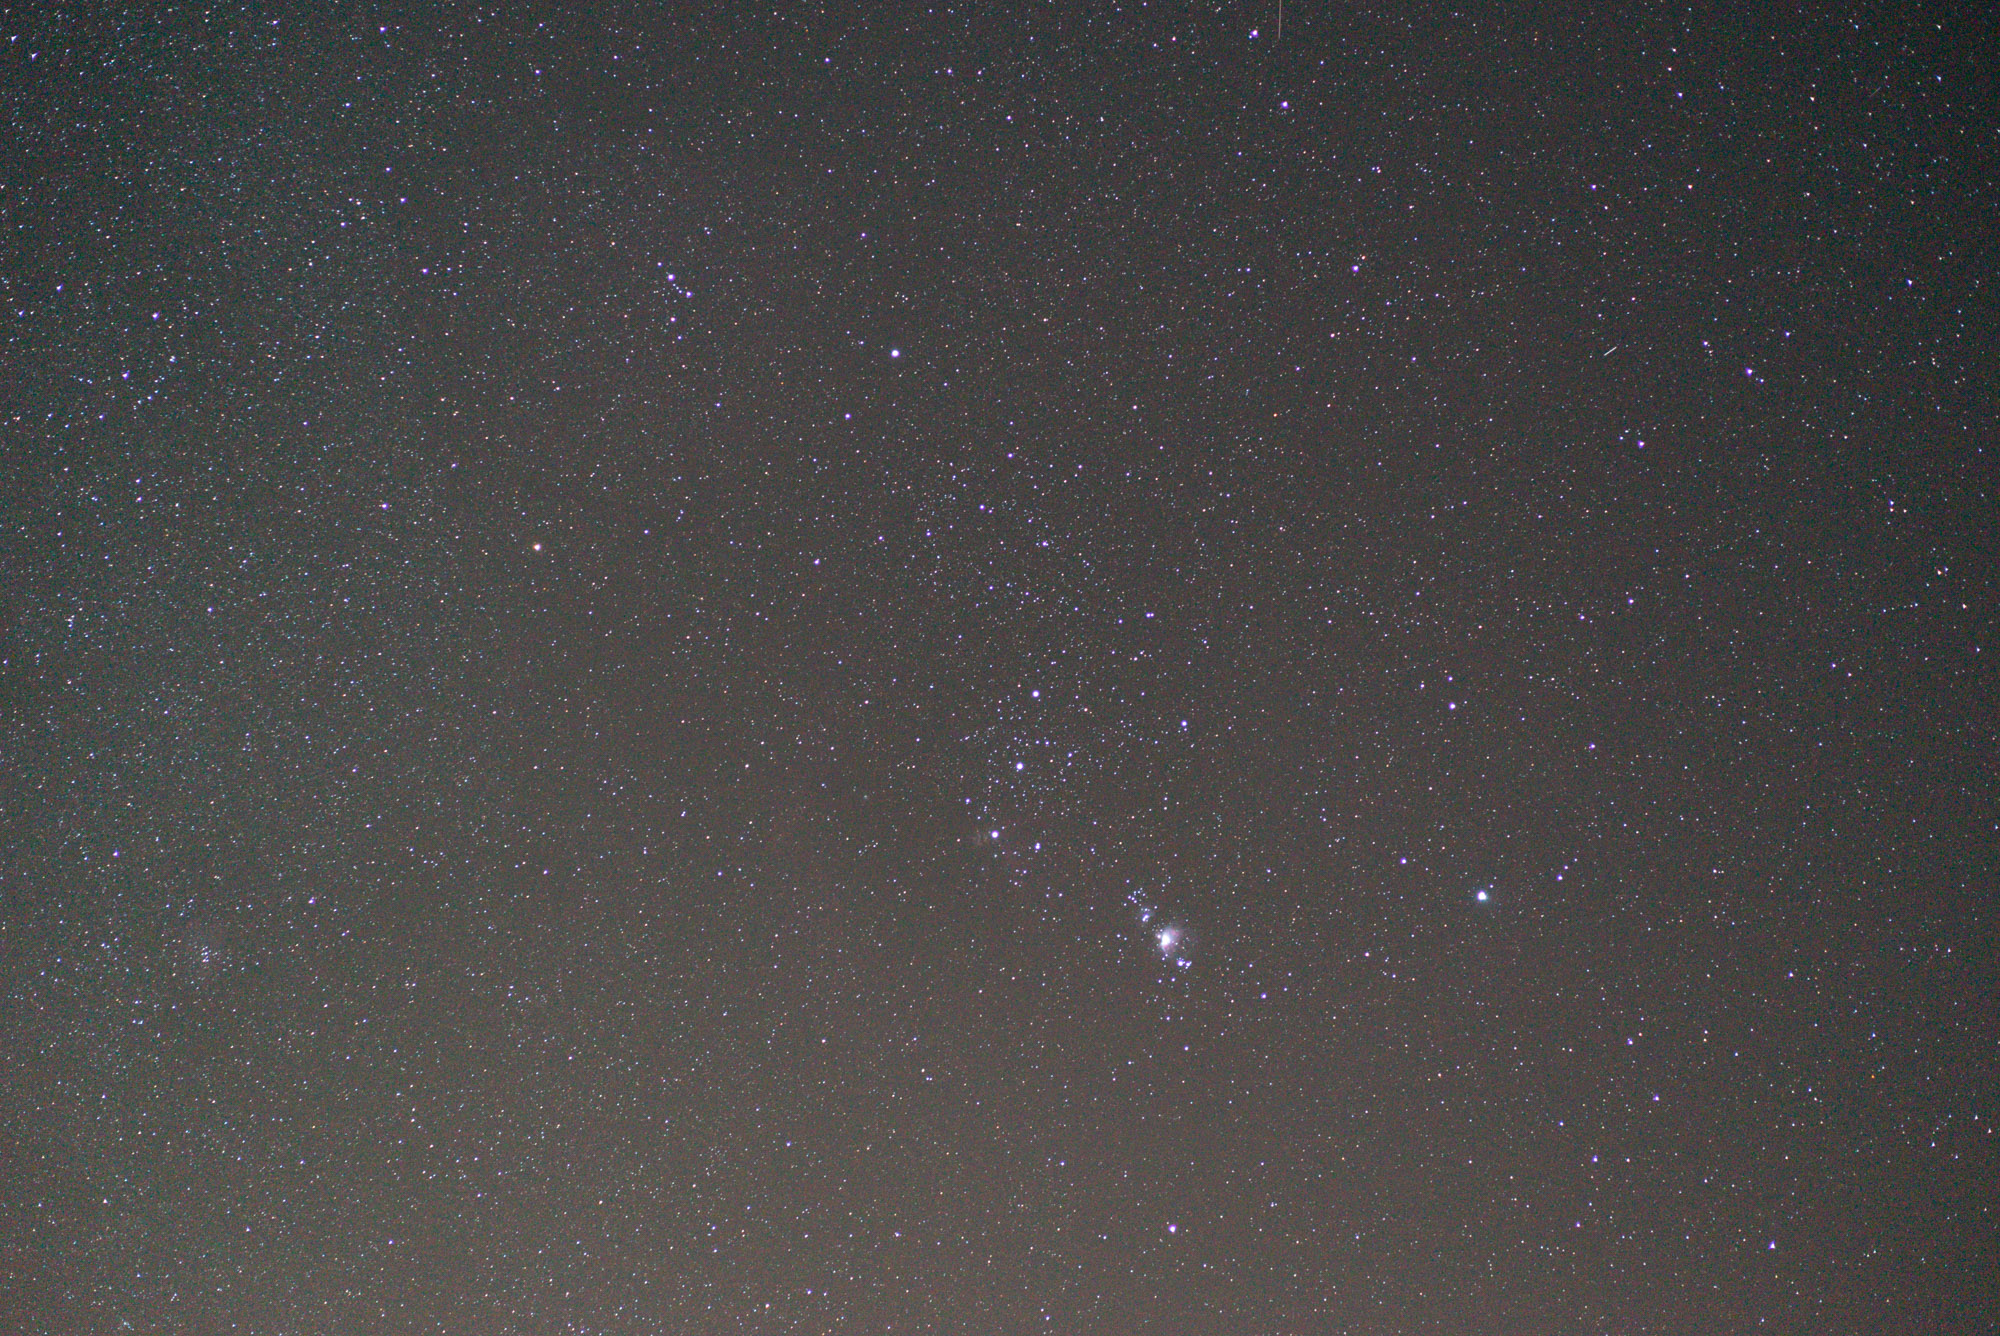
Comparing the EOS Ra to the Sony a7S, it was significantly easier to pull out faint details in the nebulae around Orion with the EOS Ra than with the a7S. The result from the EOS Ra above is much better than the result from the Sony a7S below:
The nebulae are visible in the a7S image, but they are significantly dimmer and less contrasty than in the EOS Ra image. This comparison perfectly showcases what makes the EOS Ra better for shooting astrophotography than a “normal” camera. So many of the details in the night sky are only truly captured in Hydrogen alpha and the EOS Ra delivers spectacular results in this regard. Just understand that it took some significant processing to get results like the ones above.
Of course, we decided to continue shooting as long as we could endure the cold. Next up after Orion was the North America Nebula.
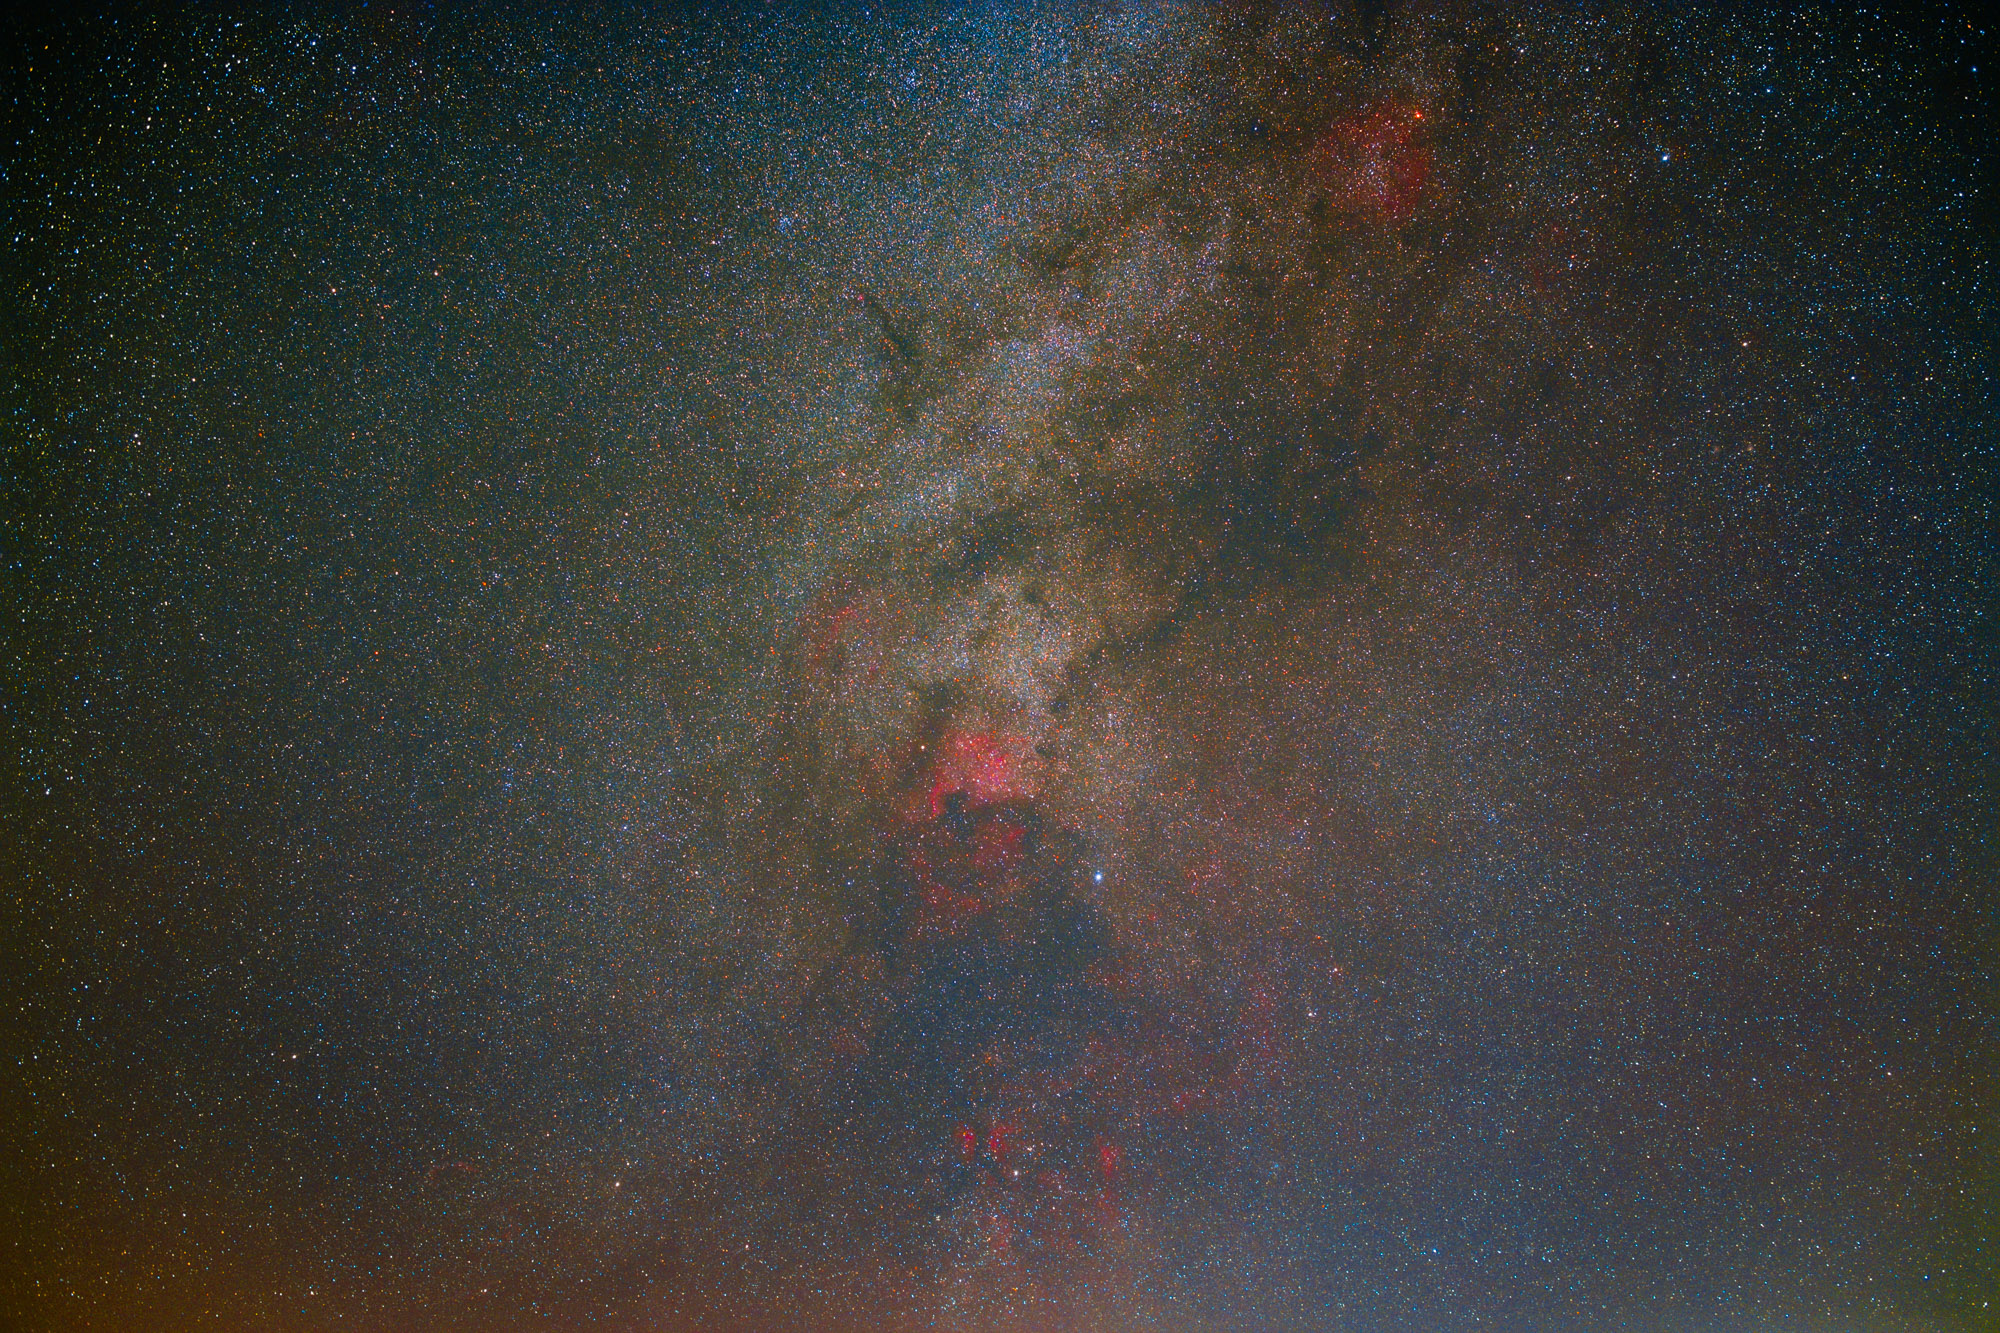
The most striking thing about images from the EOS Ra is just how much colorful nebulosity can be captured, particularly when stacking multiple exposures. This 50mm view of the North America Nebula is a stack of 58 exposures, processed to bring out as much of the red emission nebula as possible.
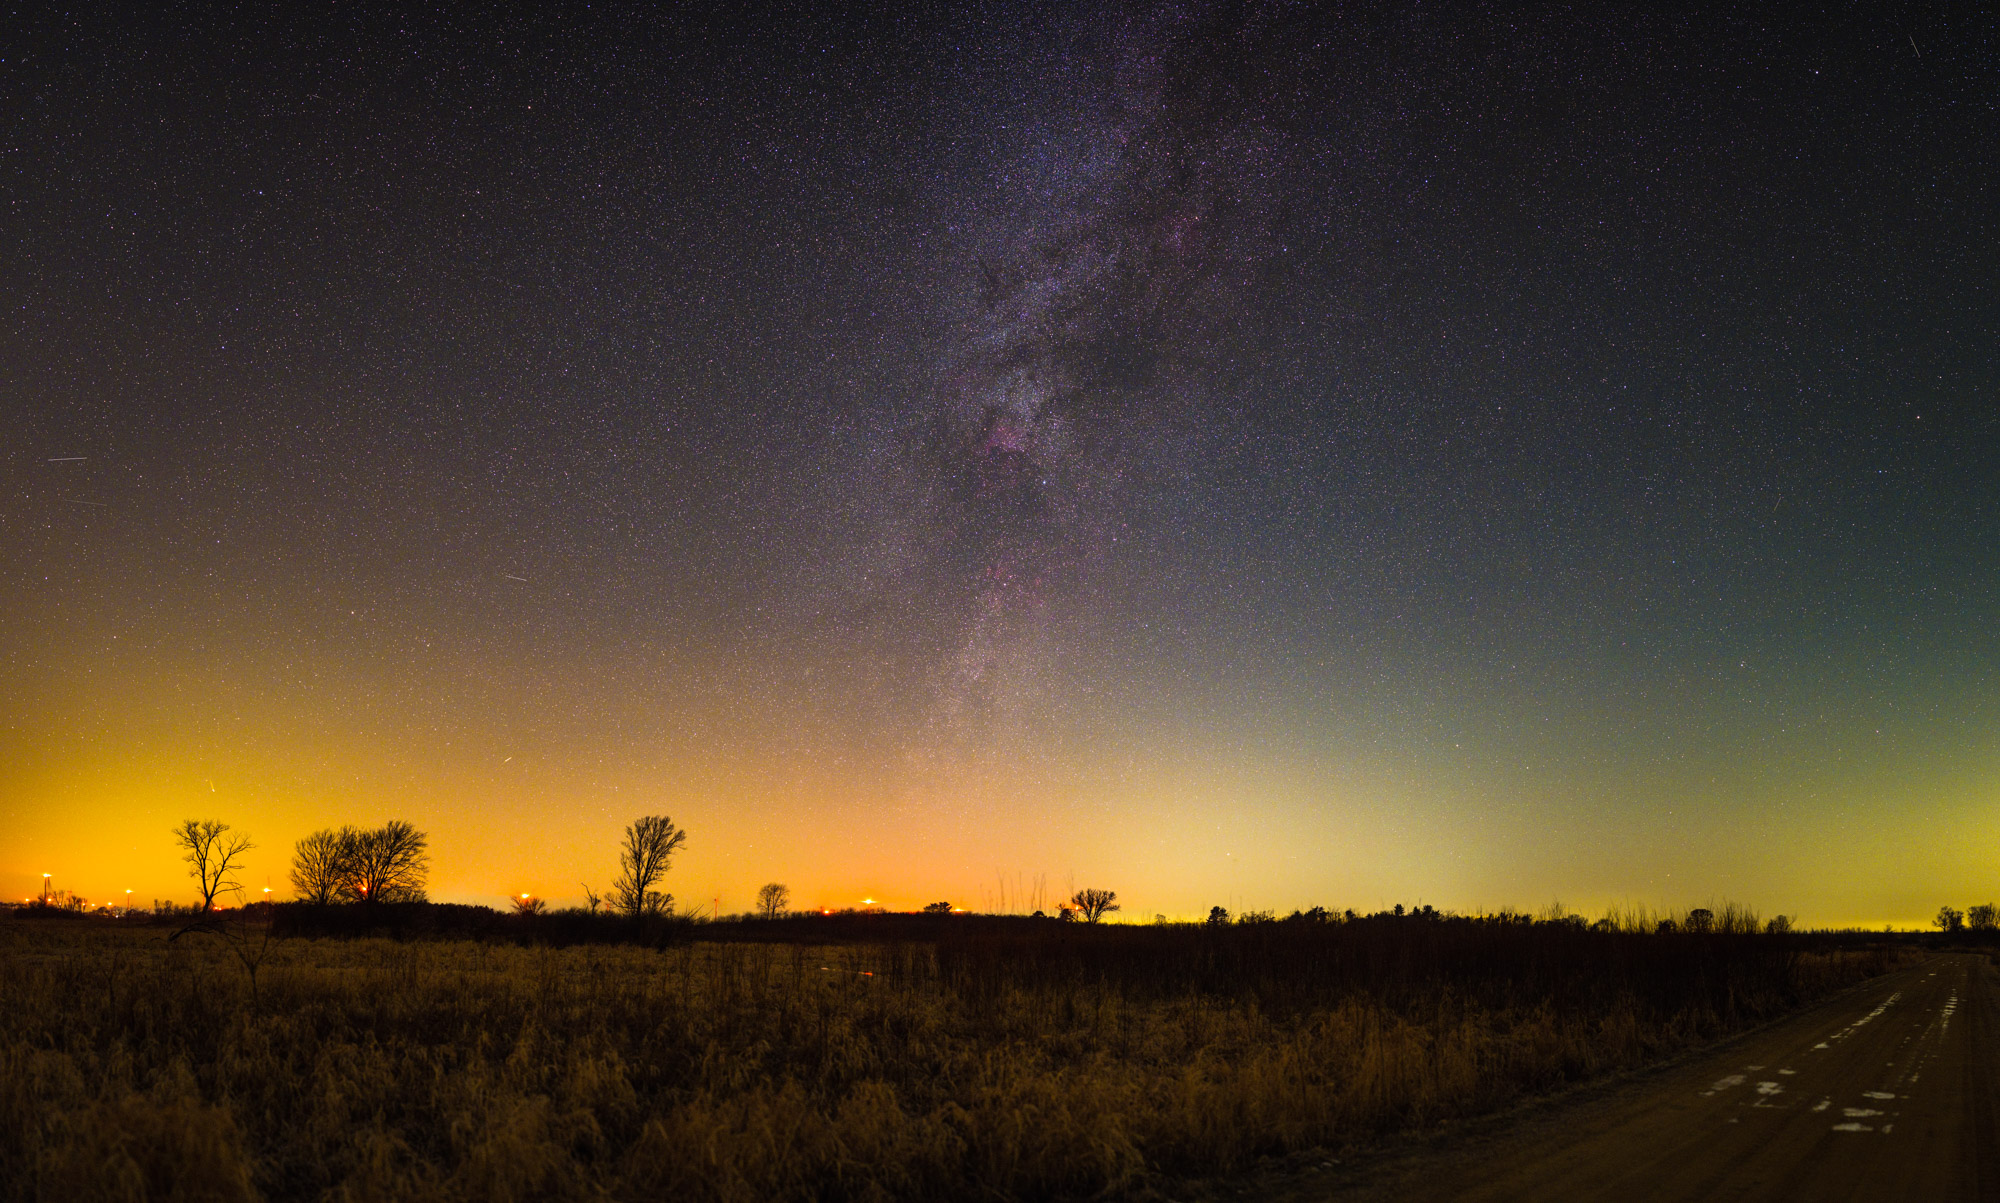
For a wider view, we shot a multi frame mosaic of about 20 frames to show this same area of the night sky above the prairie. Notice the light pollution (the yellow glow on the horizon) we dealt with at our shooting location, only 2 hours outside downtown Chicago.
Next, shooting upwards towards the zenith, was our neighboring galaxy of Andromeda. With a stack of about 20 exposures, we were able to capture this wide view of the galaxy adjacent to the plane of the Milky Way.

For the final shot of the night, we wanted to capture an ultra wide angle view of the plane of the Milky Way, Orion, Taurus, and the Pleiades as they started to align with the converging lines of the country road that runs through the center of the Green River Wildlife Area. Armed with only the 50mm, we shot 45 frames on our custom assembled panorama head to create a 500 megapixel large format astrophotography panorama.
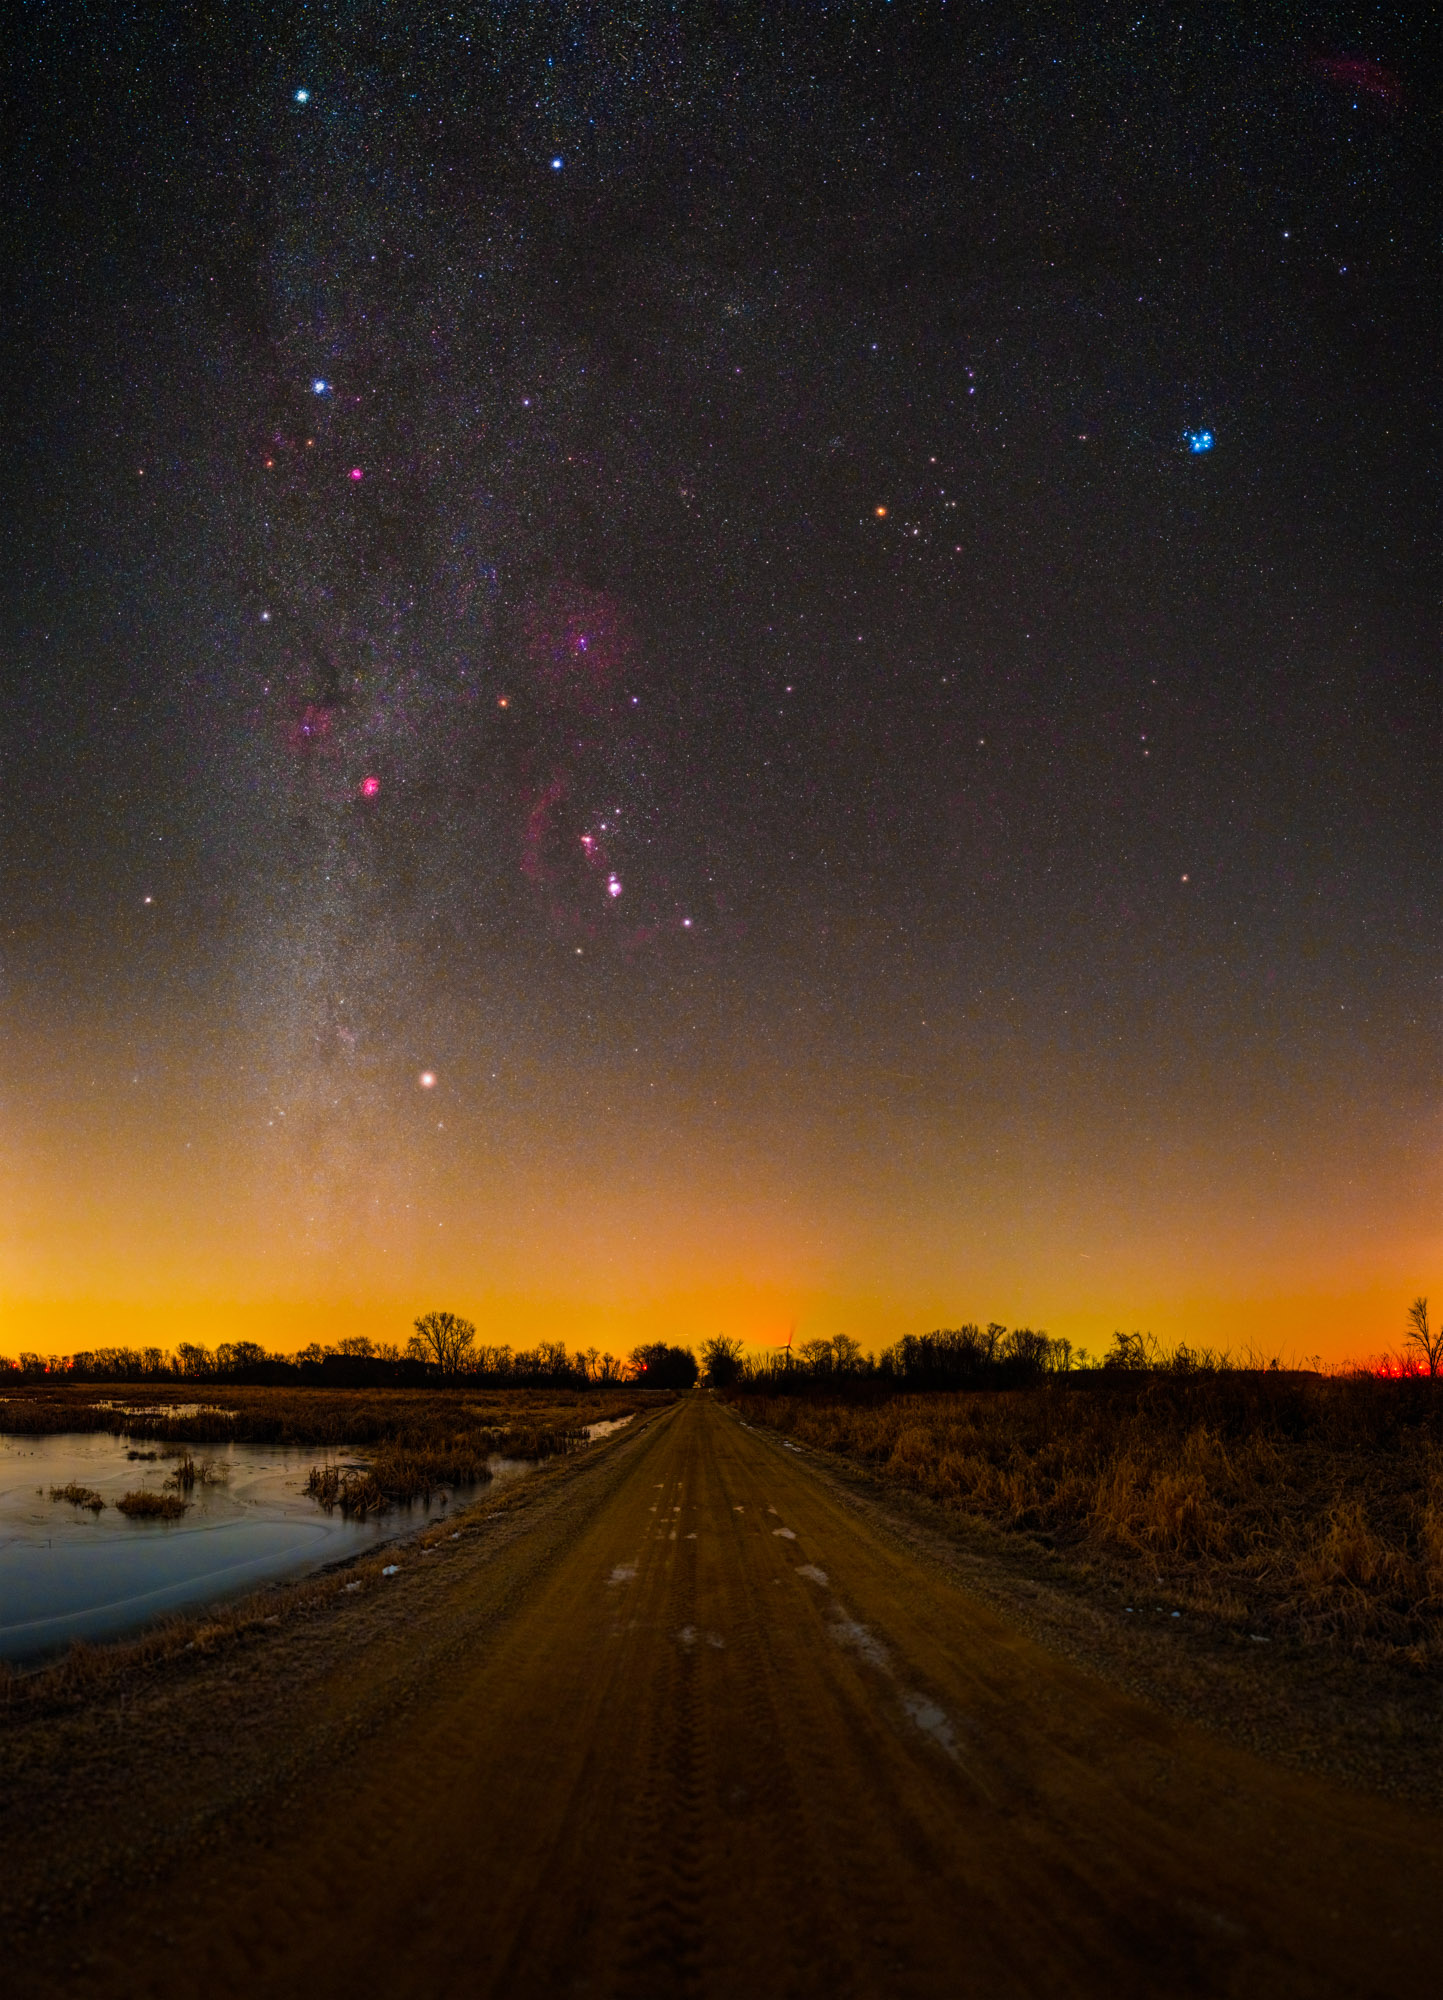
In this ultra wide angle shot, we can see the deep orange of the stars Betelgeuse in Orion and Aldebaran in Taurus, the blues of the Pleiades, and the reds of Barnard’s Loop, the Rosette Nebula, and the Angelfish Nebula. All the diverse colors of this part of the night sky were captured beautifully by the EOS Ra.
ISO Test
In order to more fully understand how the EOS Ra sensor’s ISO behaves, we recorded a simple ISO invariance test during the night to see how shadow details improve with ISO settings. For most cameras, noise levels usually improve with ISO, especially in very dark conditions. To learn more about this behavior, check out our article on choosing the best ISO setting for astrophotography.
To compare each whole-stop ISO setting, we photographed one scene multiple times with identical settings (50mm, f/2.8, 5 seconds) and varied only the ISO in 1-stop increments from ISO 100 to ISO 40000. In post processing, noise reduction was removed and all raw files were equalized in brightness (simply by adjusting the exposure slider and/or the tone curve in Lightroom) and compared. Take a look at the close crops of the image below to evaluate the differences in ISO settings:

From the crop frame indicated above, click below to check out the shadow noise for each ISO:

The EOS Ra shows dramatic improvement in shadow noise with higher ISOs. At ISO 100, shadows are noticeably blue-shifted, and noise levels are comparatively high. Noise levels gradually improve through the ISO range, with a great improvement jump at ISO 1600 where shadows are no longer as blue. There’s also another tangible improvement at ISO 6400, after which the improvement in the shadows seems to level off. This behavior is consistent with Photons to Photos‘s findings on Shadow Improvement versus ISO for the Canon EOS Ra.
The takeaway is that the EOS Ra is actually a better performer in terms of shadow detail at much higher ISOs (ISO 6400+) when shooting in light-limited conditions like untracked astrophotography. We found ISO 12800 to be a sweet spot for the EOS Ra, so we shot all of our astrophotography images at that setting. We found at ISO 12800, noise levels were excellent and it didn’t seem so high a setting that we were sacrificing too much dynamic range in the highlights.
Closing Remarks
With some work, the Canon EOS Ra shows tangible and dramatic image quality improvements for capturing the night sky. It should be understood that the differences a photographer will see from a single frame straight out of the camera are small. In order to fully utilize the power of the EOS Ra’s extra sensitivity range, it’s still necessary to employ more advanced practices like exposure stacking. The EOS Ra is a tool that requires some real practice and technique to get the most out of it. In the hands of an experienced astrophotographer familiar with stacking, the EOS Ra is a wonderful tool.
It’s important to acknowledge that it’s possible to modify certain cameras like the vanilla EOS R to have similar H-alpha sensitivity to the EOS Ra by using a conversion service like Kolari Vision or Life Pixel. It should be noted, however, that conversions like these will void a manufacturer warranty and come with some quirks like the need to use a custom white balance if using the camera for normal daytime shooting. If you want an astrophotography camera that gives that extra Hydrogen alpha sensitivity straight out of the box, going straight for the EOS Ra is a less risky choice at a slightly higher price point.
If you’re just starting with astrophotography, it’s important to understand that a dedicated astrophotography camera like the EOS Ra is not necessary… a normal DSLR or mirrorless camera will work just fine for capturing the Milky Way. The EOS Ra is a niche tool that requires some technical know-how to really get the most out of it. The EOS Ra is what we would regard as a “next-level” camera for an already experienced astrophotographer looking for a dramatic improvement in capturing faint nebulosity. If that’s what you’re looking for, there’s little need to look further.
Canon EOS Ra Pros:
- Excellent low-light image quality
- Tangible improvement in capturing colorful H-alpha nebulosity
- Full articulating screen
- Fully functional intuitive touchscreen interface
- Bright live view in dark conditions
- 30x magnification
- Generally great ergonomics
Canon EOS Ra Cons:
- No internal raw still time-lapse / interval function
- Touch bar is finicky
- No intermediate live-view magnification between 5x and 30x
Canon EOS Ra Verdict: 4.3/5
Highly Recommended
Equipment Links
Thanks to the B&H team for temporarily loaning us the Canon EOS Ra for this review. Without them, this post would not have been possible. This is all the equipment that we used for making the images in this review:
The affiliate links on this page allow lonelyspeck.com to earn a fee when you buy from B&H or Amazon.
Disclosure
We are a participant in the B&H Affiliate Program which also allows us to earn fees by linking to bhphotovideo.com. We are a participant in the Amazon Services LLC Associates Program, an affiliate advertising program designed to provide a means for us to earn fees by linking to Amazon.com and affiliated sites.
Learn Astrophotography
Astrophotography 101 is completely free for everyone. All of the lessons are available on the Lonely Speck Astrophotography 101 page for you to access at any time. Enter your email and whenever we post a new lesson you’ll receive it in your inbox. Updates will be sent out only periodically, usually less than once per week.
[email-subscribers namefield=”NO” desc=”” group=”Lonely Speck Newsletter”]
Help us help you!
Believe it or not, Lonely Speck is our full-time job. It’s been an amazing experience for us to see a community develop around learning astrophotography and we’re so happy to be a small part of it. We have learned that amazing things happen when you ask for help so remember that we are always here for you. If you have any questions about photography or just want to share a story, contact us! If you find the articles here helpful, consider helping us out with a donation.
[button font_size=”16″ color=”#136e9f” text_color=”#ffffff” url=”https://www.paypal.com/cgi-bin/webscr?cmd=_donations&business=lonelyspeckblog%40gmail.com&item_name=These+tips+help+keep+lonelyspeck.com+running.¤cy_code=USD&source=url” target=”_blank”]Donate[/button]Thanks so much for being a part of our astrophotography adventure.
-Ian and Diana
I enjoyed this article quite a lot. Thank you.
I know this is old by now, but I’m sorry you didn’t also extend the exposure time on the Ra (and a7S for comparison), without stacking and/or with less stacking, to see how well it would do. According to measurements made by Brendan Davey the Rp and R handle longer exposures better than other mirrorless cameras (certainly for exposures >30 s, but probably starting around 5 s; they’re worse at ‘short-long’ exposures of less than 5 s, though), and the Ra does better still .