


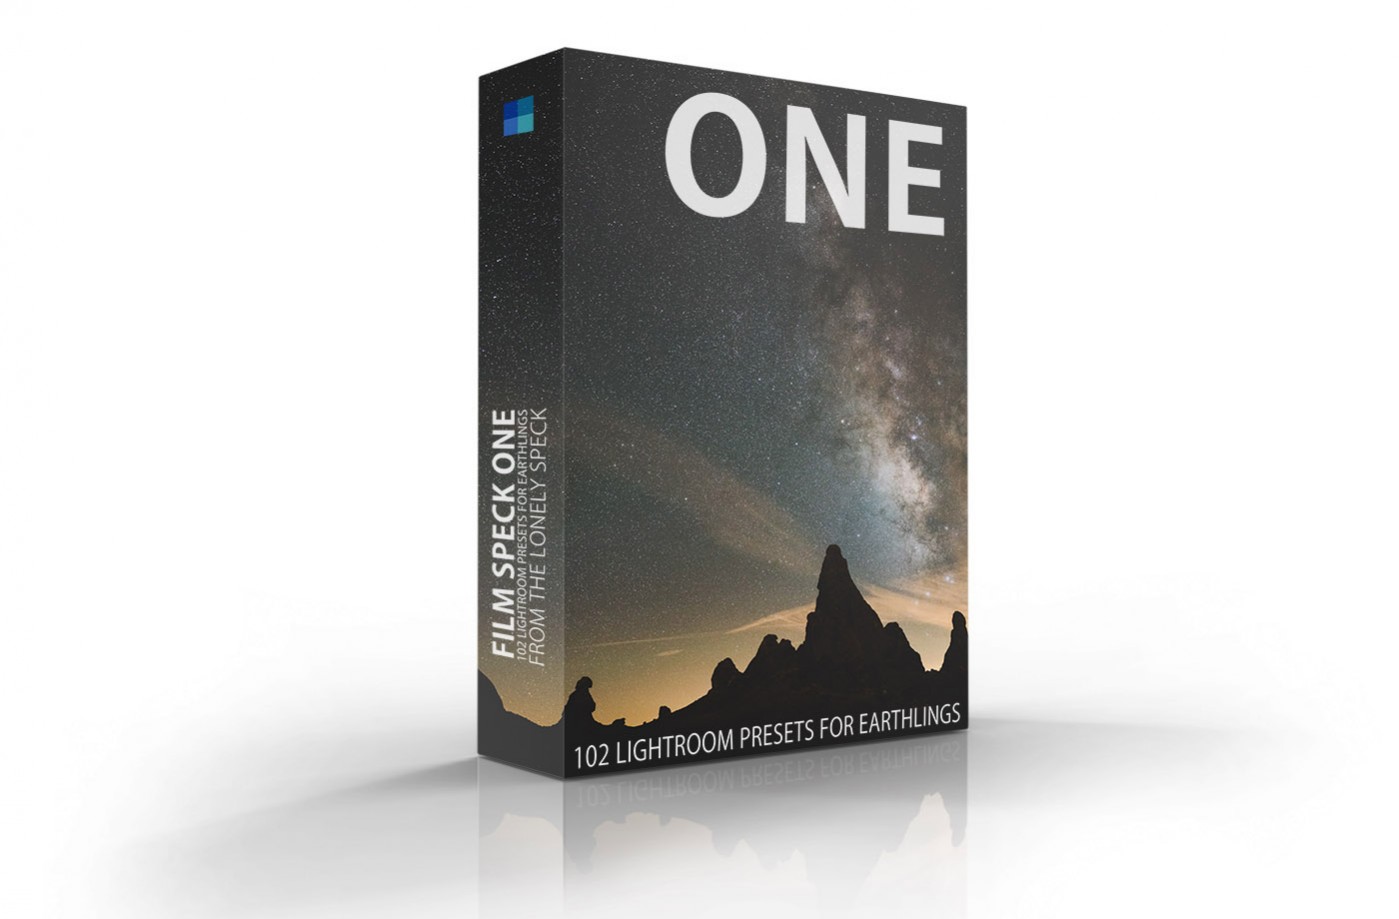
There are as many ways to process a photo as there are stars in the night sky. In order to share my favorite processing styles with all of you, I created presets based on my favorite photos over the last year. I now present to you Lonely Speck’s first Lightroom and Adobe Camera Raw preset pack: Film Speck One. It includes 102 original presets, and it’s free to download!
My post processing styles change often. I can approach the same photograph twice in the same day using the same methodology and still end up with two completely different processing results. Maybe my processing varies by my mood or maybe I just don’t like to try the same thing twice. Whatever the reason, I’ve learned that there is no wrong way to process a photograph. The variety of techniques and looks achieved through post processing is infinite.
To put this set together, I picked out my very favorite photos from 2014 and saved their processing styles as presets, tweaked each of them for more universal use and packaged them up to share with you.
About Film Speck One
Film Speck One is how I process my photos. It’s a set of presets for Lightroom (compatible with Lightroom 4 & 5) and Adobe Camera Raw that contains all the recipes I used in the last 10 months to process both my photography and astrophotography alike. Of the 102 presets available in this set, 84 of them are color and 18 of them are black and white. Each of them was used at least once by me in the last year and some much more frequently.
The presets vary a lot with a wide range of modern and retro looks. Some are more subdued and simple while others are harsh, vibrant and punchy. You’ll find presets for both natural color as well as cross-process-like color shifts. You may find some are good straight away and others might need some personal tweaks to meet your preferences. Either way, you’ll have 102 to choose from. I hope you enjoy them!
Examples from the Film Speck One Preset Collection for Lightroom and Adobe Camera Raw
All of the presets in Film Speck One are named after beautiful places, both terrestrial and interstellar. A lot of these presets were built for use on astrophotography, but most of them are made to work on your everyday photographs, too. Use them on portraits, landscapes, street, abstracts, or whatever.
Here are some examples of my favorite presets from the pack.
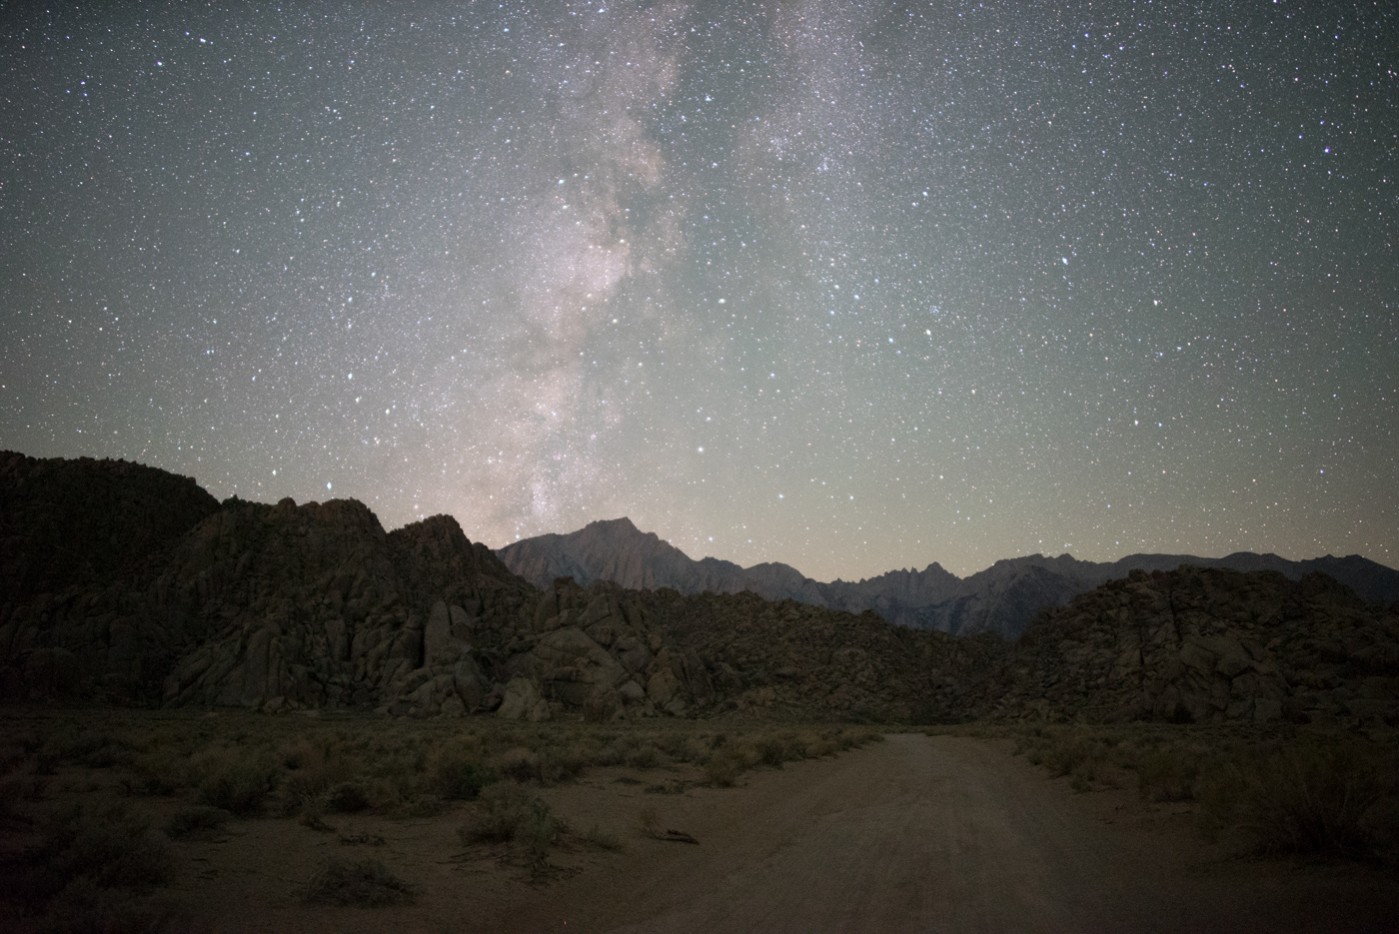
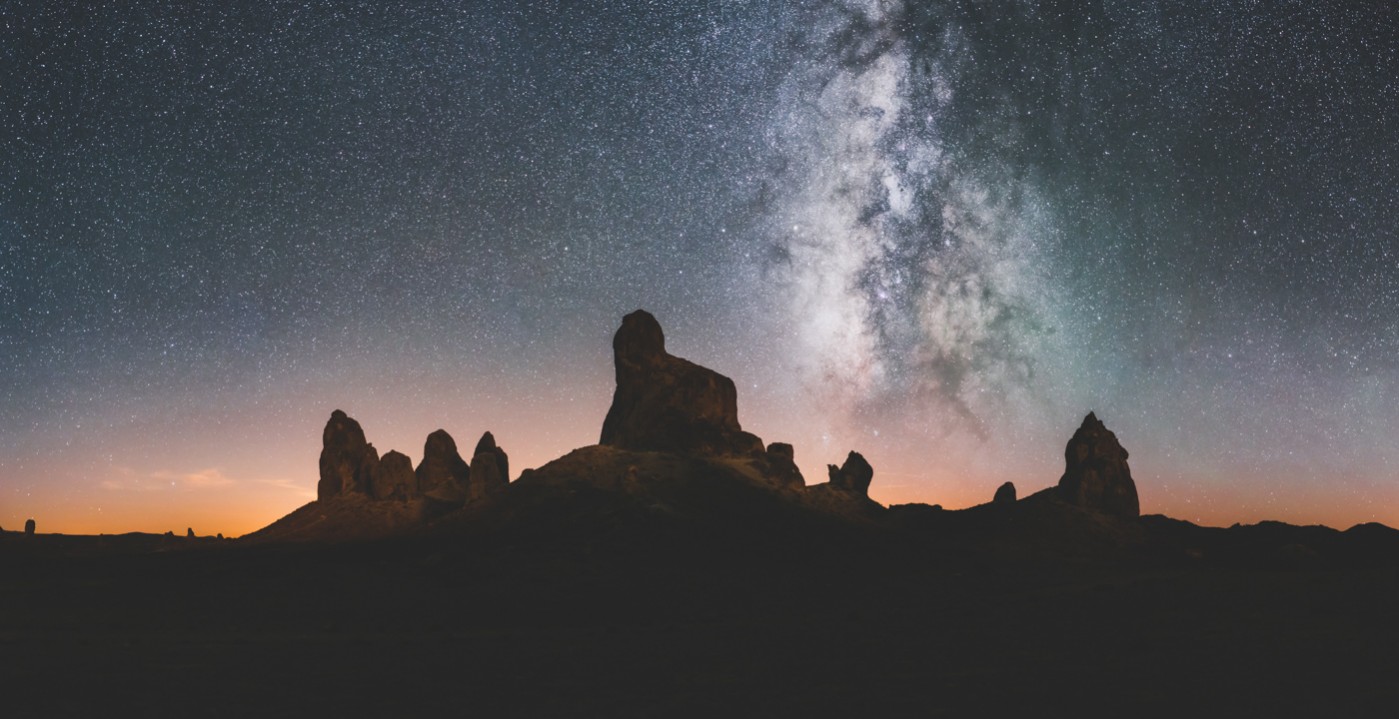
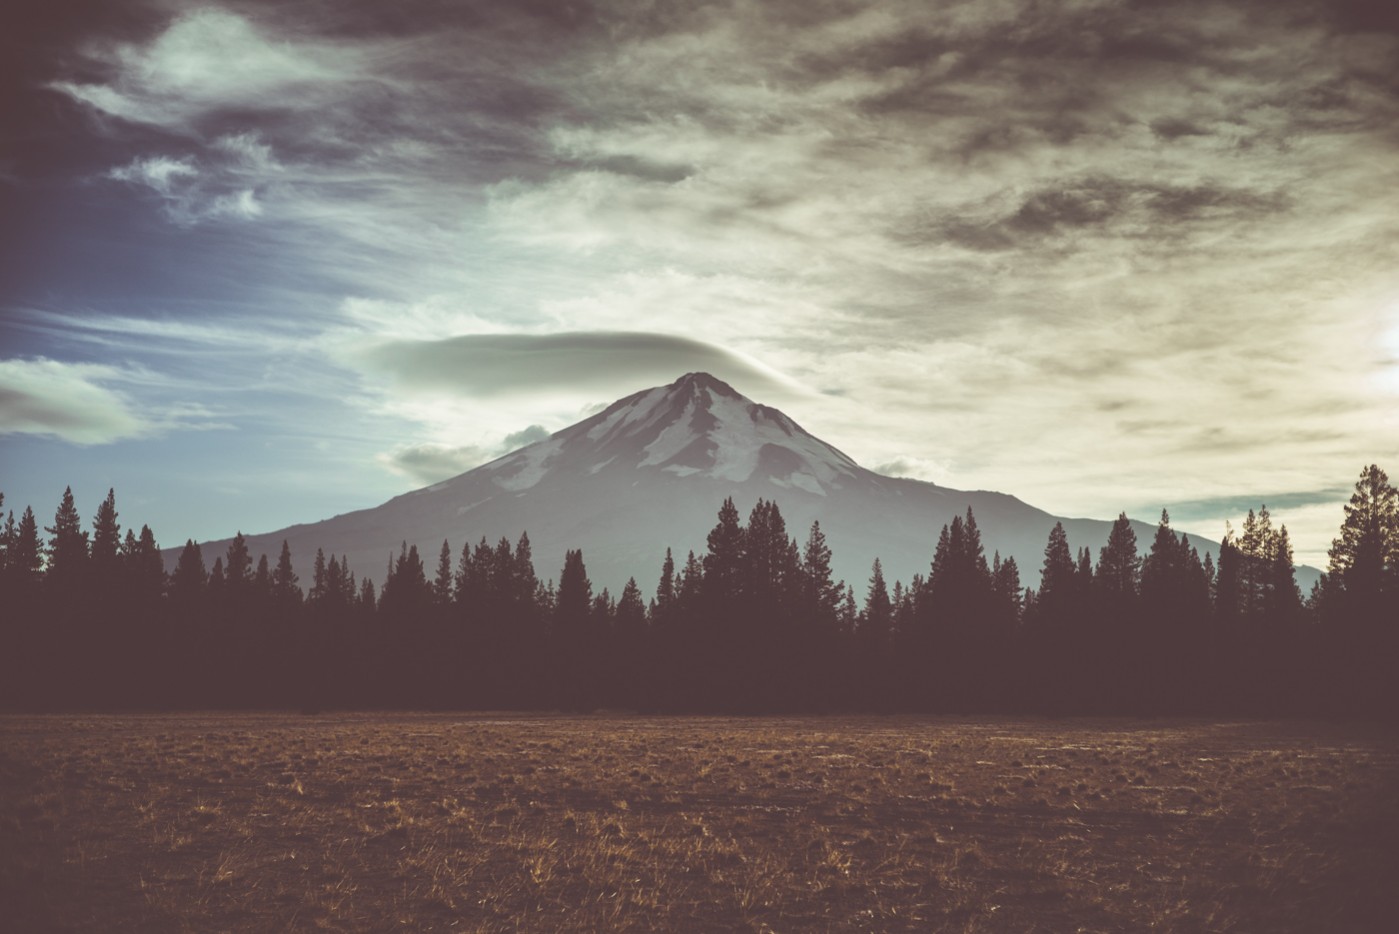
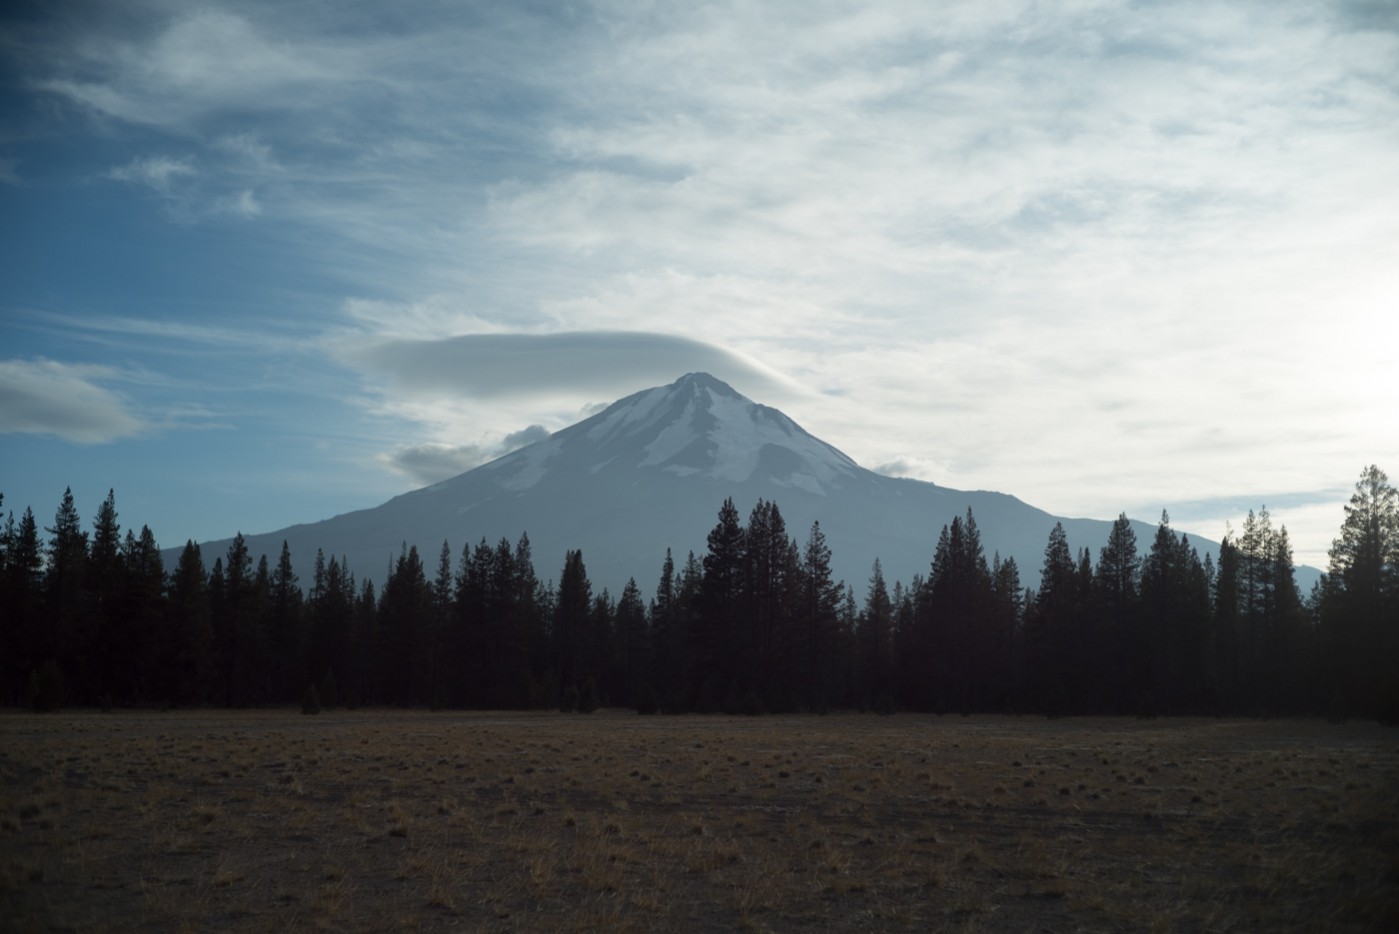
Hover over the images to see the unedited photo.
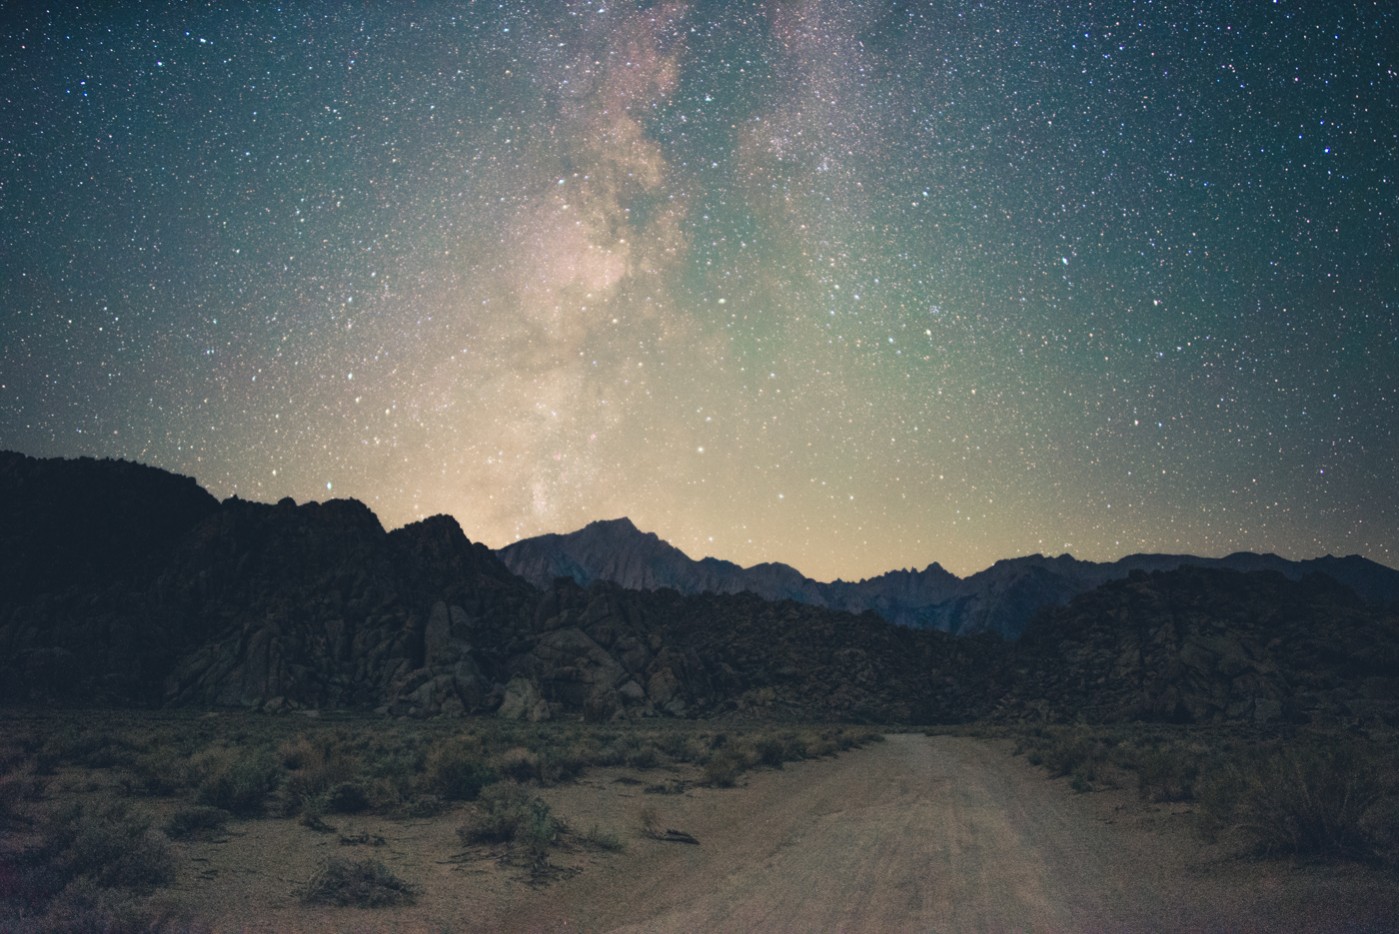
Acamar
Acamar is a lower contrast film that displays warm highlights and rich green and teal hues in the shadows. I love the effect it has on astrophotos and portraits alike.
[himage]
[/himage]
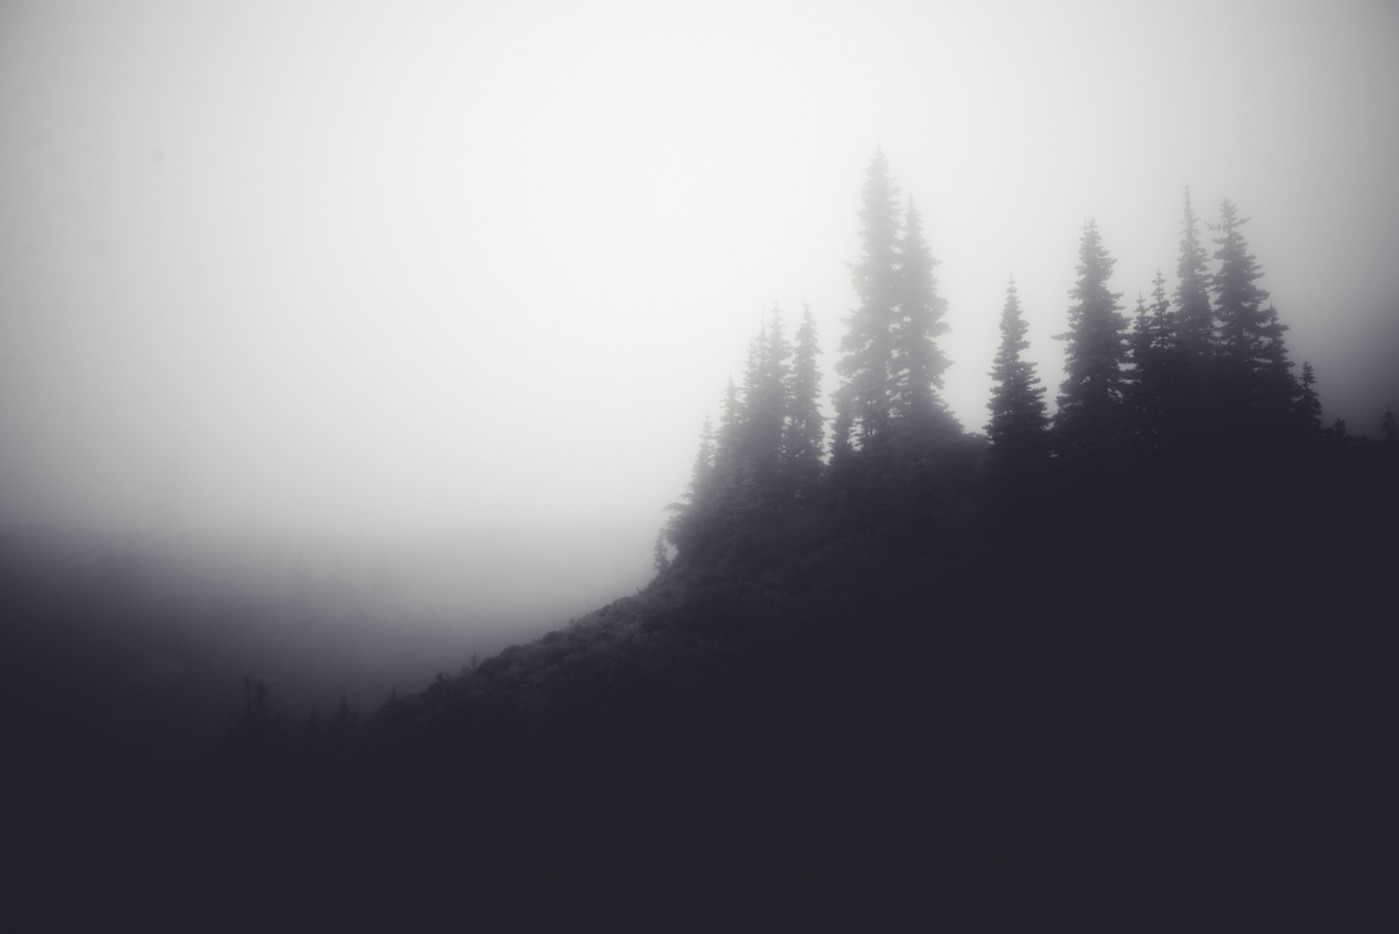
Eridanus
Eridanus is a monochrome film with deep and lossy shadows with a hint of violet and heavy contrast.
[himage]

[/himage]
Io
Io is a cool, contrasty film with cross-process hue shifts, punchy highlights and crushed blacks.
[himage]
[/himage]
Miram
Miram is one of my personal favorite films that works great on high contrast landscapes and portraits. It exudes a vintage feel with its earthy crushed shadows and punchy contrast.
[himage]
[/himage]
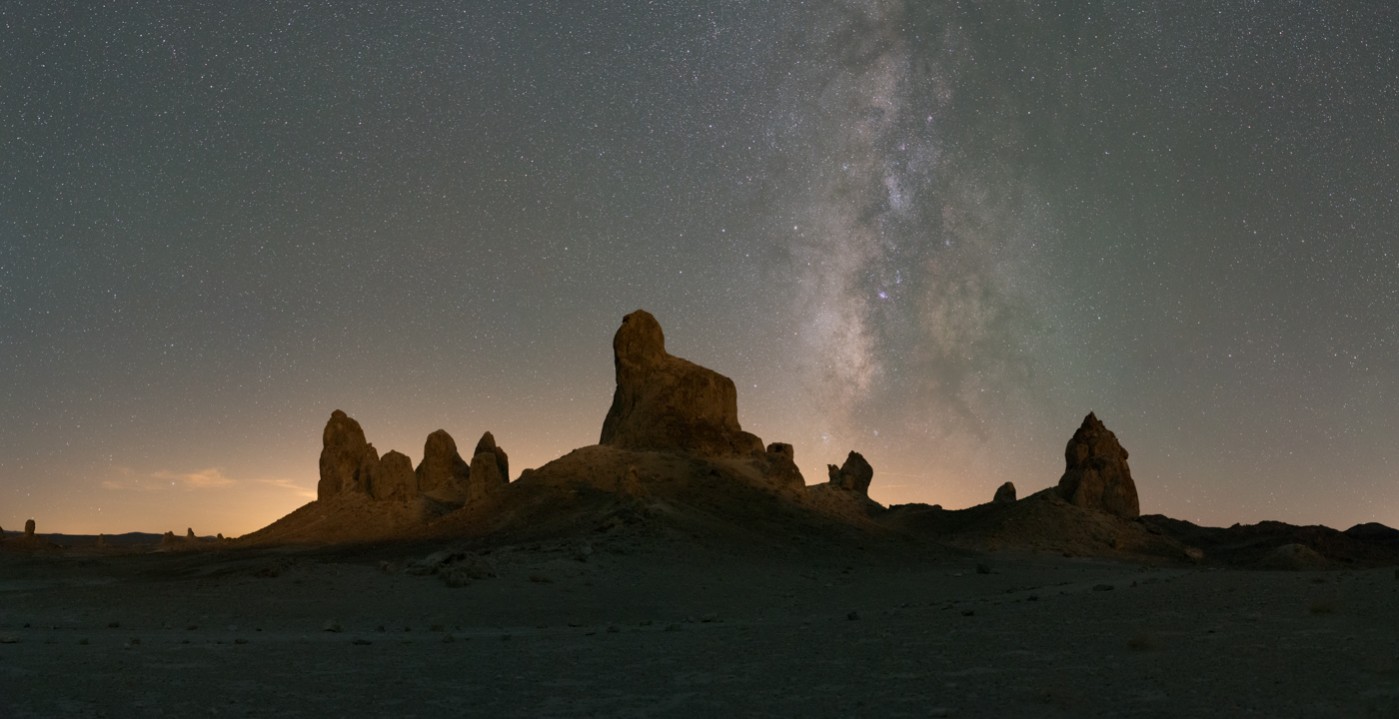
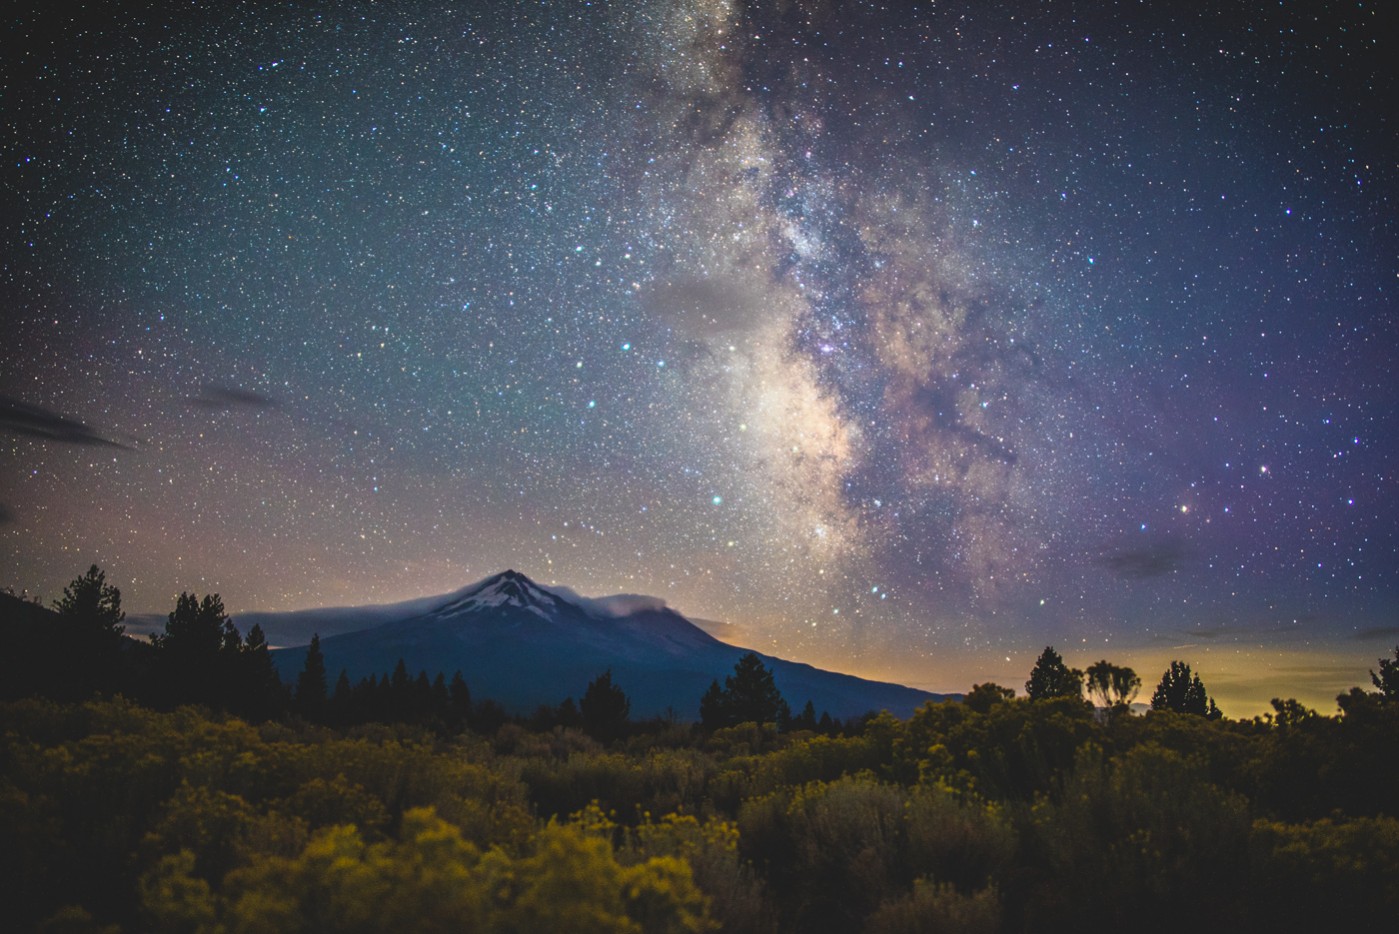
Shasta
Shasta is a cool yet vibrant and saturated film that pushes out subtle details in color, particularly in shadows and blacks.
[himage]

[/himage]
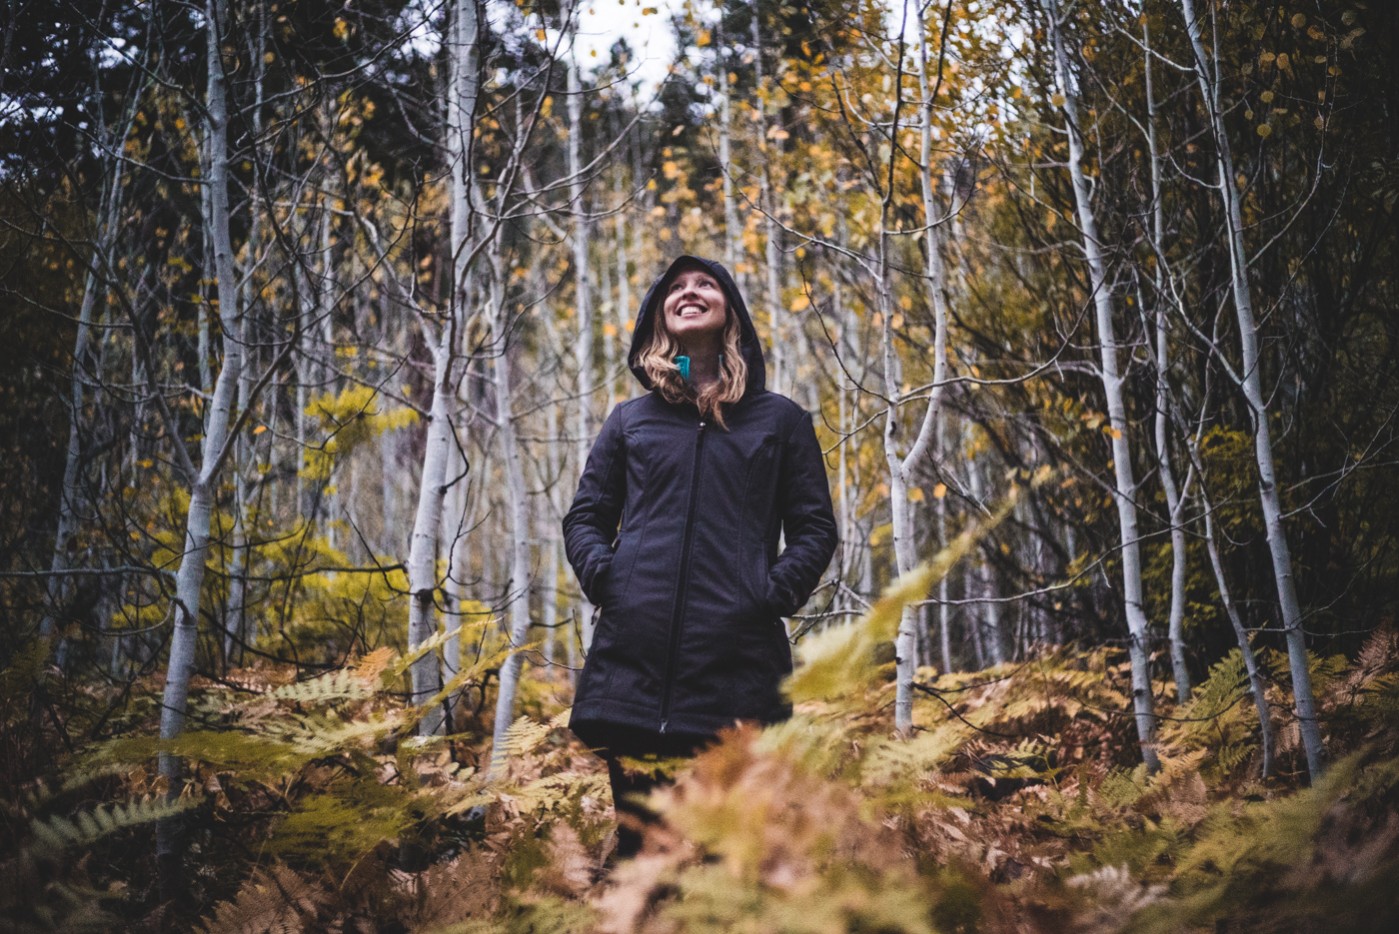
Whitefall
Whitefall is a warm and contrasty film with subdued greens and warm bright yellows and oranges for an autumn feel.
[himage]

[/himage]
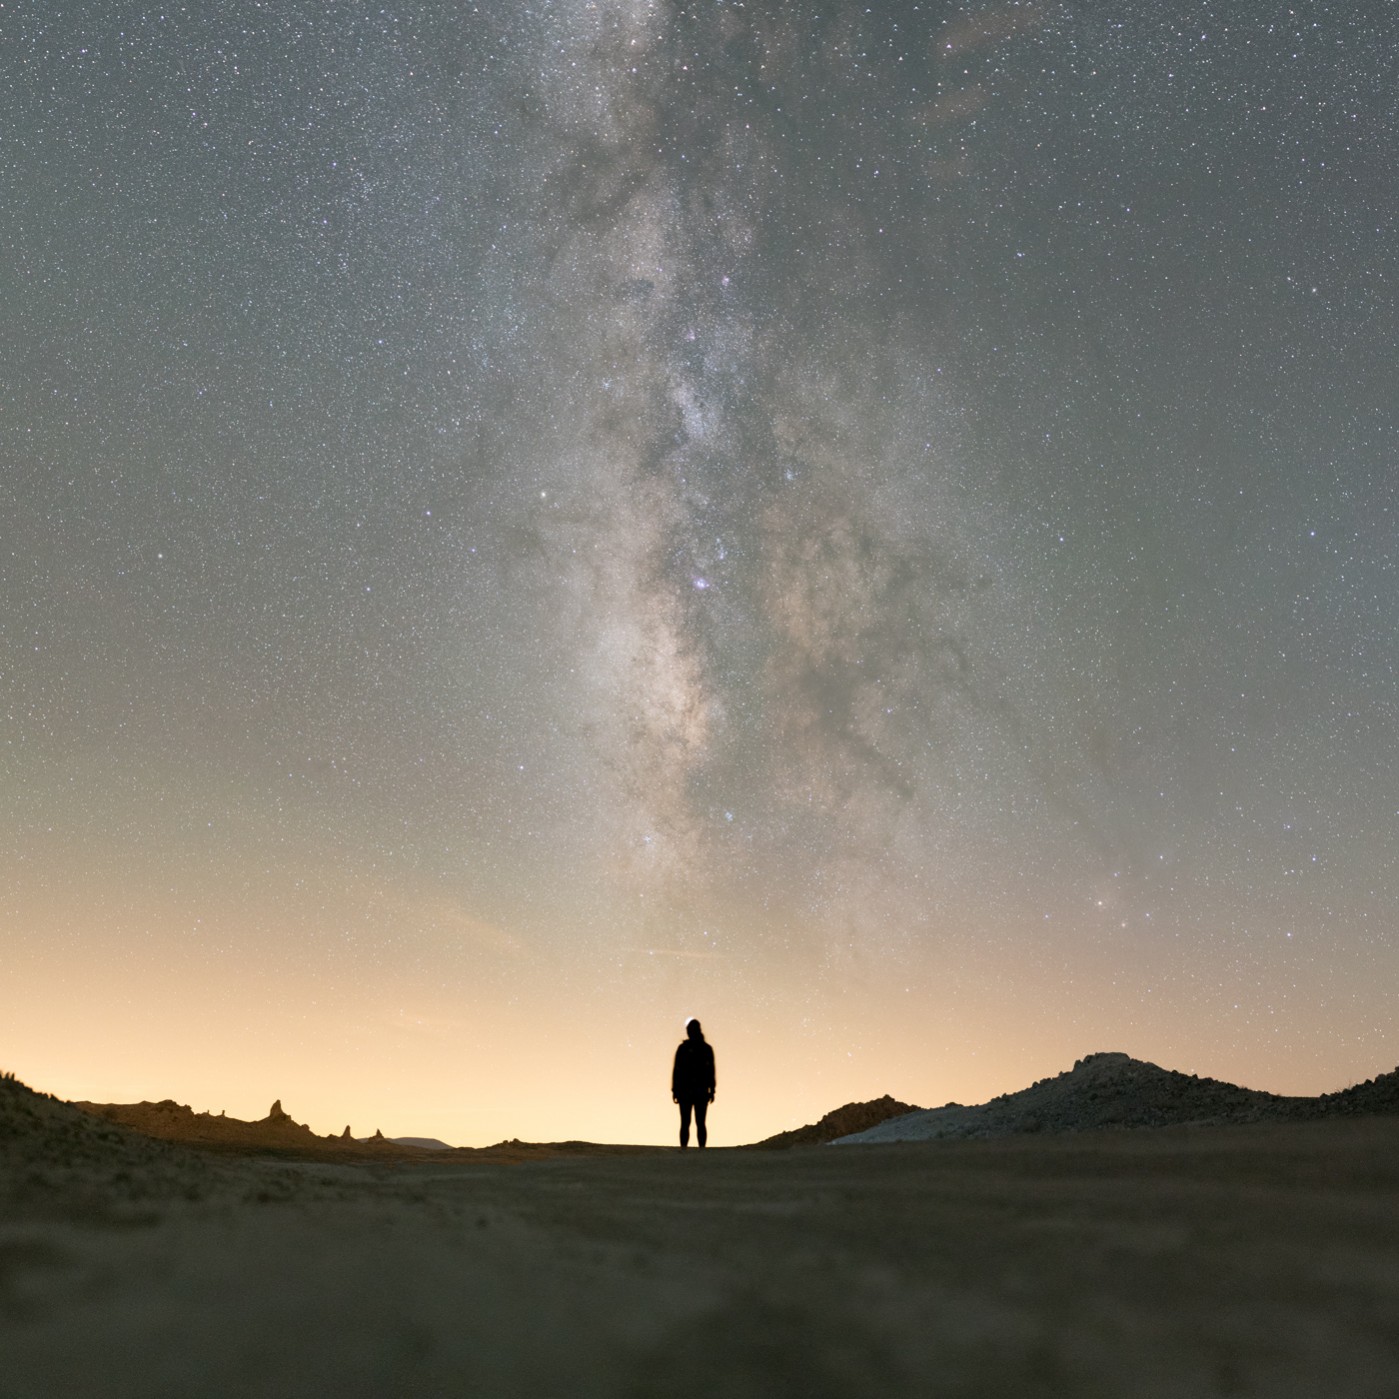
Carina
Carina is a super high contrast monochrome film with subtle hints of blue shadows and frosty highlights.
[himage]

[/himage]
There are 95 presets in addition to the ones shown here, each of them unique, for a total of 102 Lightroom and Adobe Camera Raw presets.
Download Film Speck One for Free
or… Pay What You Want
The Film Speck One preset collection for Lightroom and Adobe Camera Raw is available for free or as a pay-what-you-want download.
It’s completely free for anyone, but if you’d like to pitch in to support Lonely Speck and the creation of more tools like this, you can select whichever donation suits you below. They all bring you to the same download.
I hope you enjoy these presets!
Cheers,
–Ian
100% Satisfaction Guarantee.
If you’re not completely satisfied with the Revelion Pack, just contact us for a no-questions-asked refund.
Questions?
See our FAQ and Installation Instructions
We want to make this preset pack one of the best Adobe Lightroom tools available anywhere. If you’re having issues, or want to ask a question, please feel free to contact us.
Thank you for the presets, appreciate you time and effort.
I’m just getting started into astrophotography and need tobrush up on my postprocessing so thank you.
Complete unable to download the “free download” I did try adding 5$ but still would not transfer to the basket
add to cart is not working 🙁 tried different browsers but no luck 🙁
Adding to cart doesn’t seem to work. Have tried clearing cache as well as different browsers and VPN’s.