In this video tutorial, I walk through my method of capturing and processing a photograph of the Milky Way from the window of an airplane.
Introduction
While on a commercial airline flight, my girlfriend Diana and I made some attempts at photographing the Milky Way from the window. After some trial and error, we managed to make a few decent exposures which eventually became the base exposures for a processing method similar to the noise reduction stacking technique that I typically use for most of my (ground-based) astrophotography.
I’ve seen a few photos of the Milky Way from an airliner made by other photographer, but I never really thought it something that I’d have the opportunity to try. There are a lot of conditions that need to be right for it to be possible. If you’re ever in the right situation to try it, maybe the method I used here can help you make some interesting photos.
Check out the video tutorial below for the complete walk through of the problems we encountered while exposing and how we overcame them with post-processing in Adobe Lightroom, After Effects, and Photoshop.
Video Tutorial
Results
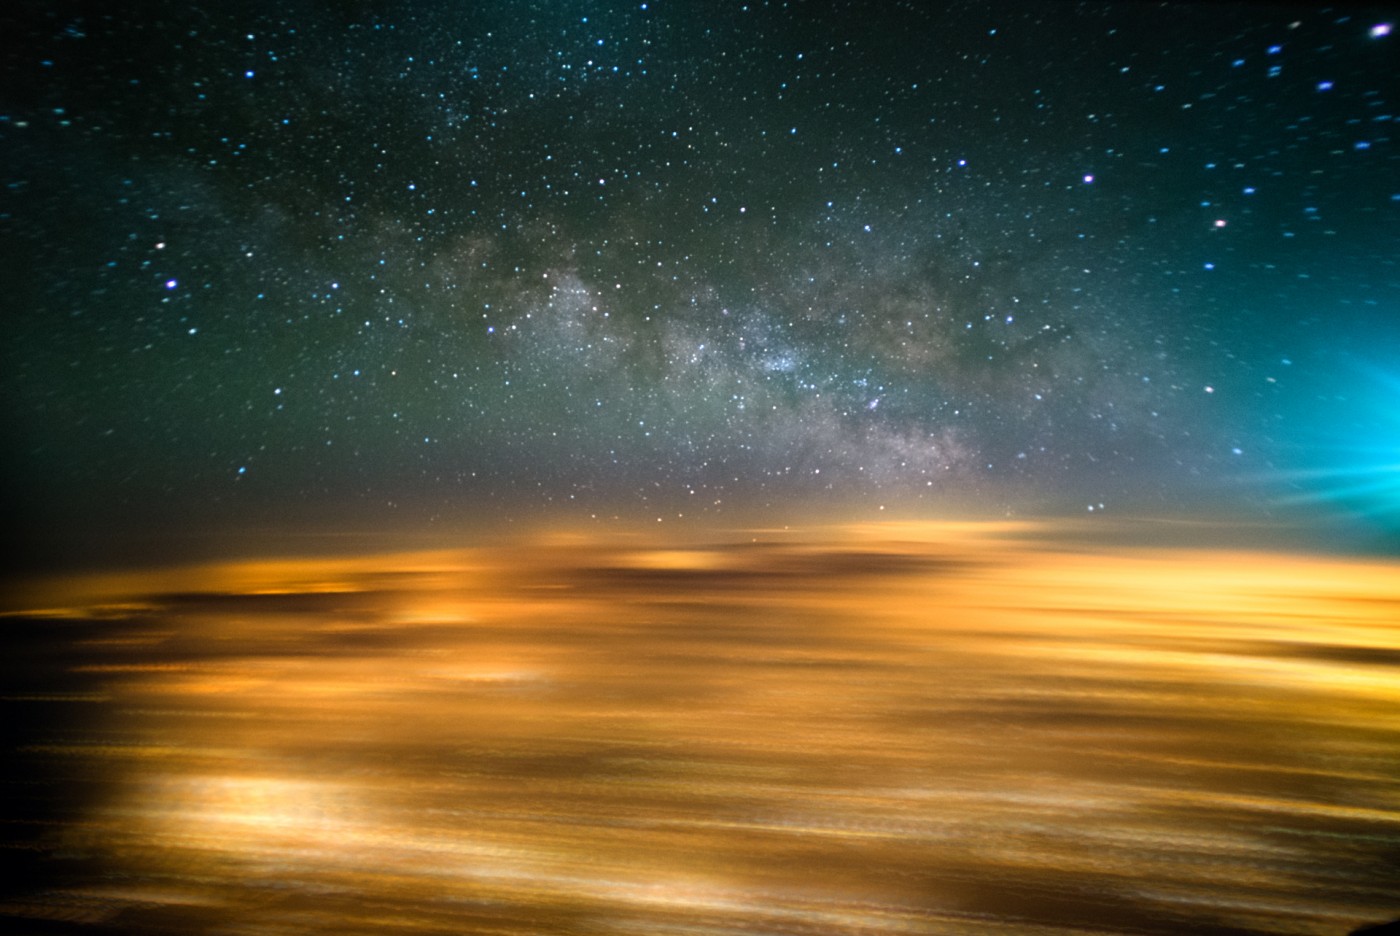
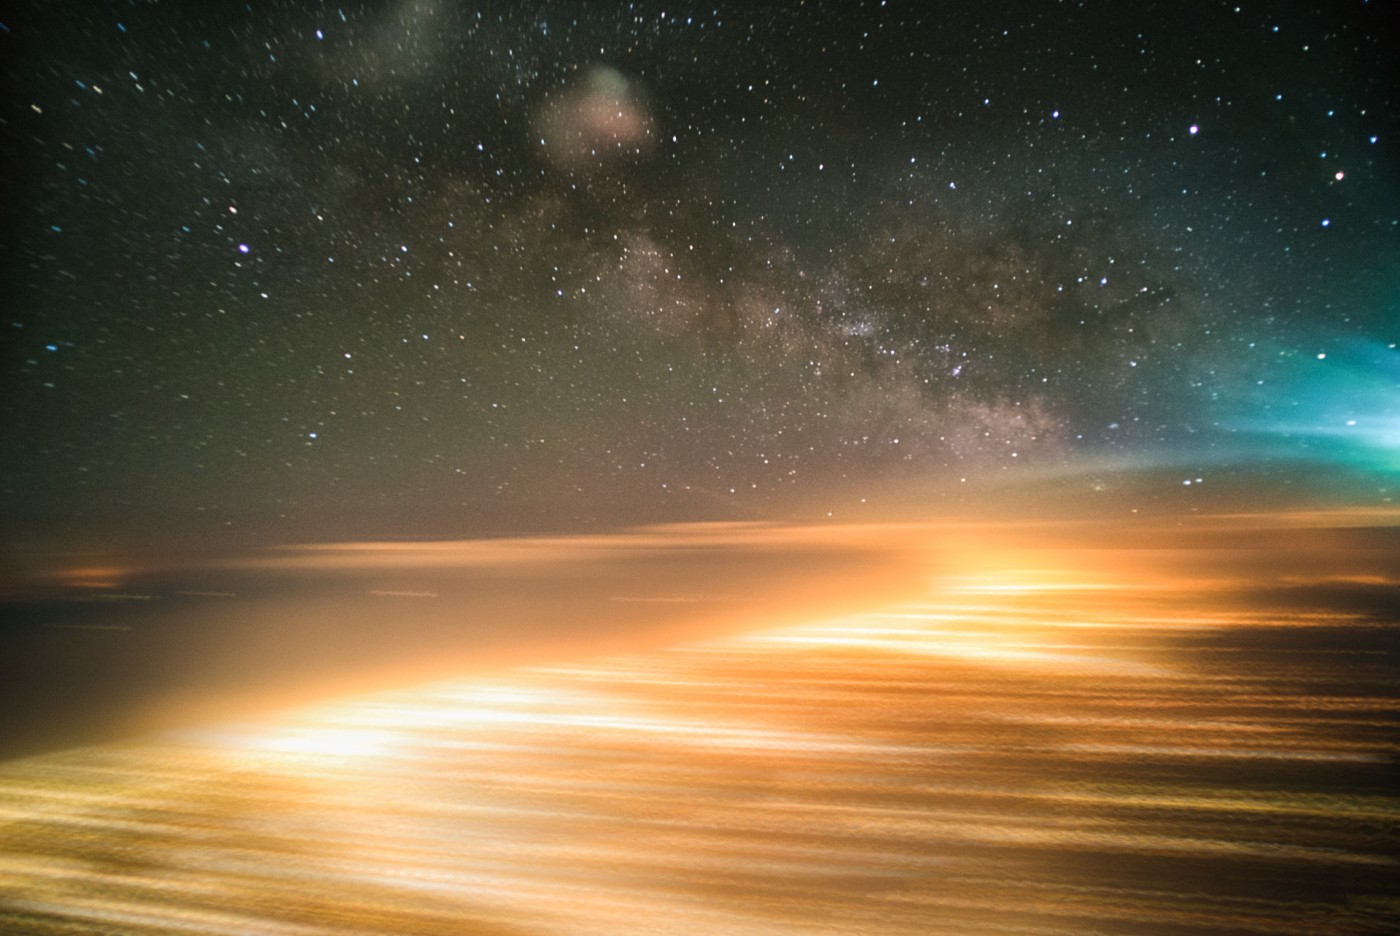
On our flight, we made a bunch of attempts at capturing the night sky outside the window, After using the processing steps in the video tutorial, we came up with some pretty fun results that included some short time-lapse clips in addition to some final noise reduced exposure stacks.
Most of the photos still suffered a bit from alignment problems so the final photos weren’t quite aberration free to say the least. But overall, I really enjoyed the surreal look of the results.

On this particular flight, we were flying over Italy, Croatia, and Slovenia (our travel itinerary) and there was a wide variation in the amount of light pollution present. Most of the areas we flew over did not include huge cities, these are the lights from more suburban and rural towns. I imagine a light over a large metropolitan area would increase the difficulty of the whole operation.
The idea for using an airplane for astronomy is not a new one. In fact, NASA and the DLR actually have an aircraft based telescope called SOFIA, the Stratospheric Observatory for Infrared Astronomy (sofia.usra.edu). SOFIA is a 2.5m telescope mounted in a highly modified Boeing 747. I’m sure that the hardware on SOFIA is a little more attune to doing such an operation but I’m pretty happy with our results.

Conclusion
While an aircraft is perhaps not the simplest platform upon which to attempt amateur astrophotography, it turned out to be a pretty fun project. There are a number of factors that are likely out of the photographer’s control when it comes to most commercial air travel. Things like turbulence, the exact time of the flight, what part of the plane you’re seated on, weather, and the direction of the flight will all affect the success of the photos. Even so, if you find yourself with a friend, seated near a window, on night flight, maybe take the opportunity to try it out.
I hope you enjoyed the video, if you have any questions about the process, feel free to chime in on the comments.
Disclosure
We are a participant in the Amazon Services LLC Associates Program, an affiliate advertising program designed to provide a means for us to earn fees by linking to Amazon.com and affiliated sites. We are also a participant in the B&H Affiliate Program which also allows us to earn fees by linking to bhphotovideo.com.
Learn Astrophotography
Astrophotography 101 is completely free for everyone. All of the lessons are available on the Lonely Speck Astrophotography 101 page for you to access at any time. Enter your email and whenever we post a new lesson you’ll receive it in your inbox. We won’t spam you and your email will stay secure. Furthermore, updates will be sent out only periodically, usually less than once per week.
Help us help you!
Believe it or not, Lonely Speck is my full-time job. It’s been an amazing experience for us to see a community develop around learning astrophotography and we’re so happy to be a small part of it. I have learned that amazing things happen when you ask for help so remember that we are always here for you. If you have any questions about photography or just want to share a story, contact us! If you find the articles here helpful, consider helping us out with a donation.
[button font_size=”16″ color=”#136e9f” text_color=”#ffffff” url=”https://www.paypal.com/cgi-bin/webscr?cmd=_donations&business=lonelyspeckblog%40gmail.com&item_name=These+tips+help+keep+lonelyspeck.com+running.¤cy_code=USD&source=url” target=”_blank”]Donate[/button]
Thanks so much for being a part of our astrophotography adventure.
-Ian


Do you think you could have used longer exposures if the camera were tripod mounted, or would the vibrations of the plane still limited you to the 2 second type exposures? I am soon to take a business class flight down to southern Africa and would have room for something like a gorilla pod by the window.
Yes, I think that most flights should be stable enough that if you can actually mount the camera, you could used much longer exposures. Image stabilization would probably help for small vibrations and bumps. Being in the front of the plane, at least forward of the engines will also help.
Super cool tutorial. Thanks Ian
Yes! I remember seeing this on your instagram. thanks for the guide!
I just wanted to say thanks for taking the time to share your knowledge. Sadly I don’t have After Effects but at least I now know how to do such creative work.
What was the f/1.8 manual lens with the tape? and have you tried the new Voigtlander 10mm f/5.6 on your A7s?
Very interesting and great photos. Will try this on my next night flight.